This workshop was a bit of a shot in the dark. The leader, Matt Cox (100% future proof and all-round nice guy) hadn’t ever made a cob oven in one day before, and didn’t know if it would be possible. But we can’t hang around in the future. We’ve got to get on with it.
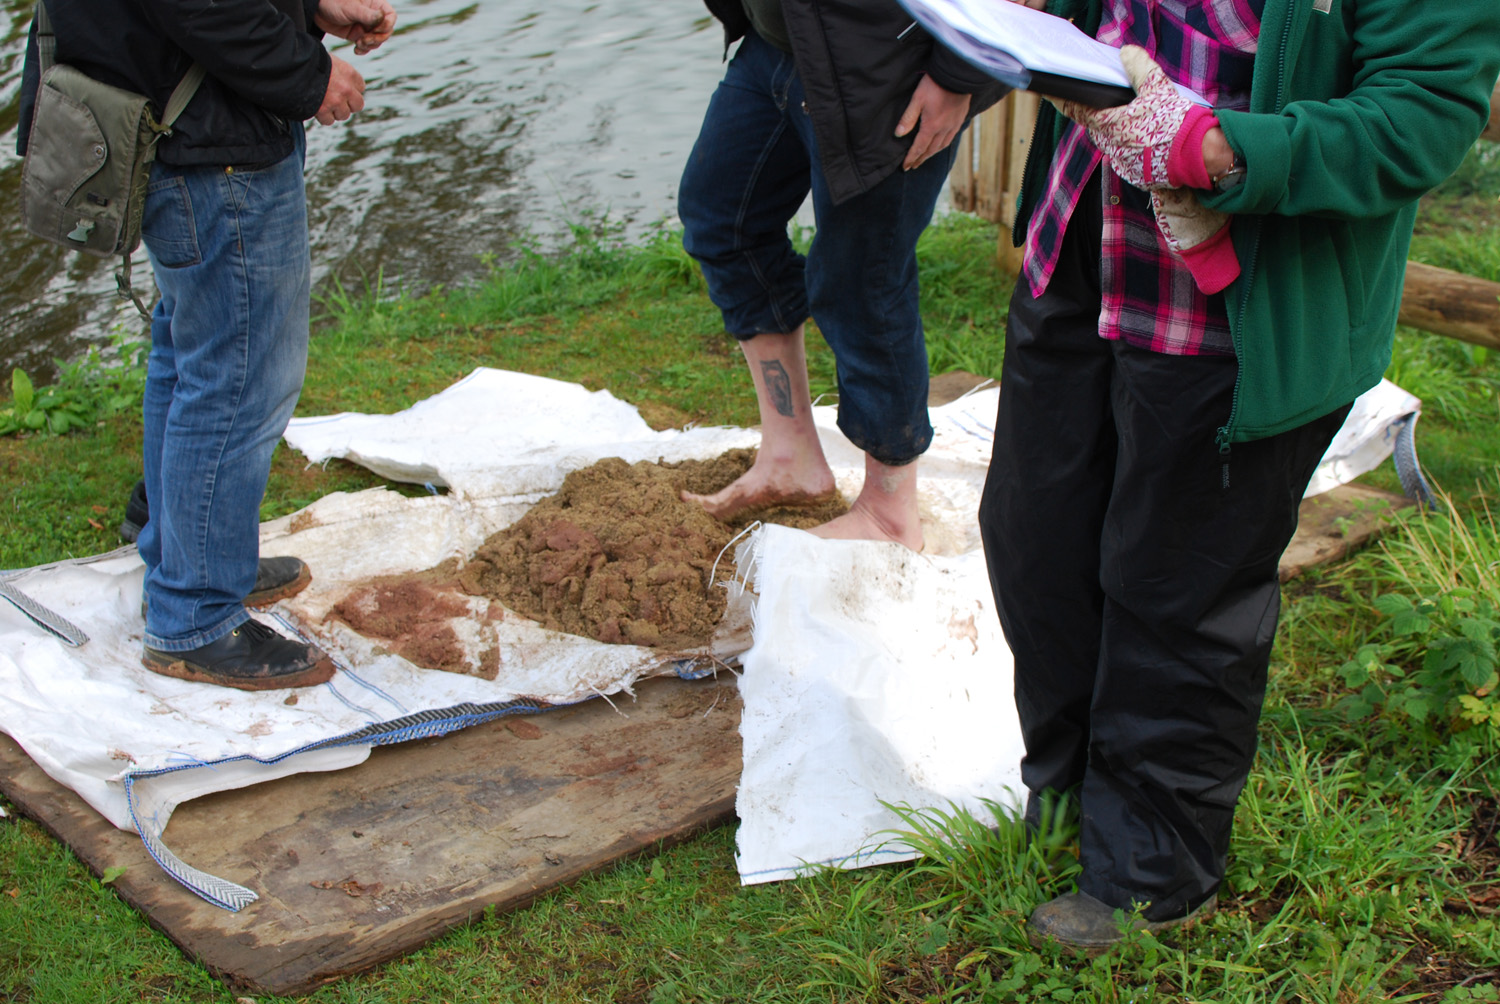
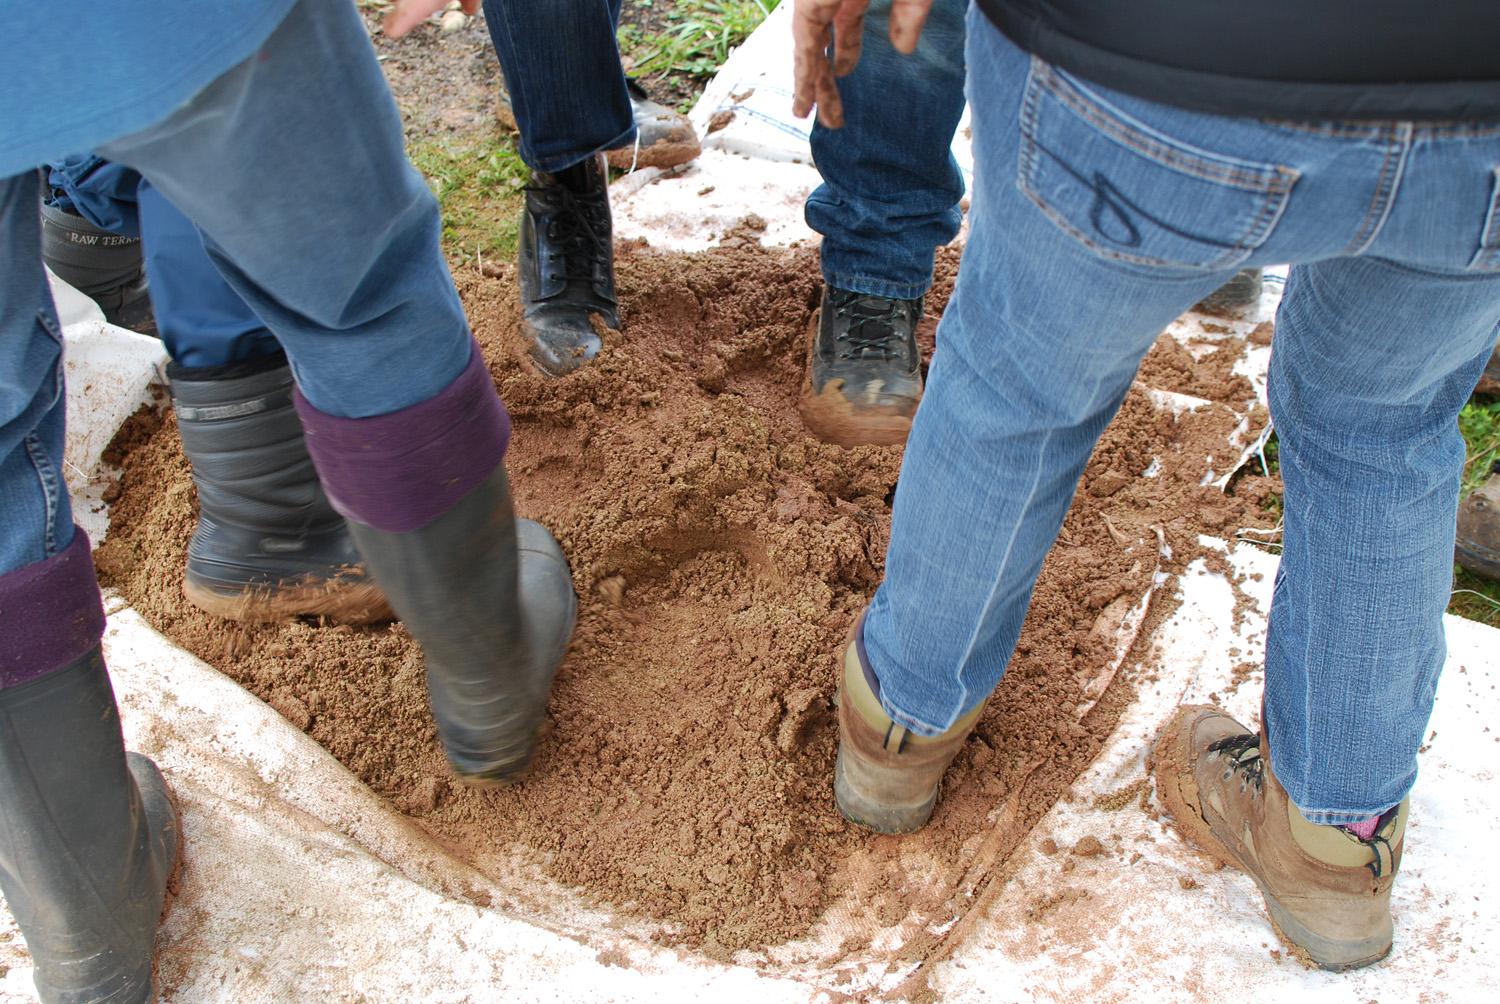
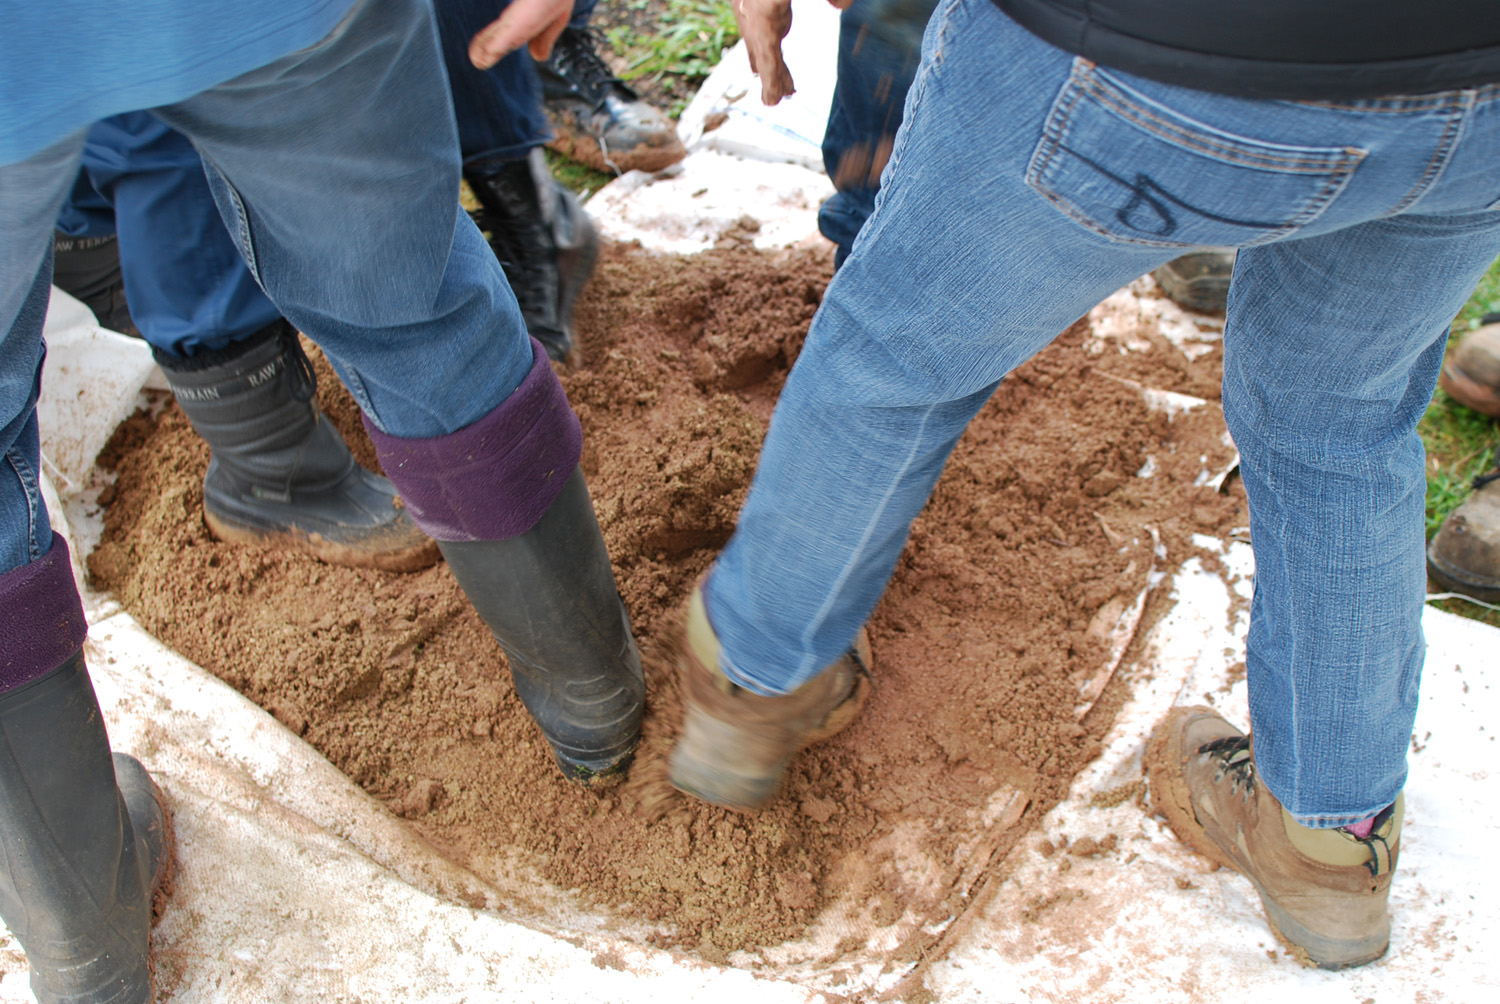
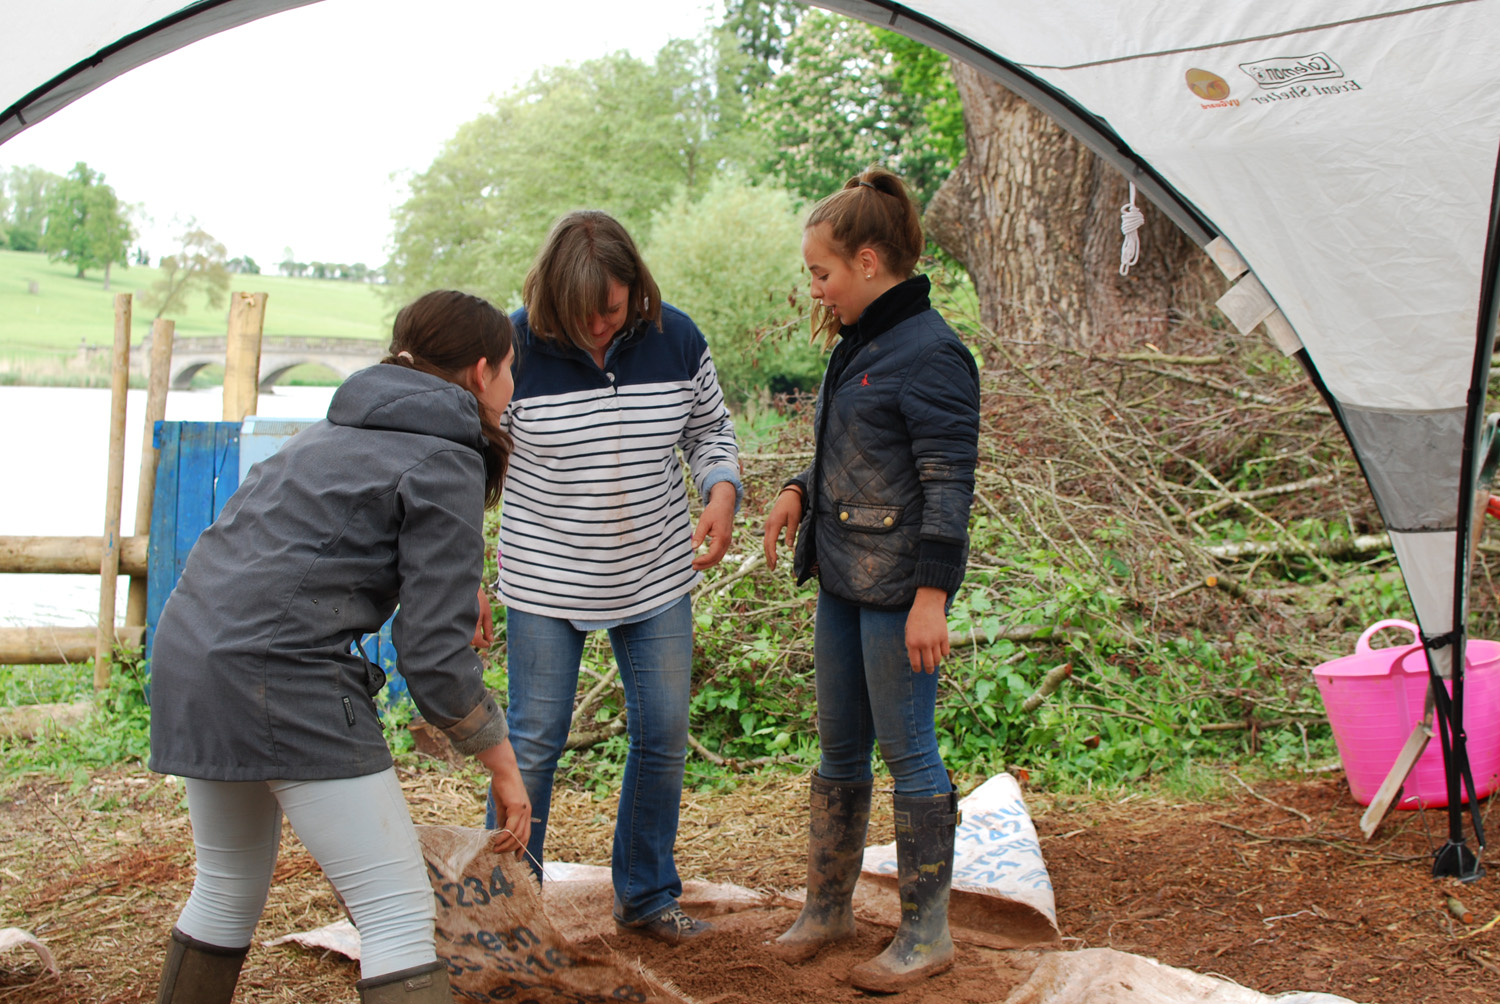
We began early, at 9am prompt. No grand introduction or satirical commentary about Warburtons here – we got straight into mixing the cob. Cob is an ancient building material, which is a mixture of clay and sand (and sometimes straw too). You mix it with your feet. Matt’s equally amazing assistant, Jim, illustrated the right technique, thusly. Then we all started mixing.
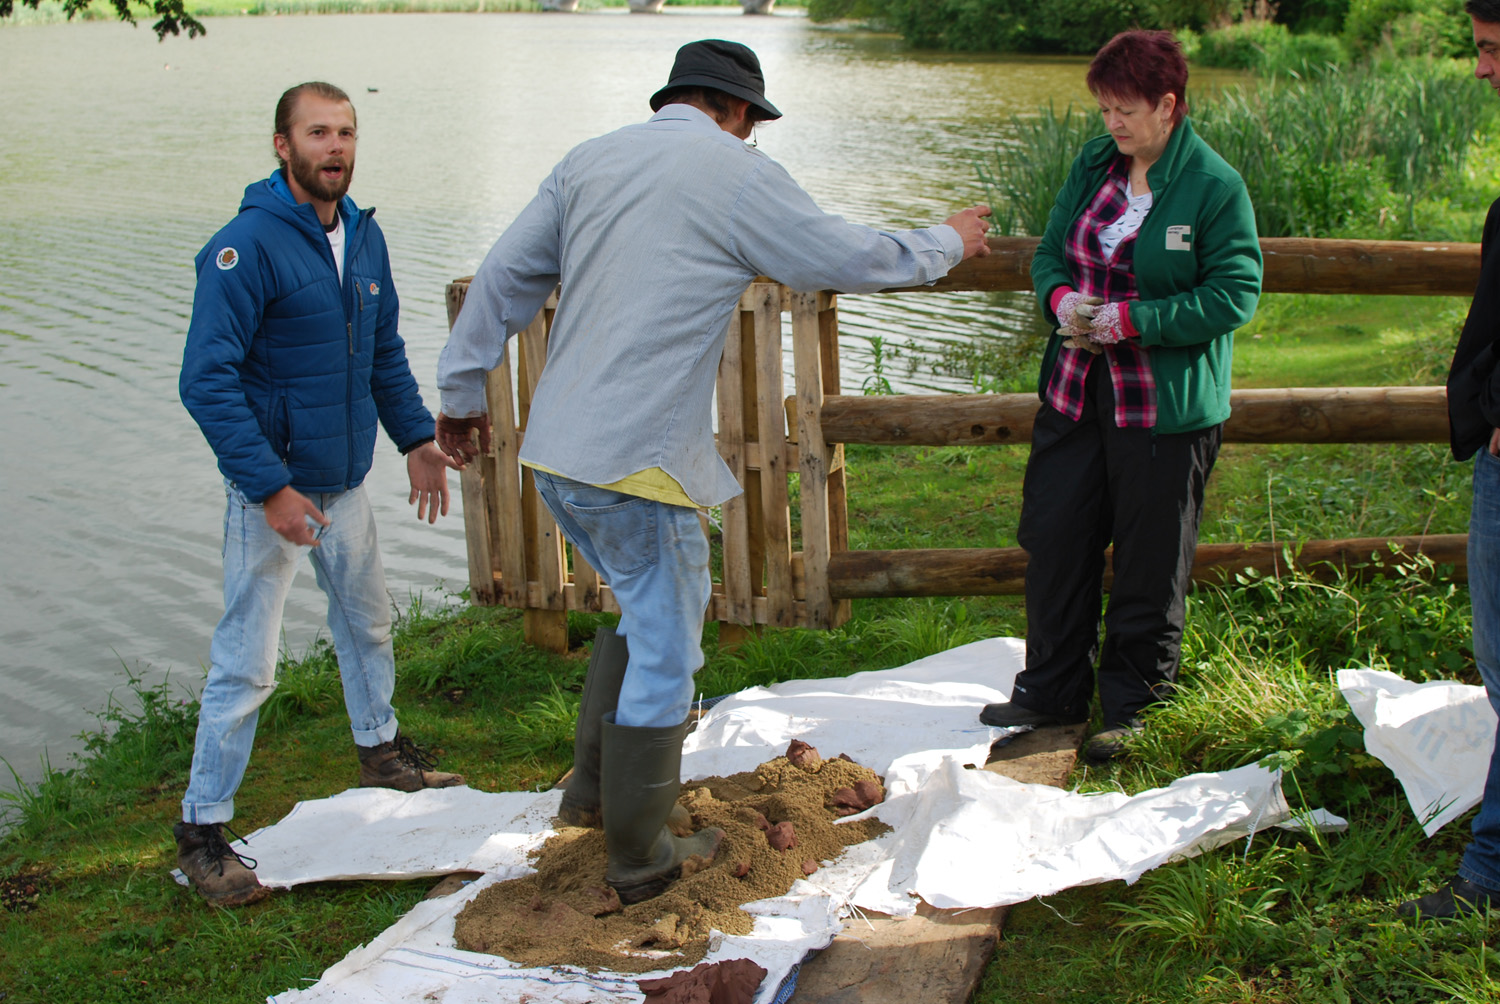
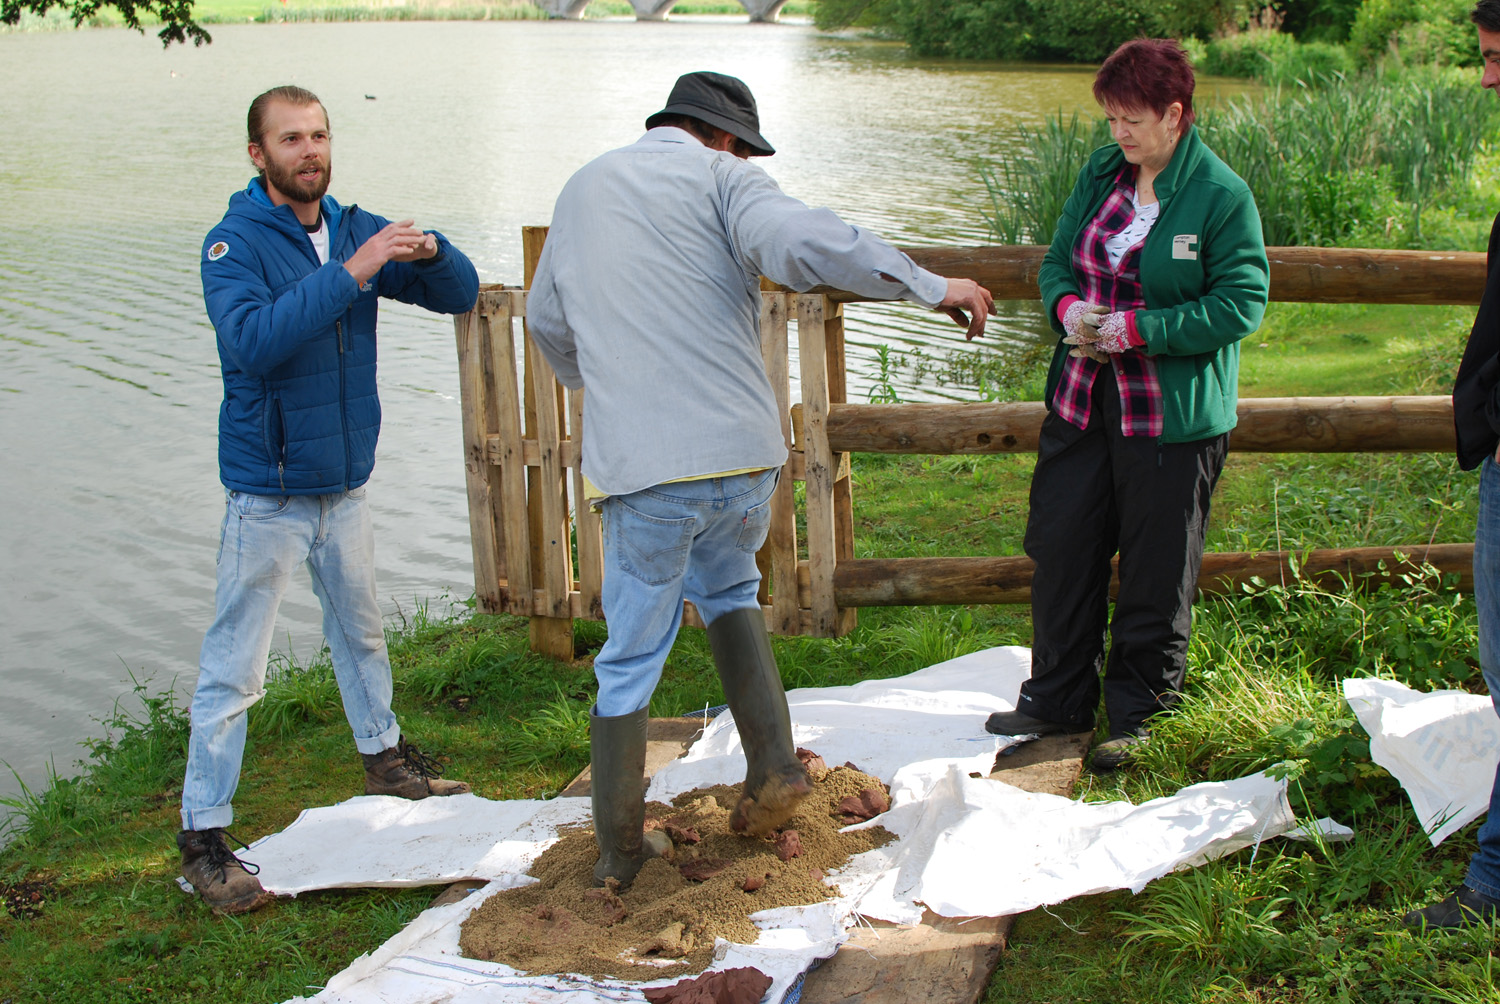
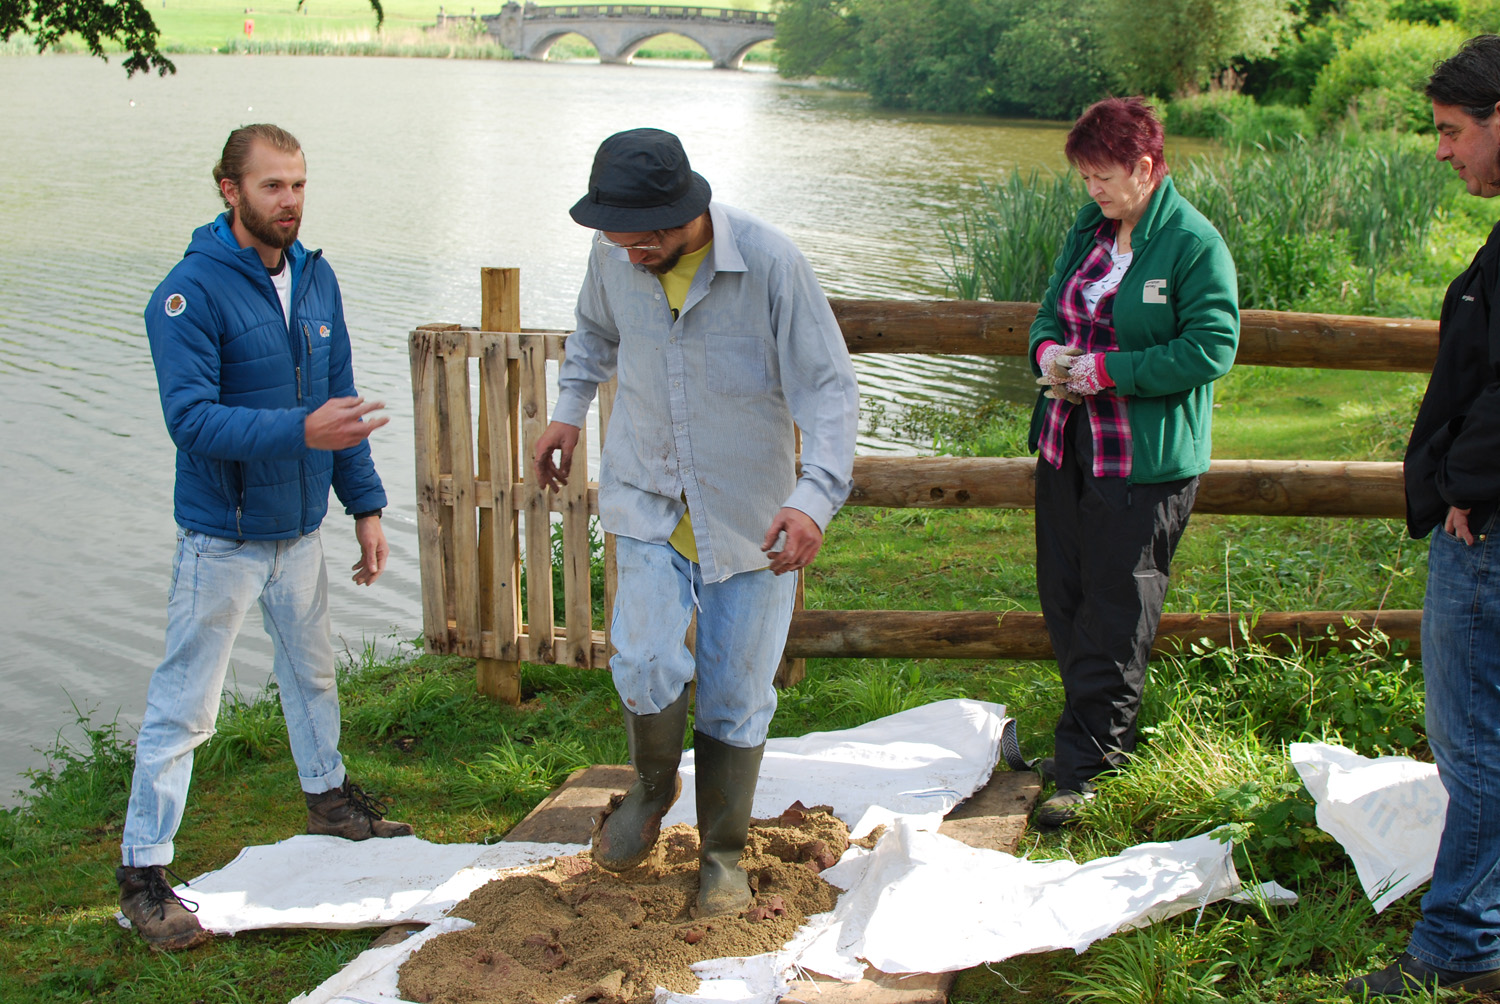
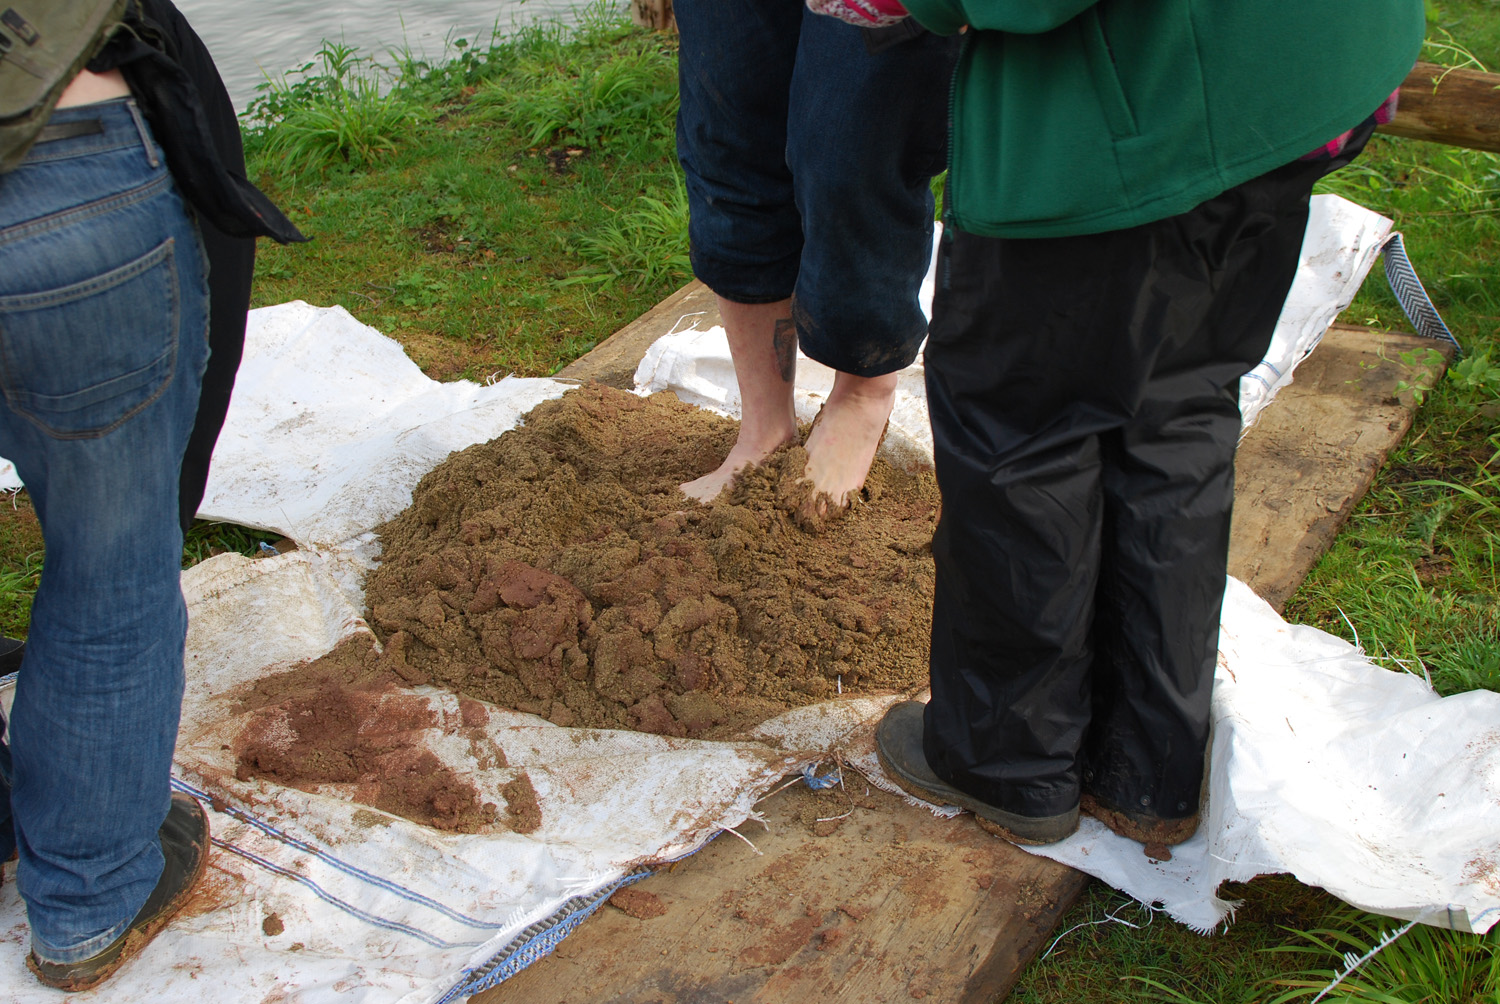
The proportions aren’t an exact science. We were planning to use clay dug up from the site, but couldn’t find any in time, so our clay was shop bought (someone said they were digging it out of the ground in building sites in nearby Shipton, so we’ll have to set up a trade in the future). And because it was so pure, we ended up having to use more sand than we would have done if we’d have dug it up ourselves, to make it more coarse. It wasn’t long before shoes were dispensed with, and people’s inner medieval peasant came out.
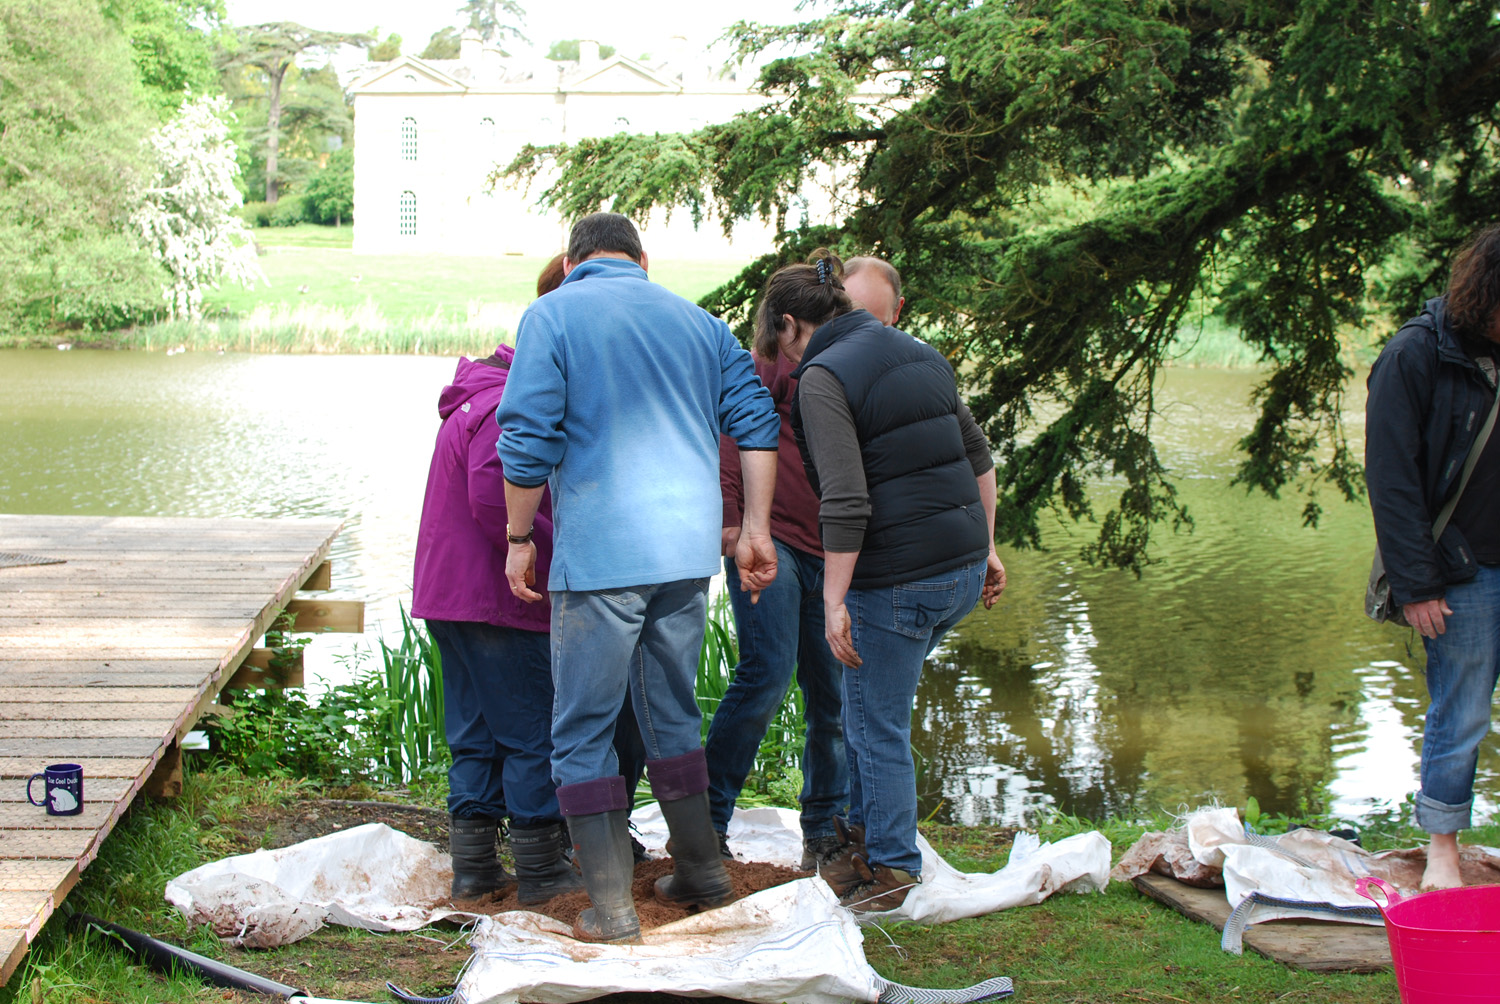
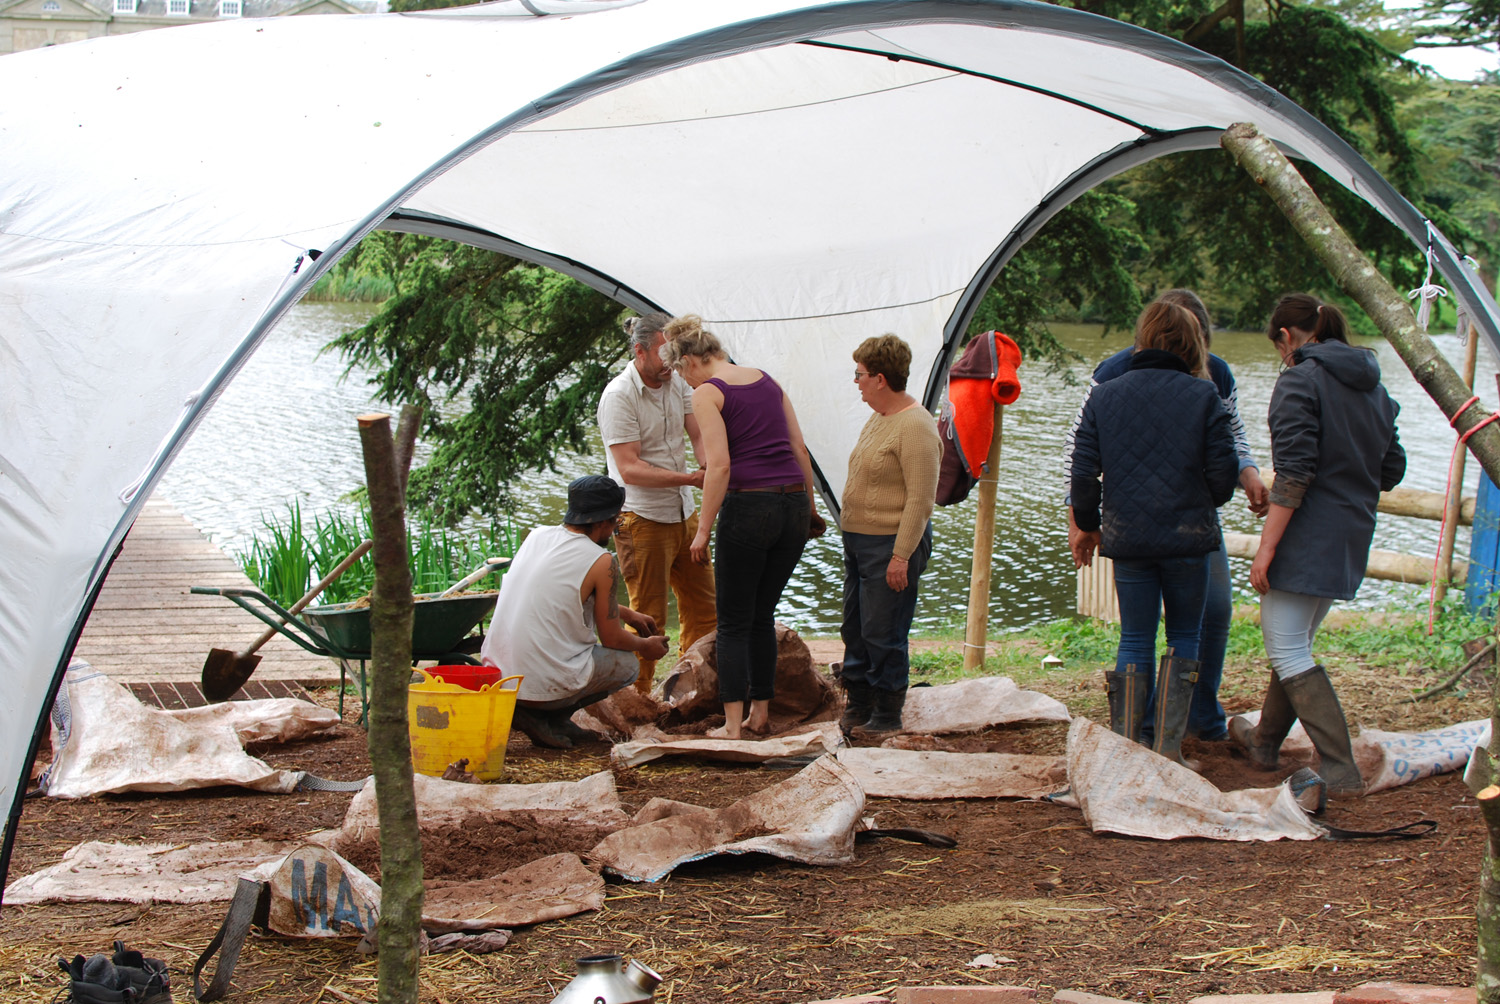
A second group gets going. We need a lot of cob.
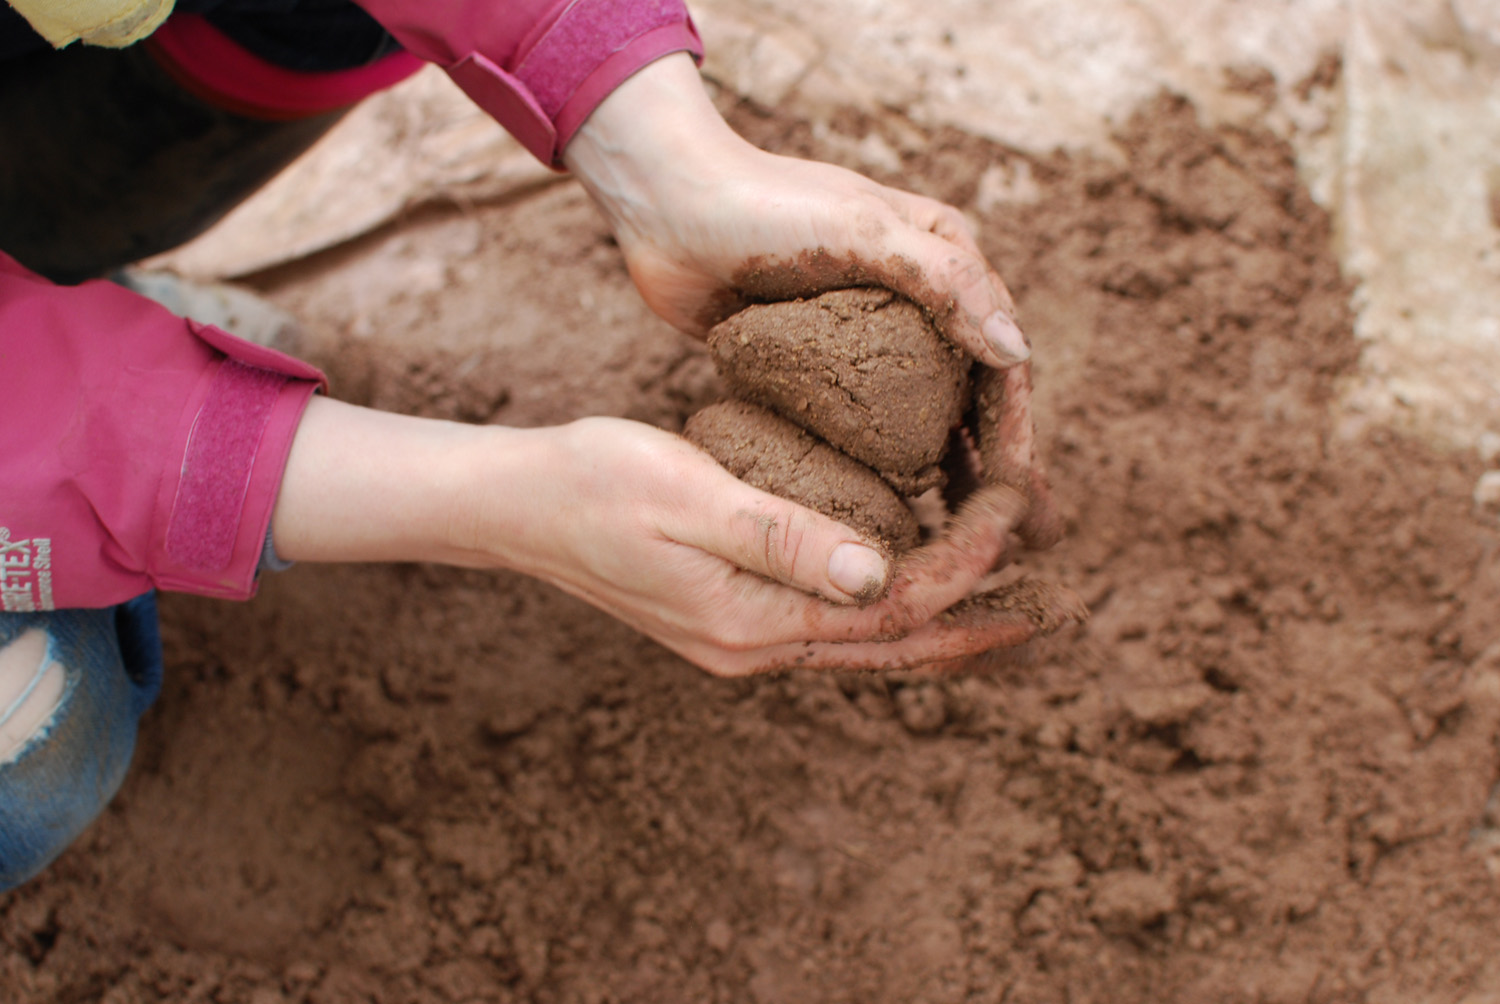
The end result looks a little something like this.
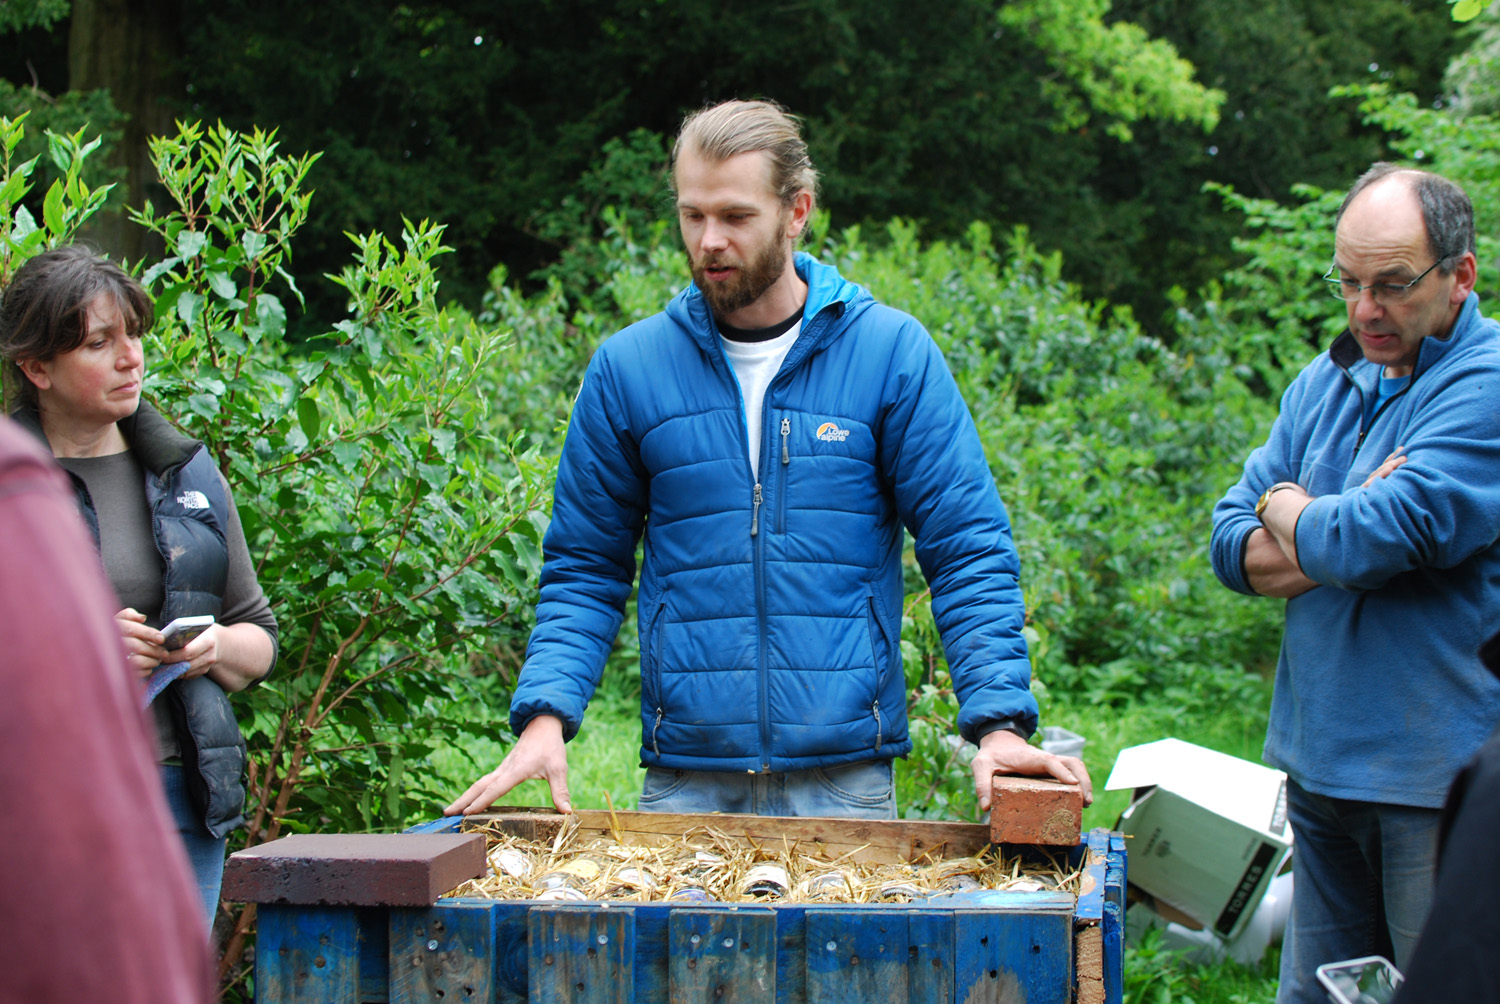
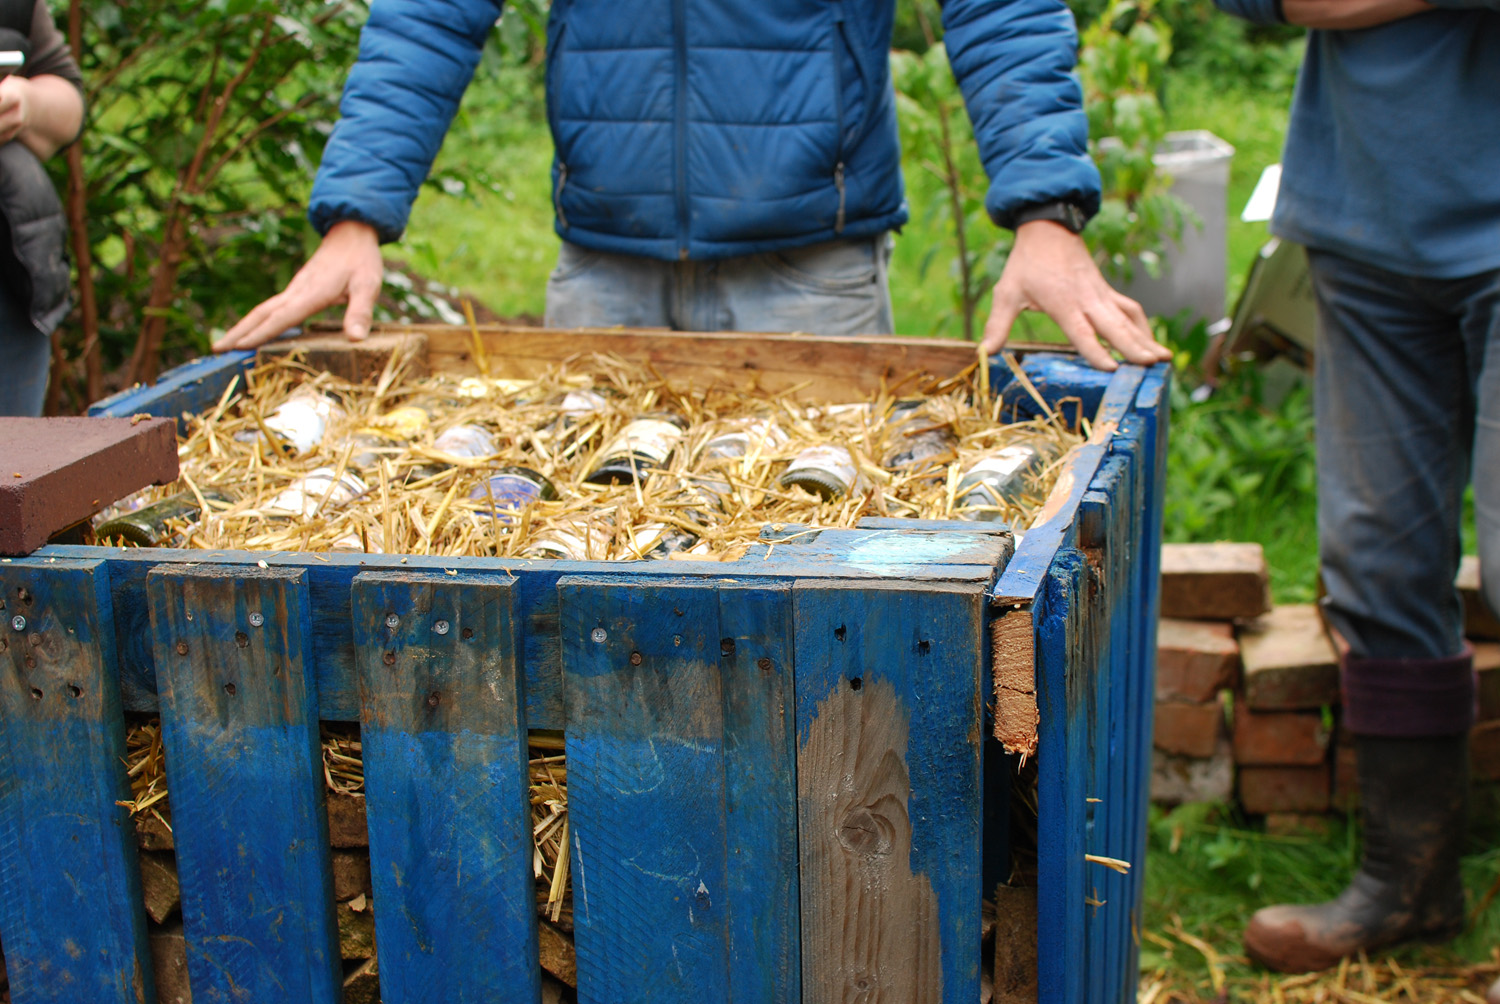
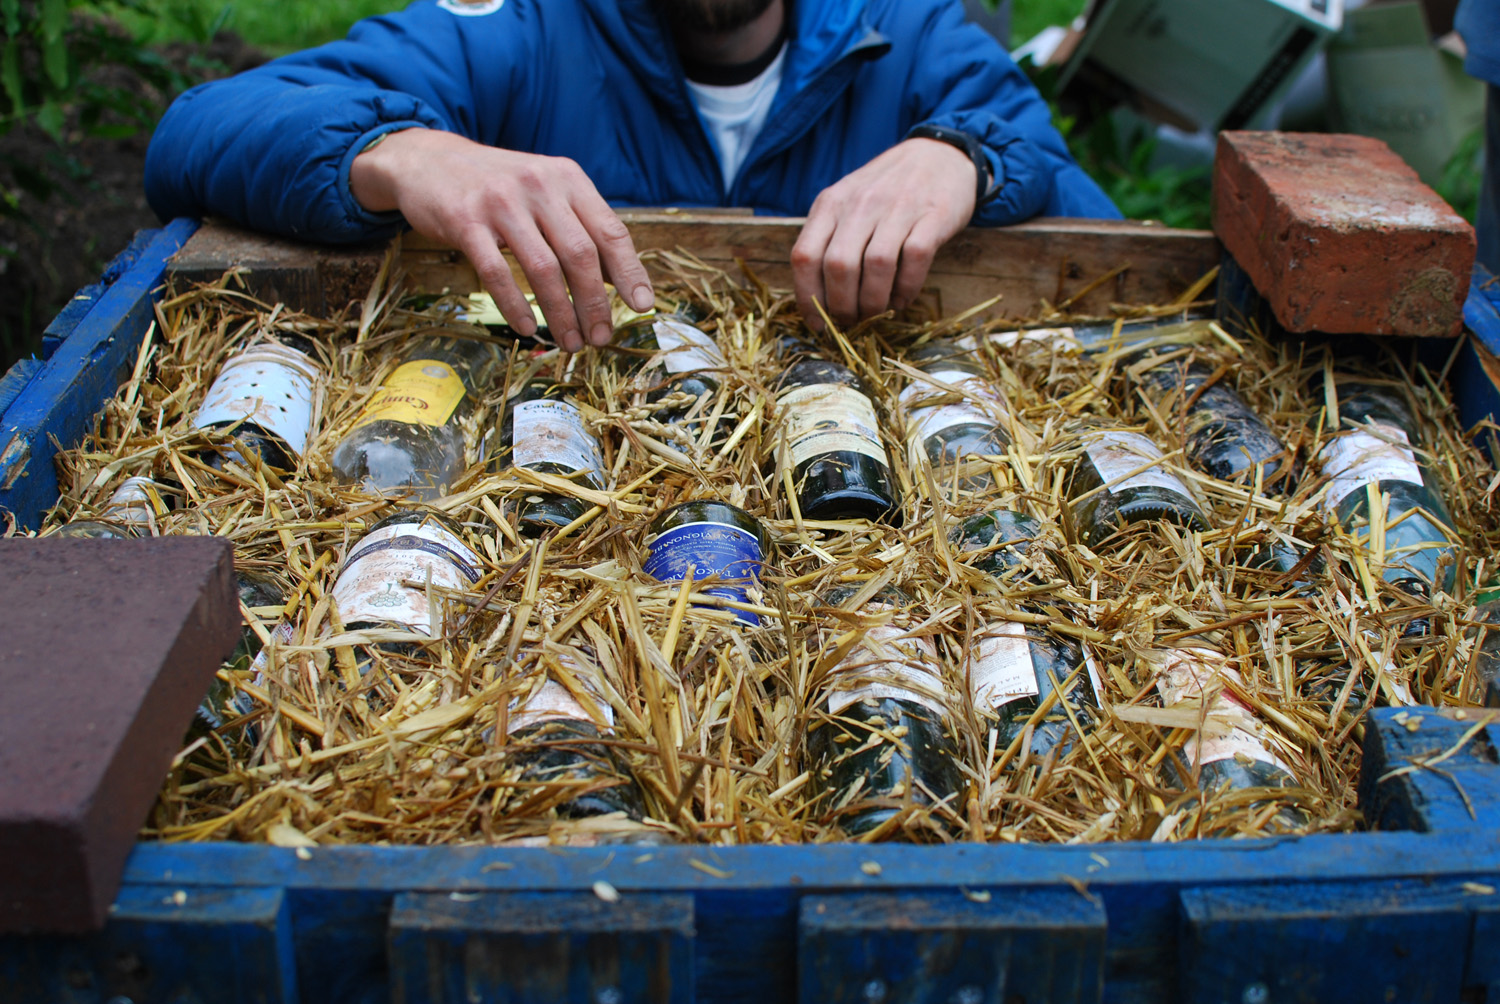
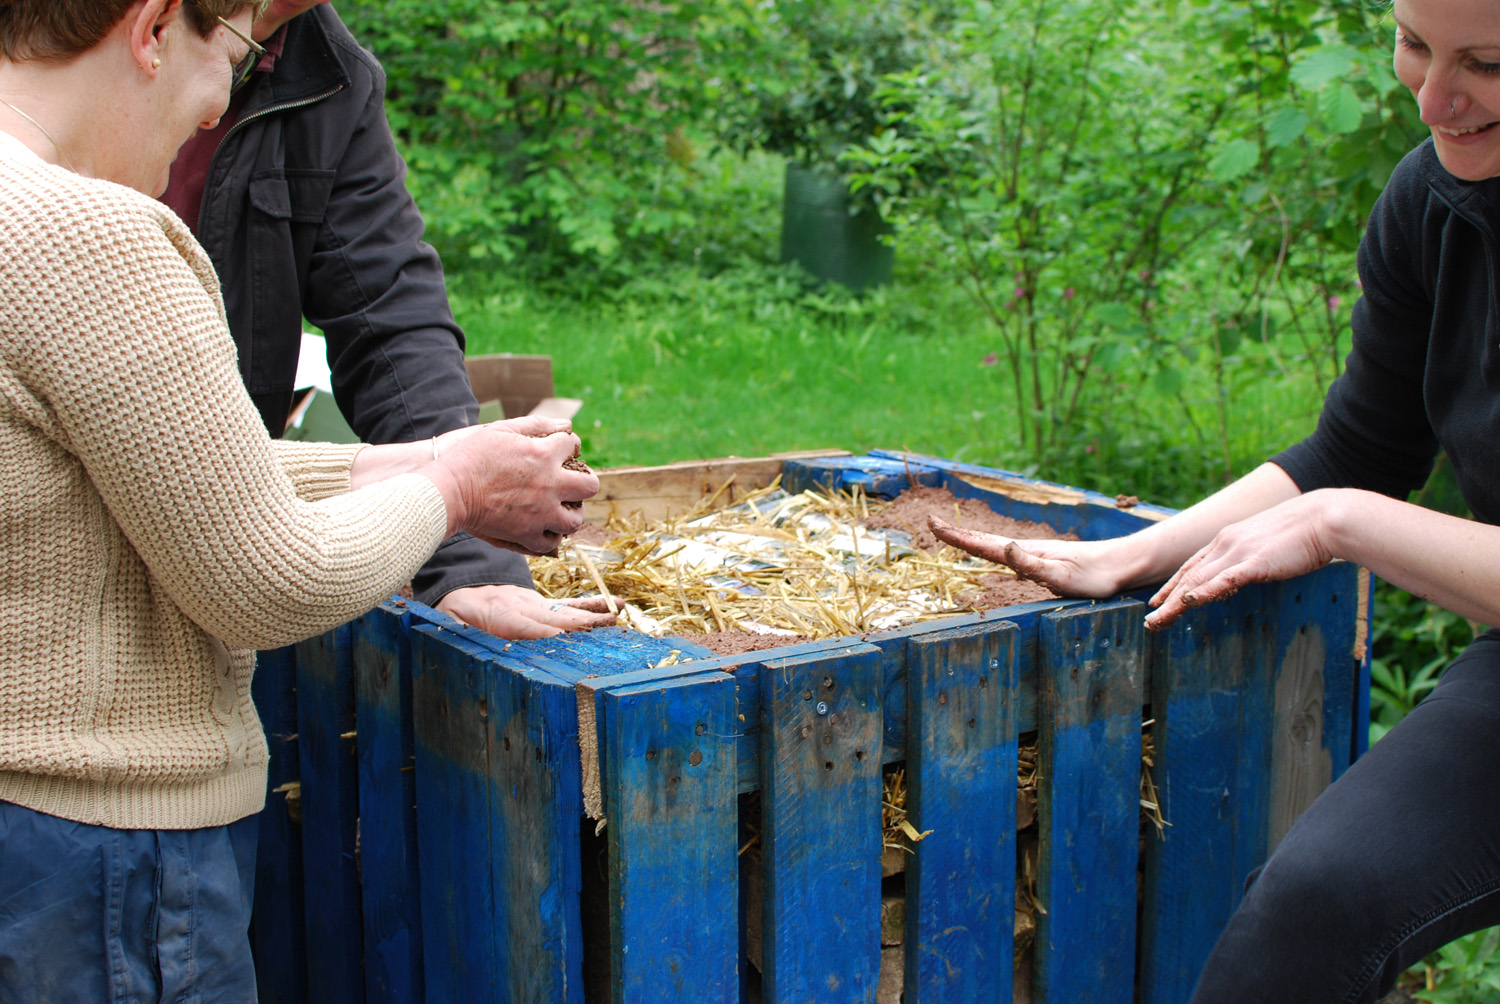
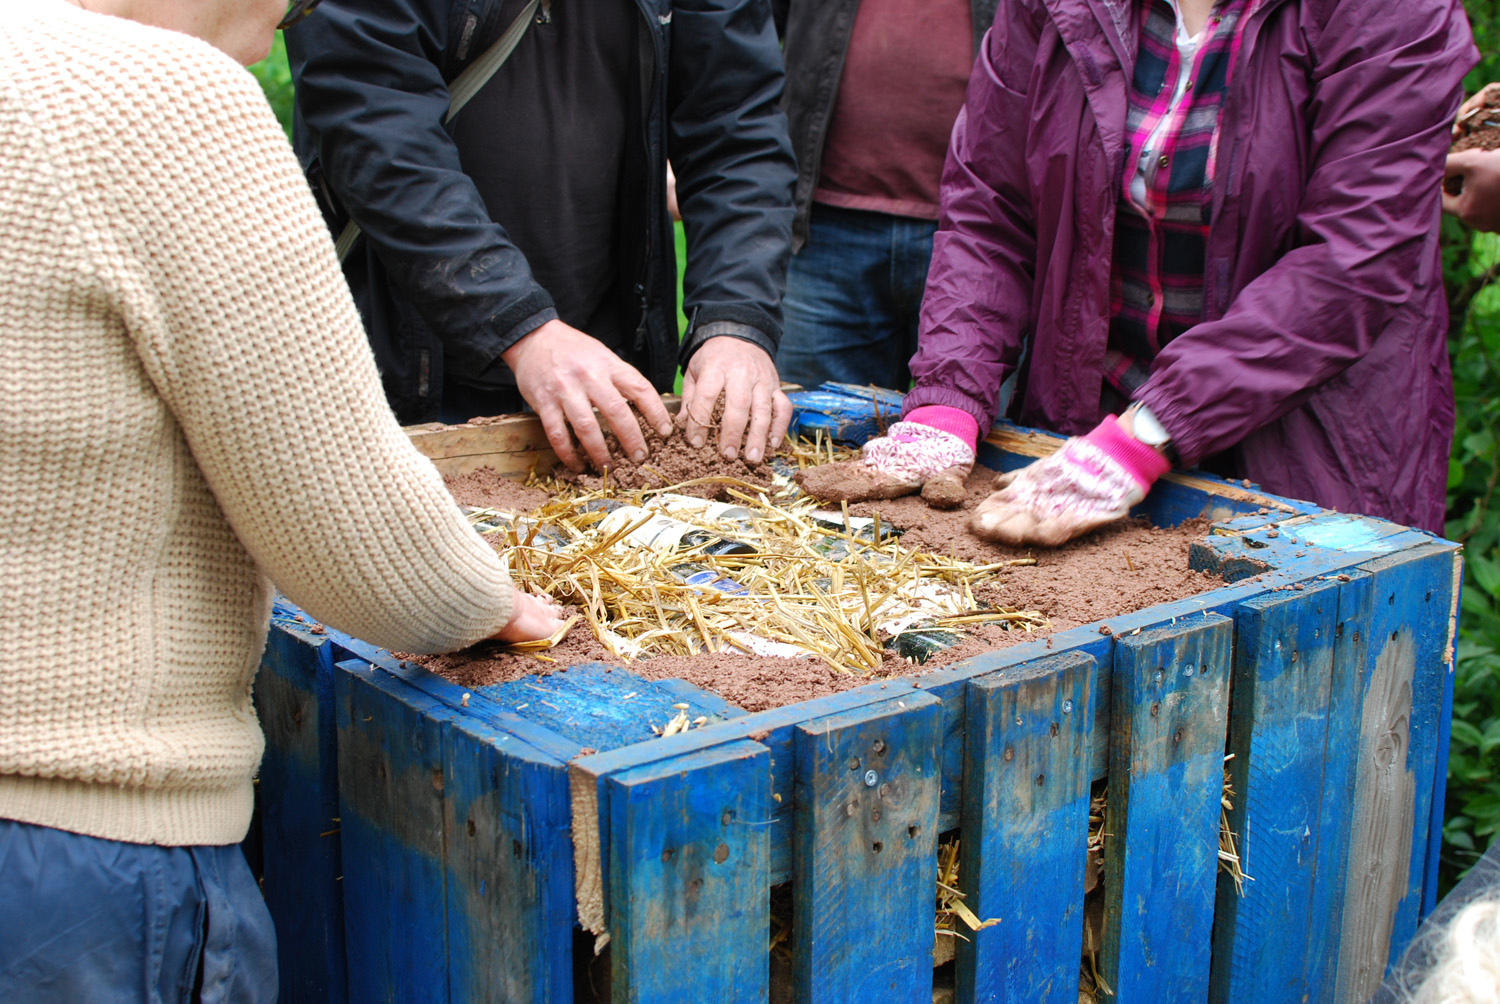
After an hour or so of mixing, we moved over to the base of the oven (which Matt had made earlier). This was constructed from four pallets nailed together, forming a box. This box was then filled with demolition rubble. You can use anything you want though – earth, rocks from the river, car parts. Anything that will keep it steady.
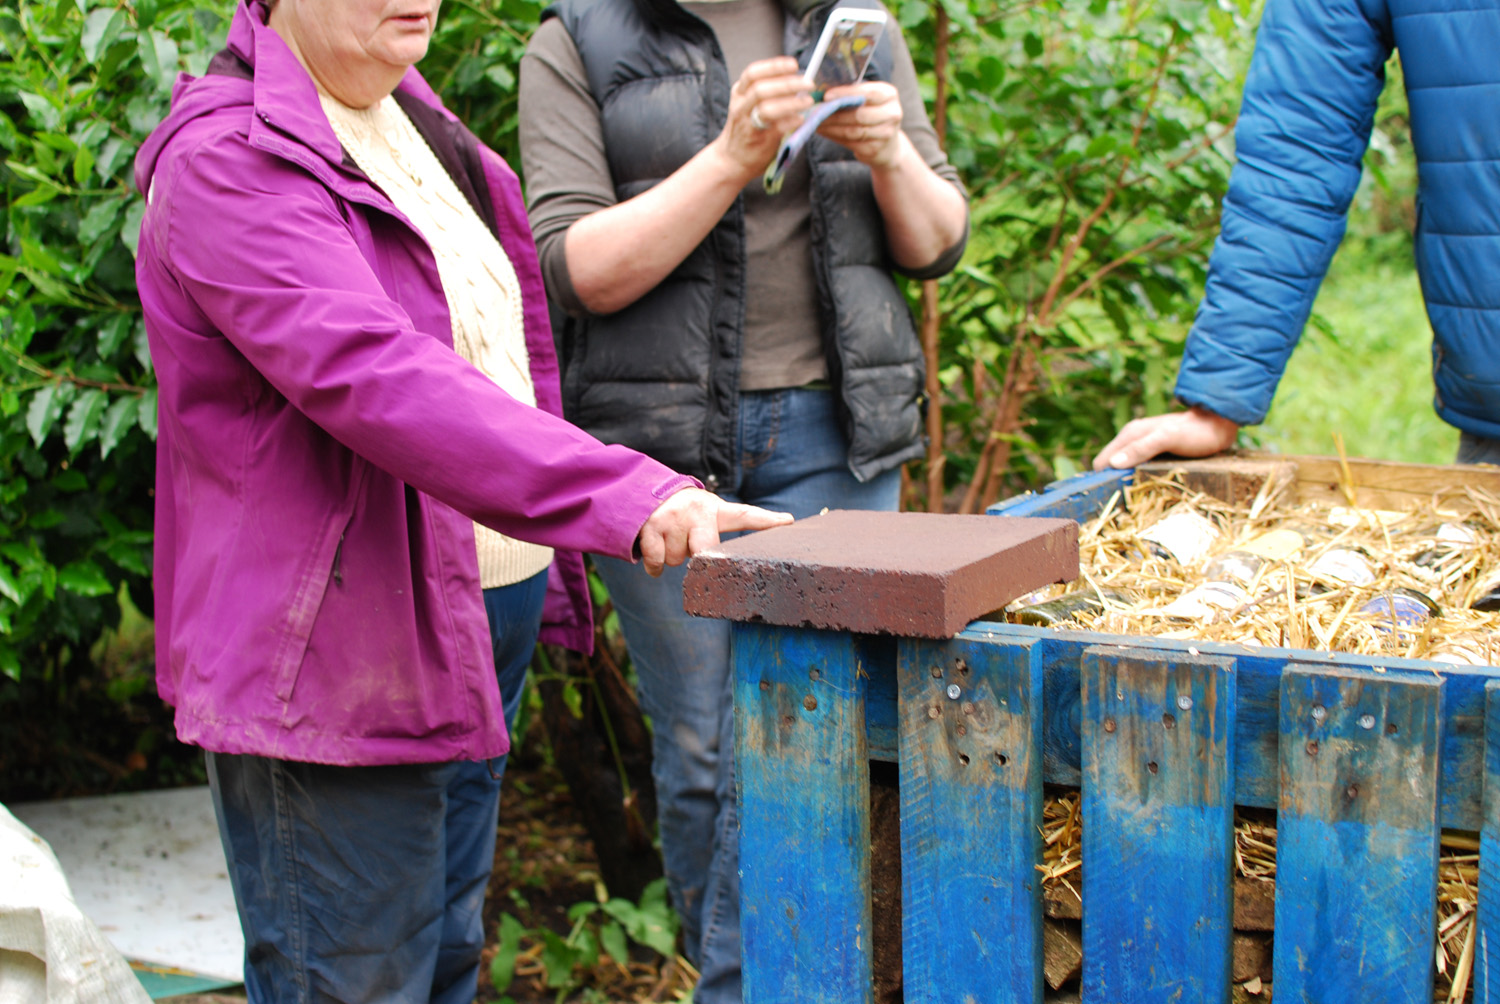
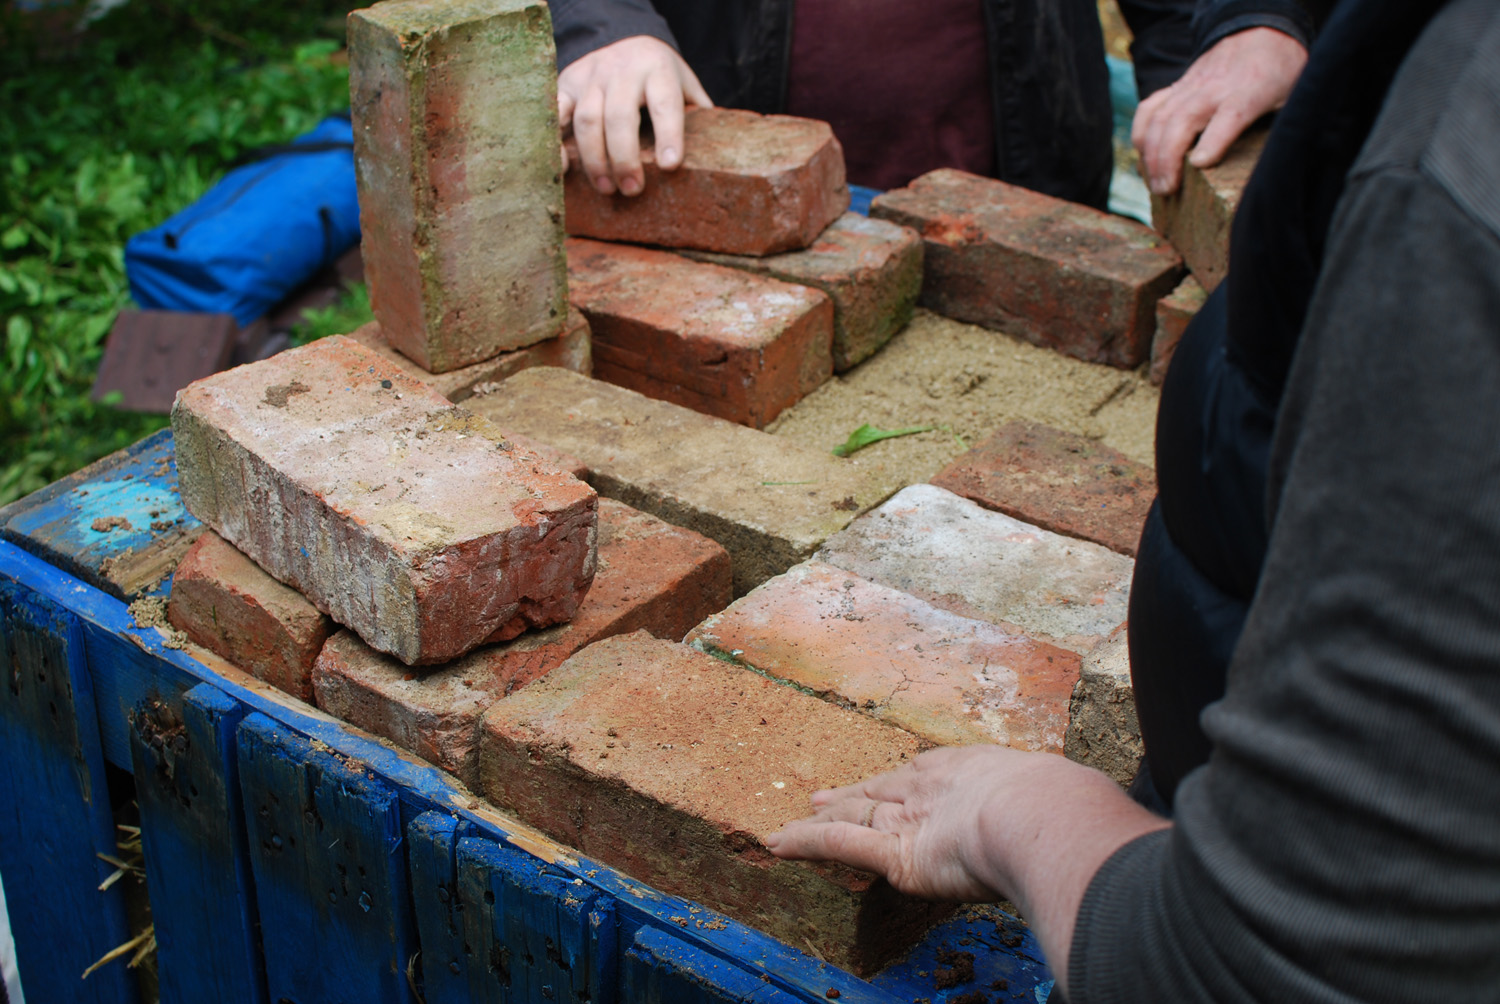
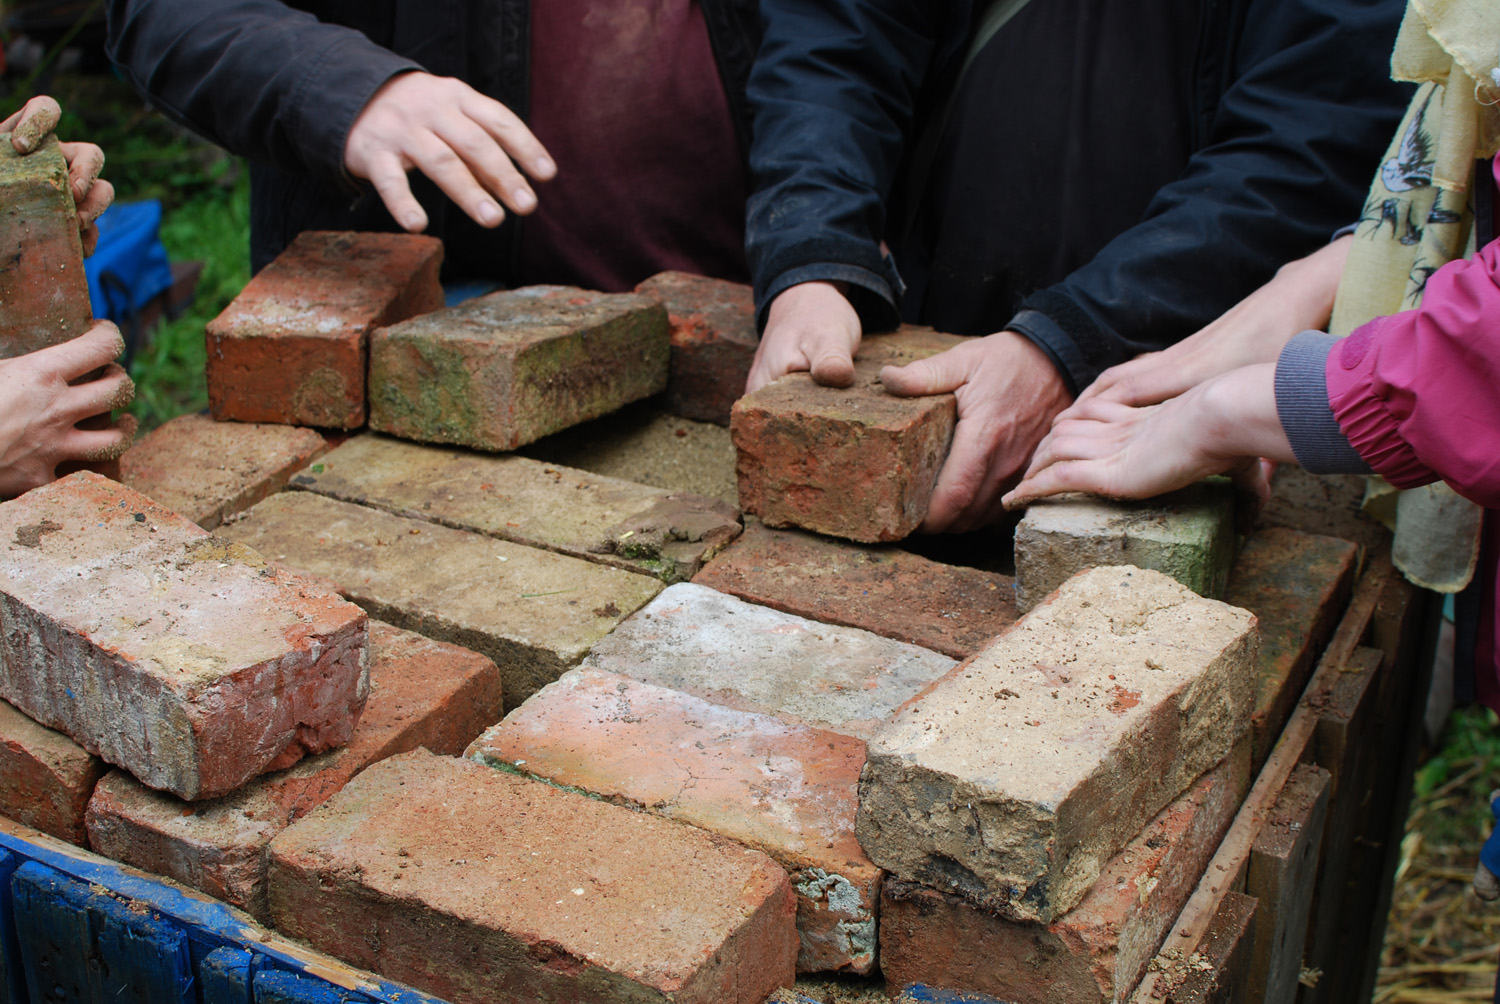
The top of the box is lined with straw and glass bottles. This to help insulate the base of the oven, to stop heat leaking out and downwards into the base. The base itself would be made from a layer of common-or-garden house bricks, then a layer of special, heat retaining fire-bricks. We used bricks salvaged from storage heaters for this. However, apparently you can also use block paving bricks (from suburban driveways, start keeping an eye out now for looting purposes).
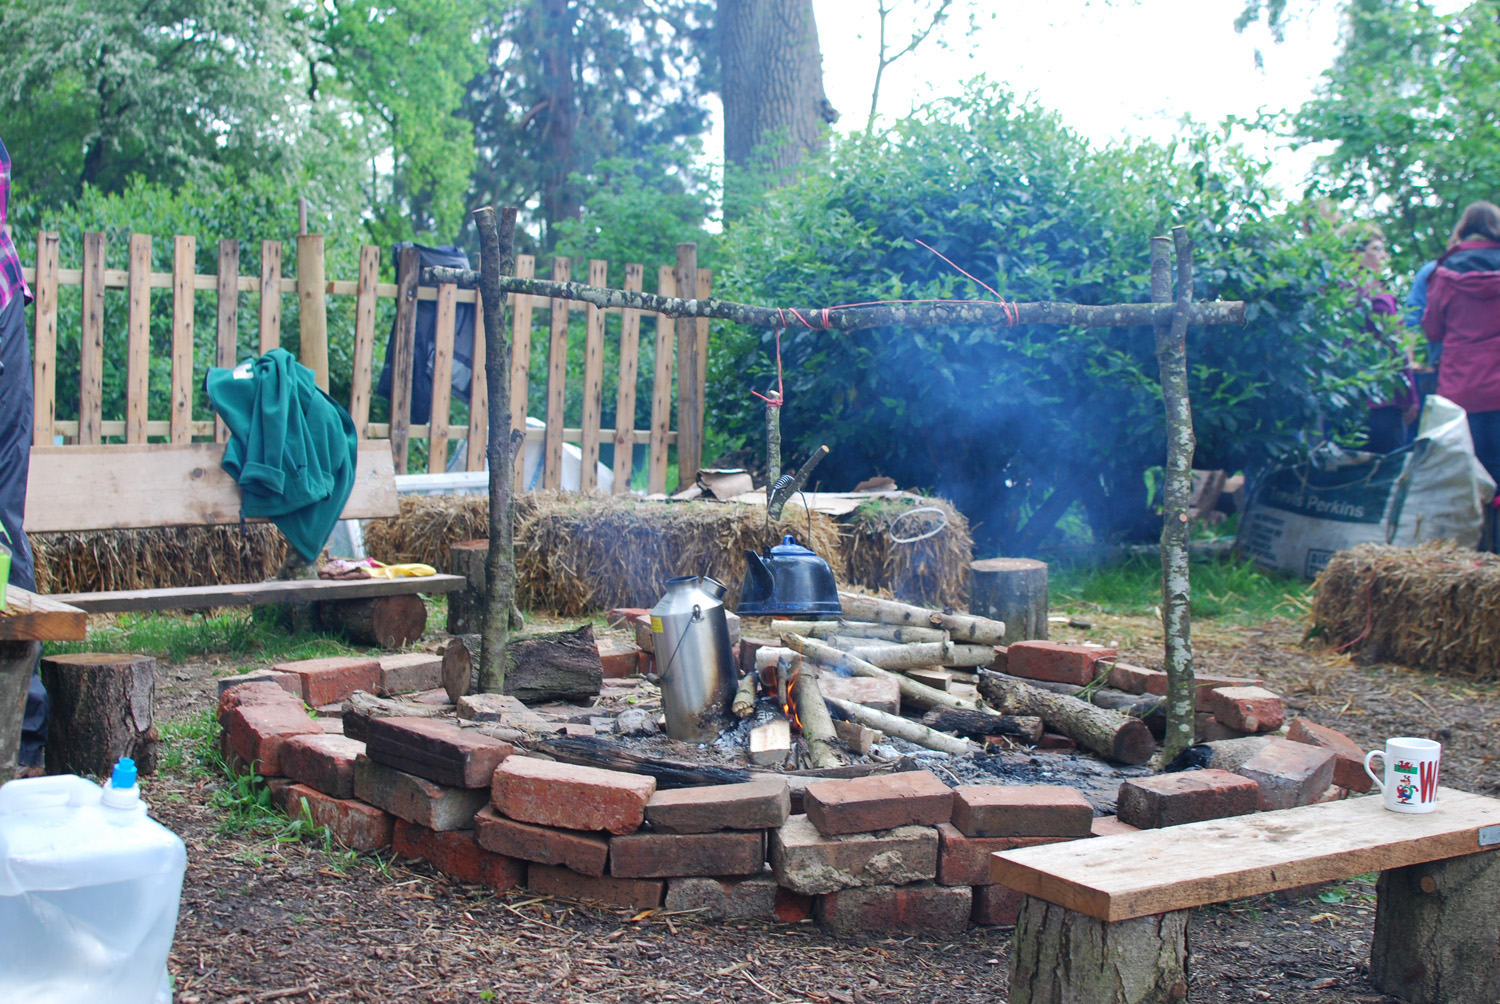
(We turned round from looking at the base to find that our volunteer Tim had cobbled together a device to heat water above the camp fire, out of green wood. A very handy man. 20 Clearing points).
THAT'S ENOUGH SLACKING, GET BACK TO WORK.
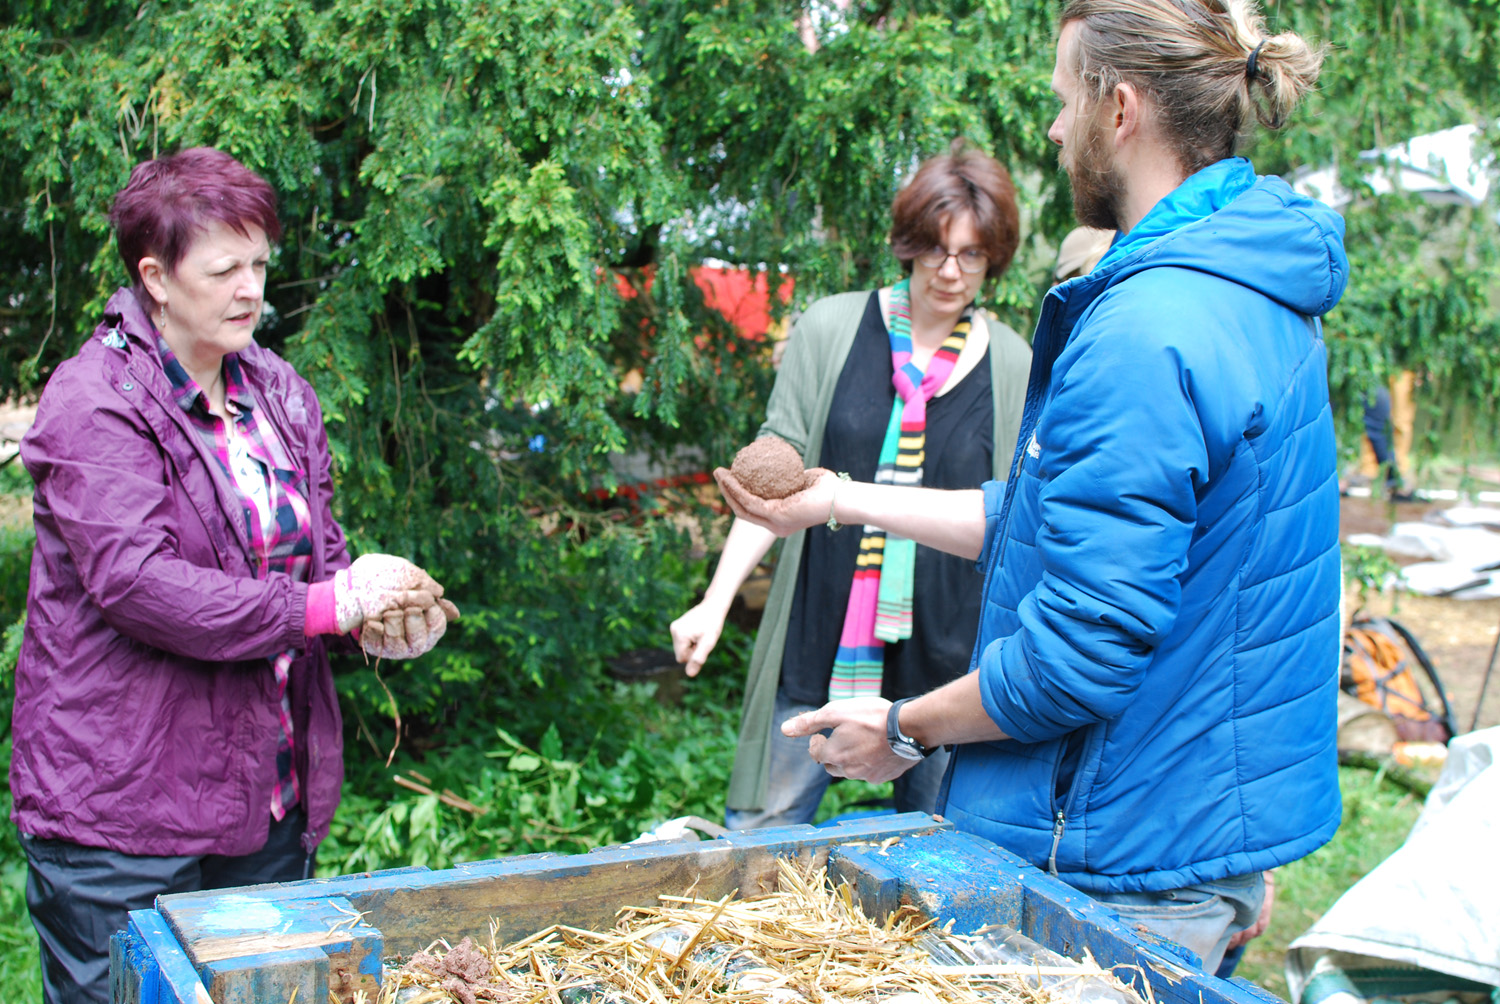
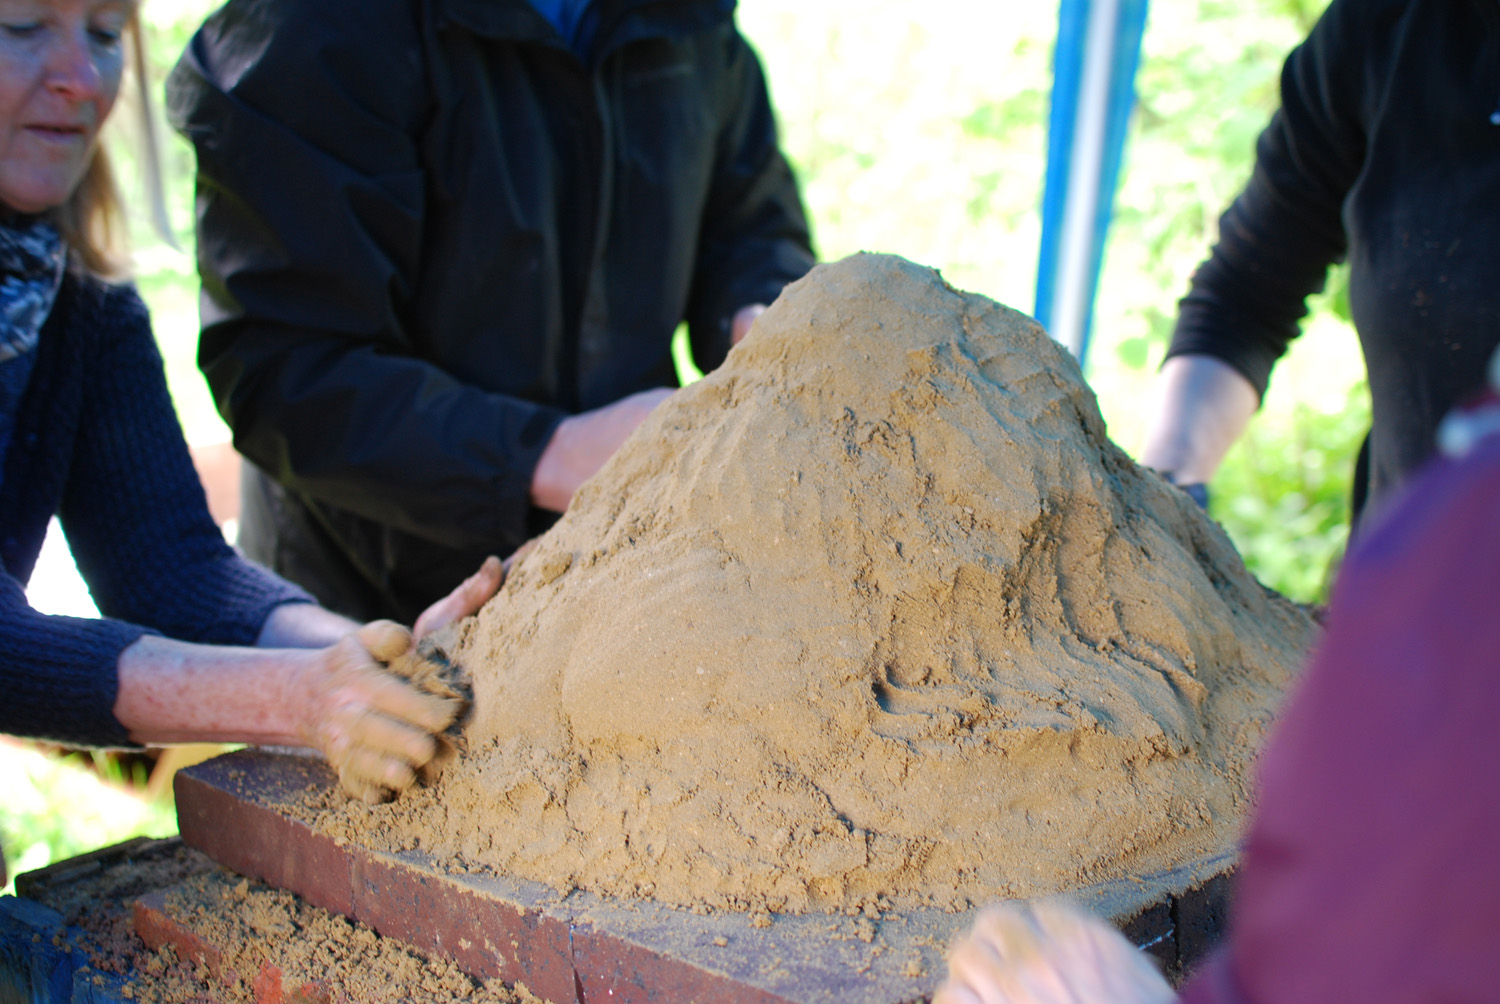
Matt demonstrated the ideal amount of cob for building, known as the loaf. We then lined the top of the oven with a layer of cob, thusly.
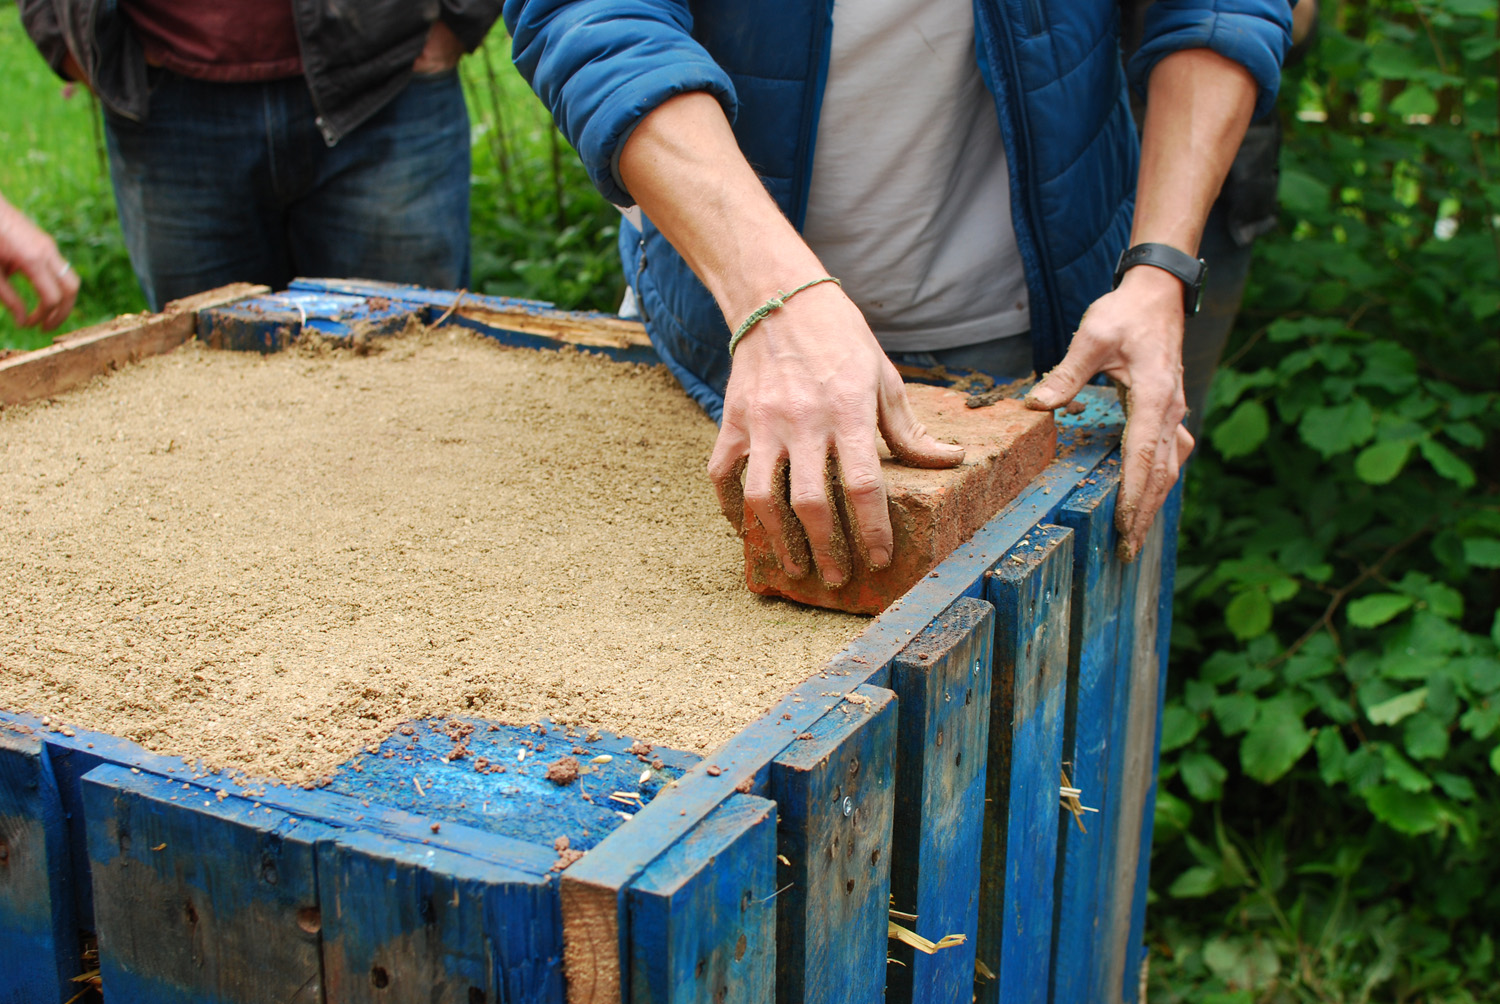
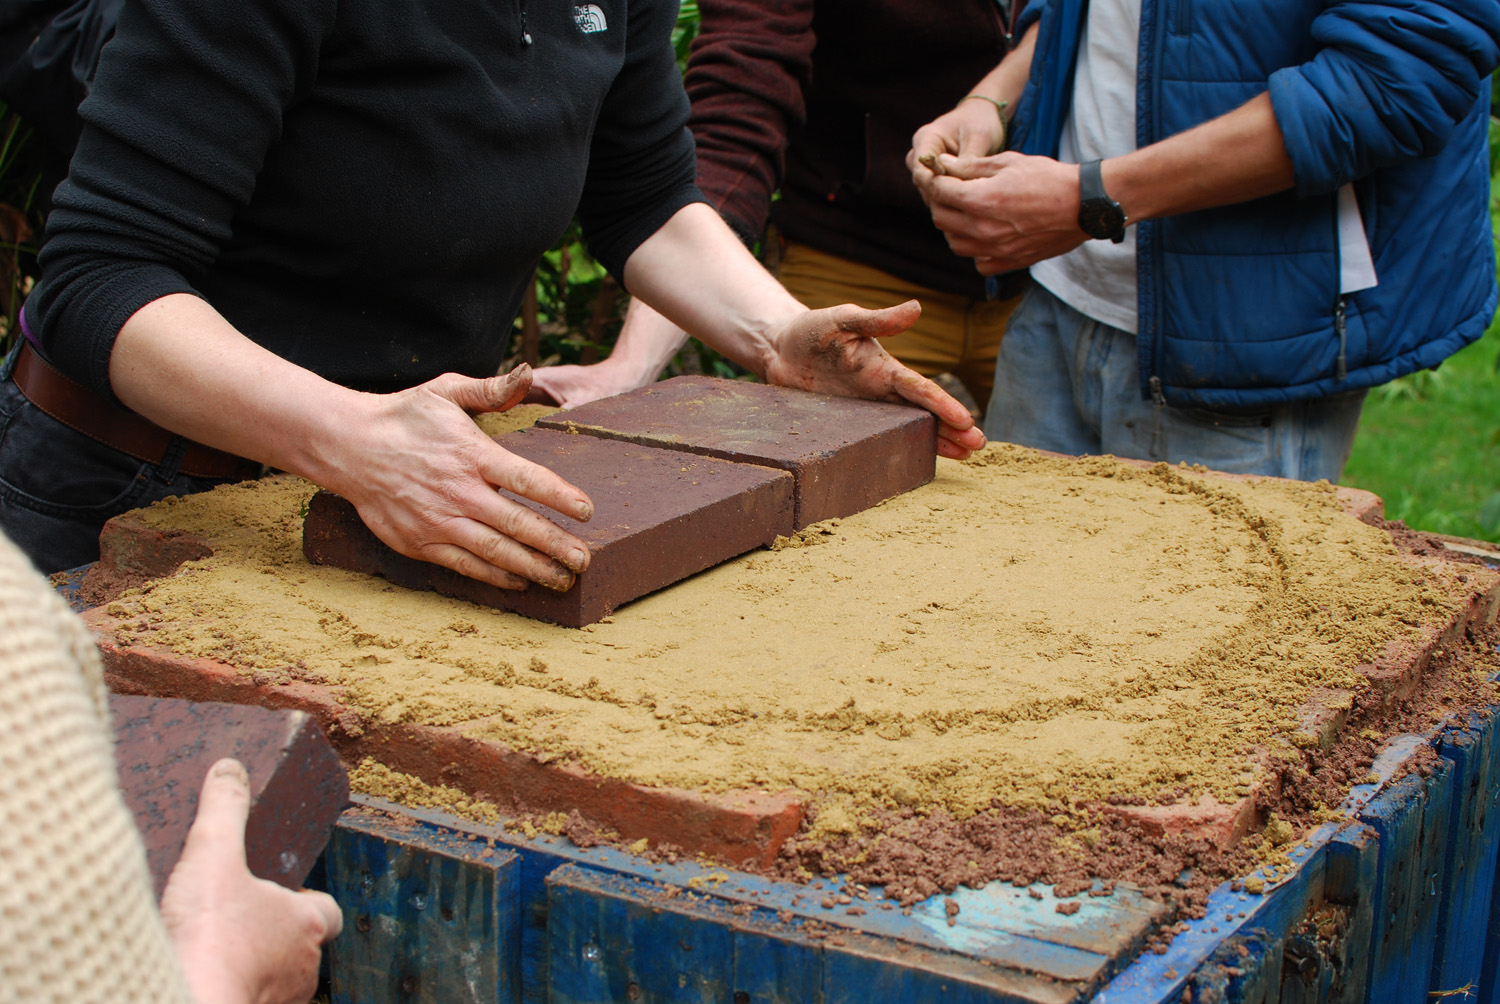
Next came a layer of house bricks, to provide a flat base for the storage heater bricks. This felt like some sort of puzzle from the Crystal Maze, but where the prize is survival in the new world, rather than a team-building adventure weekend. Fifty seconds, team!

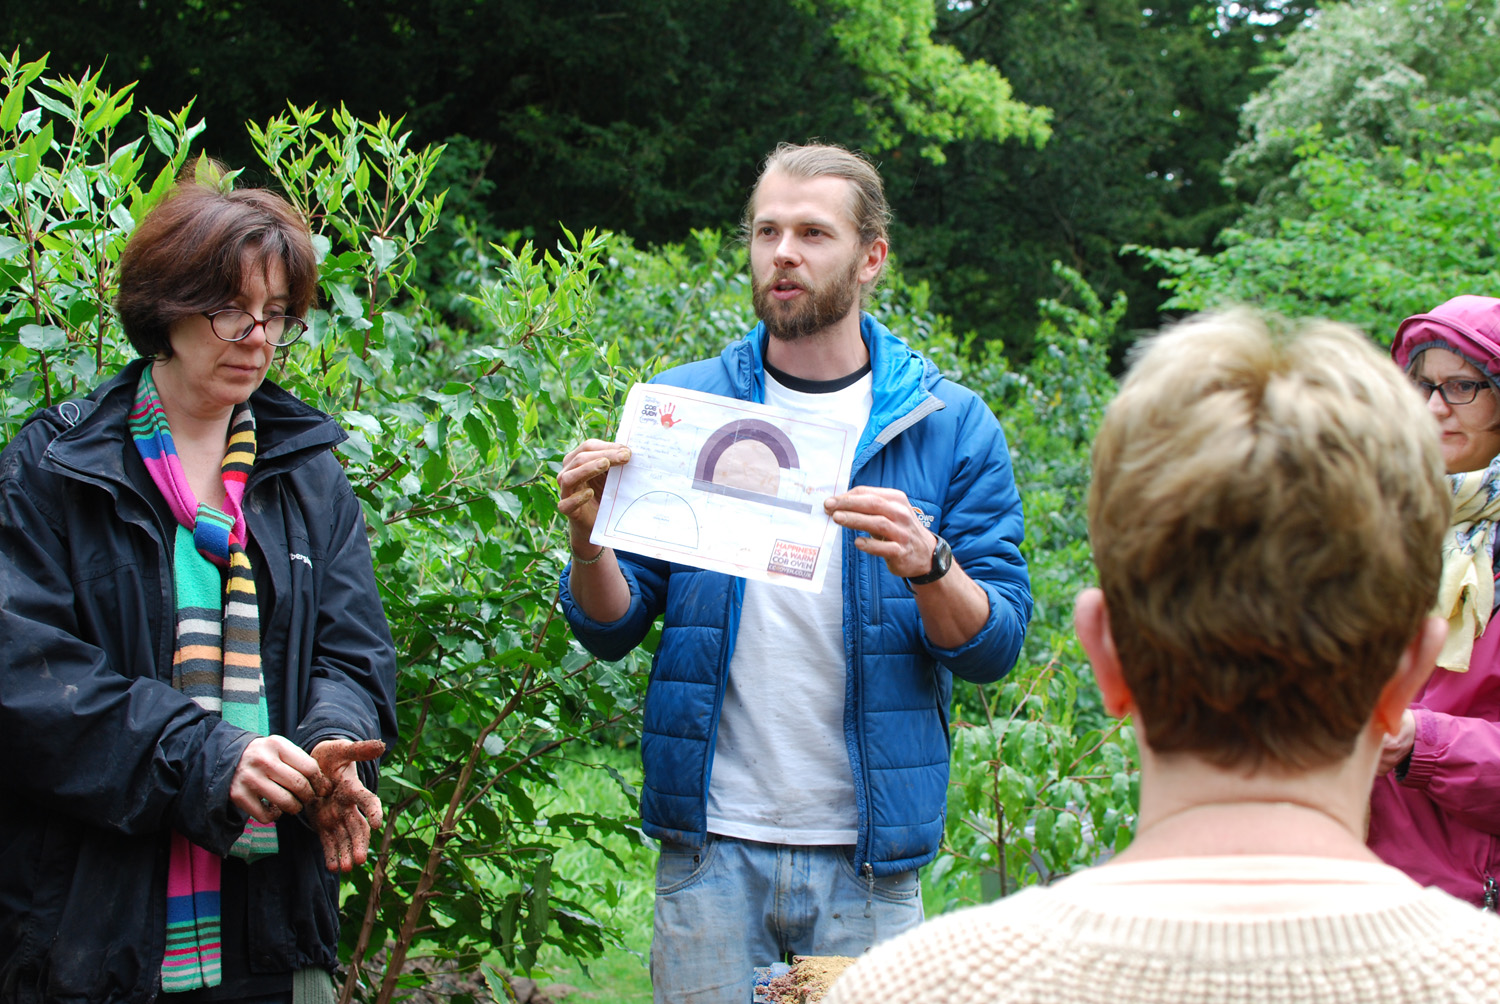
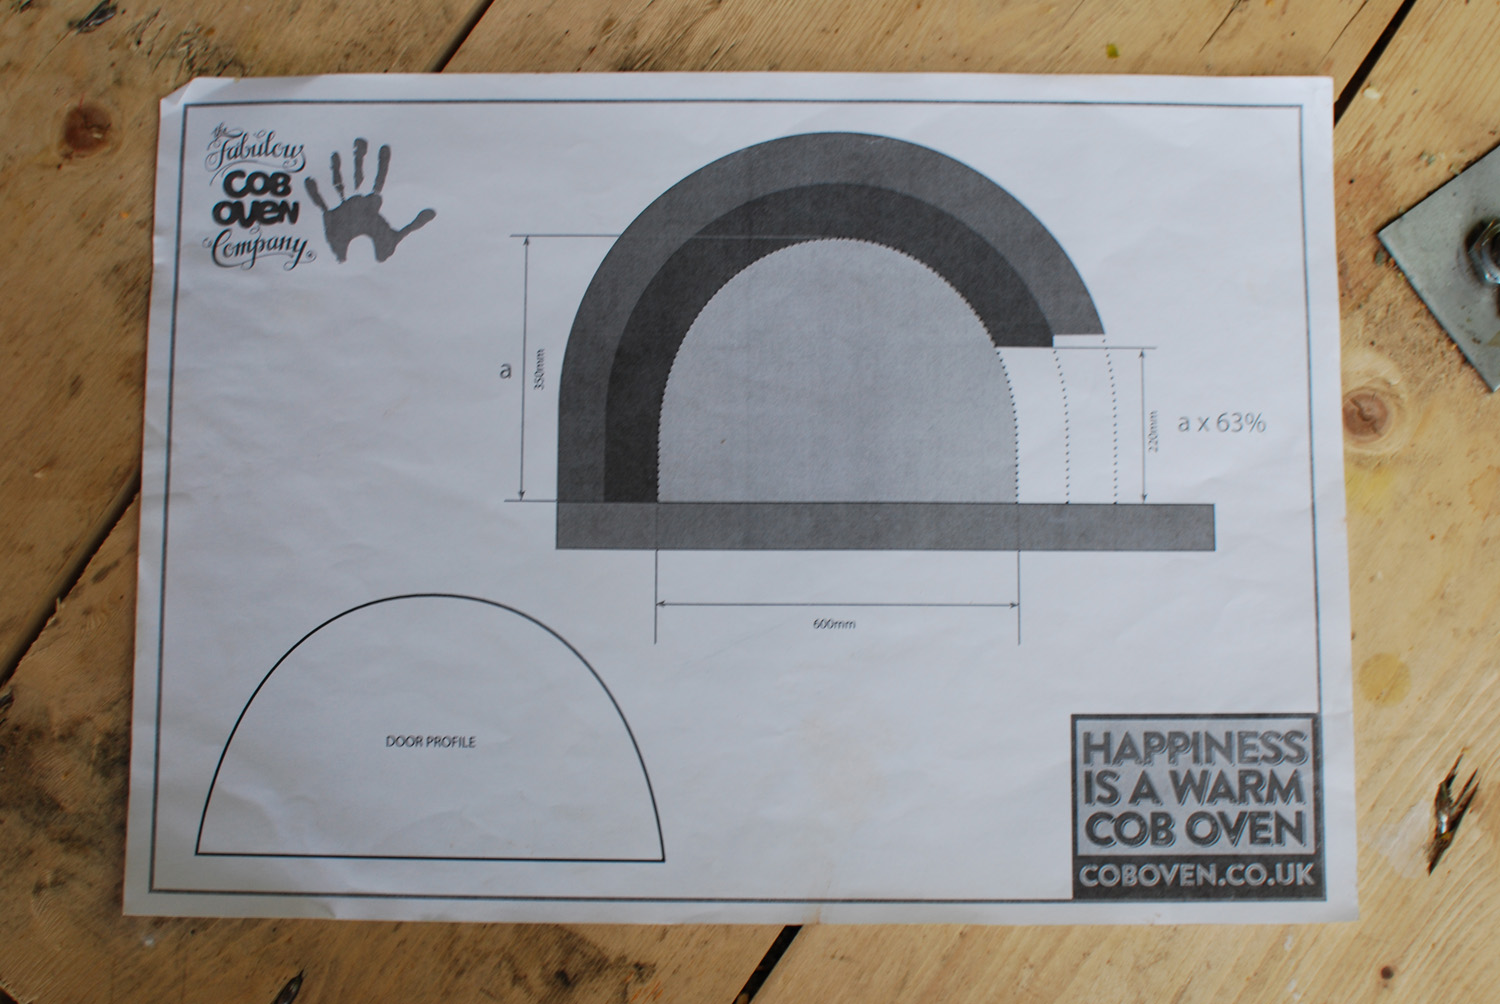
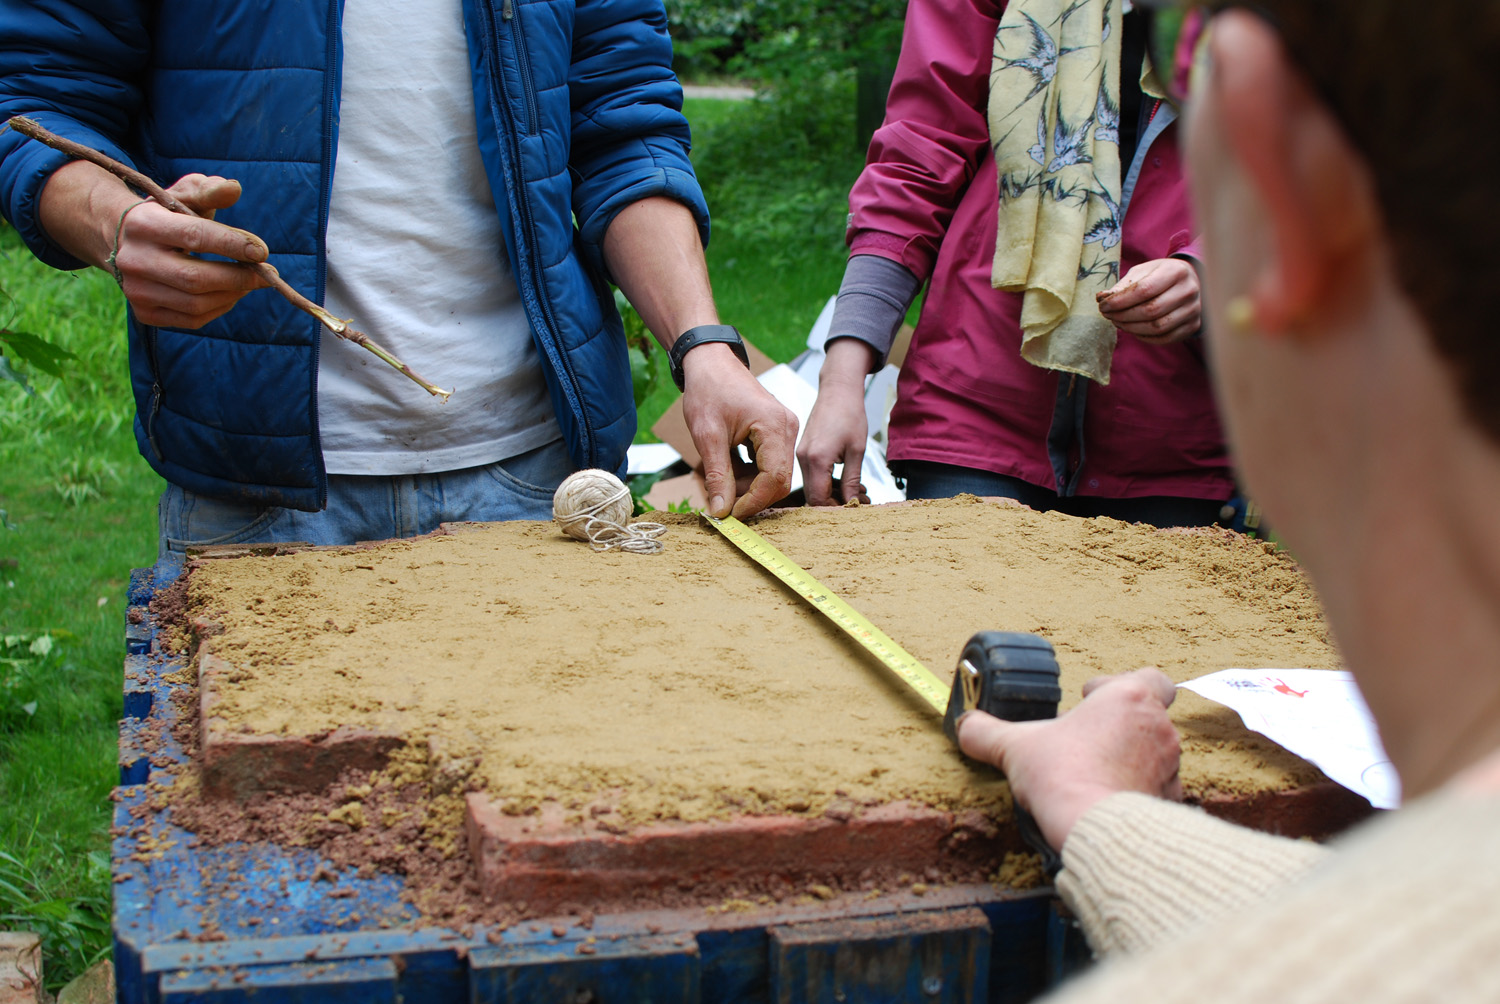
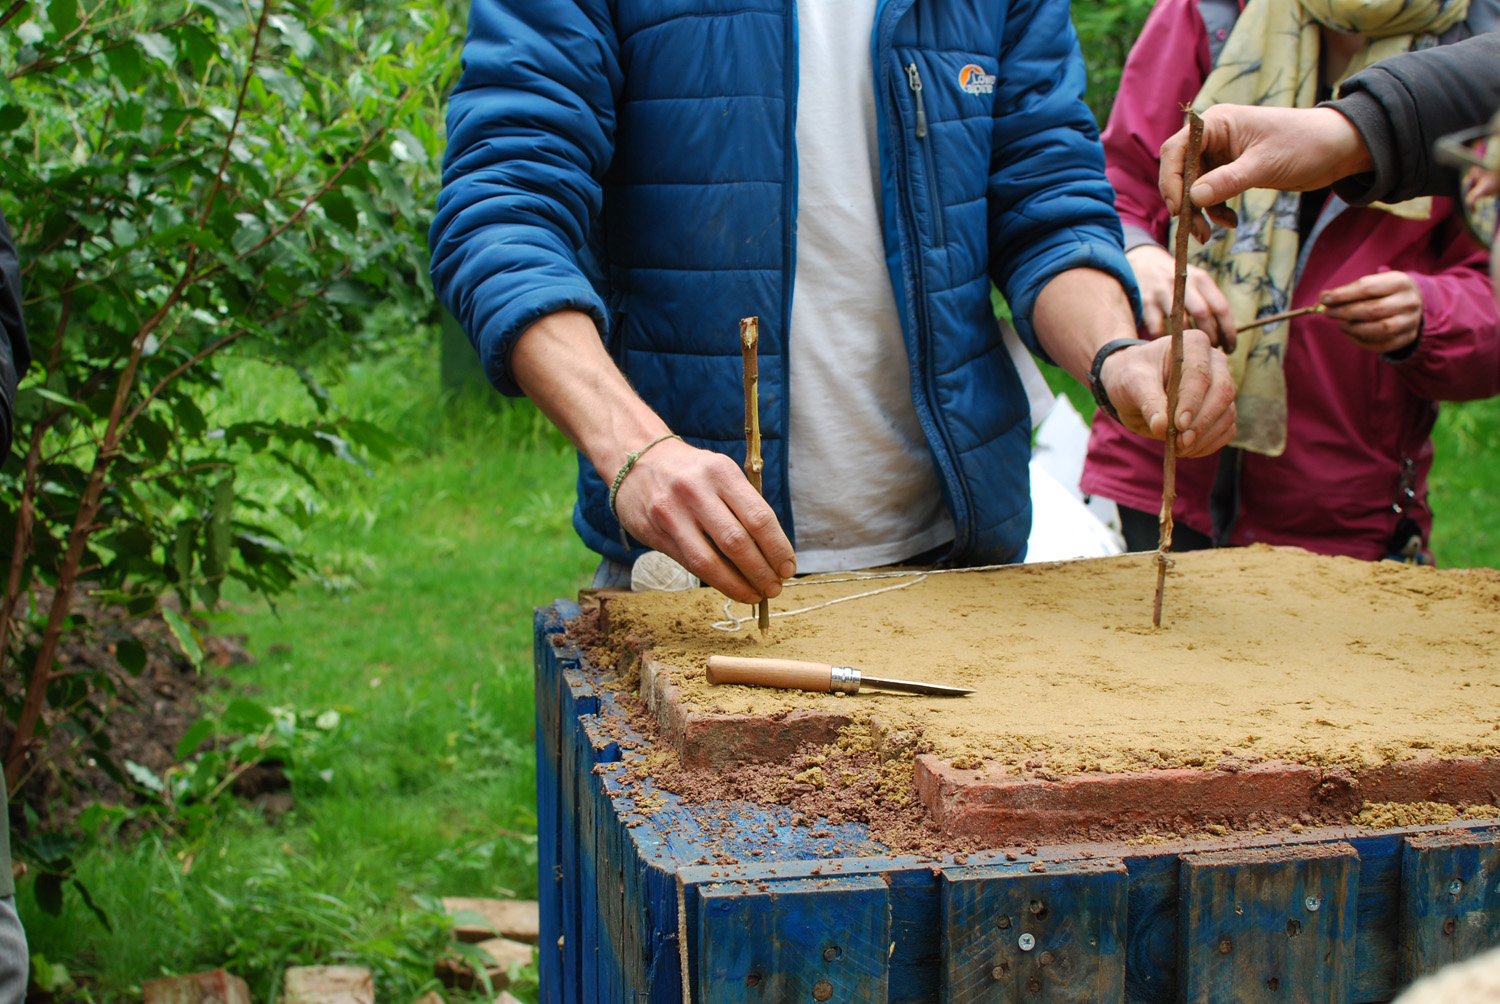
Once the base was complete, we had to create a dome shape out of sand, as a template to build the oven around. This was the only bit of the day that was at all technical – the sizes have to be right here, in order for the heat to circulate around the oven properly. Our oven’s interior was 600mm wide and 350mm tall, with a 220mm door. Don’t ask me what ax63% means, that’s the sort of maths that will be long lost in the future.
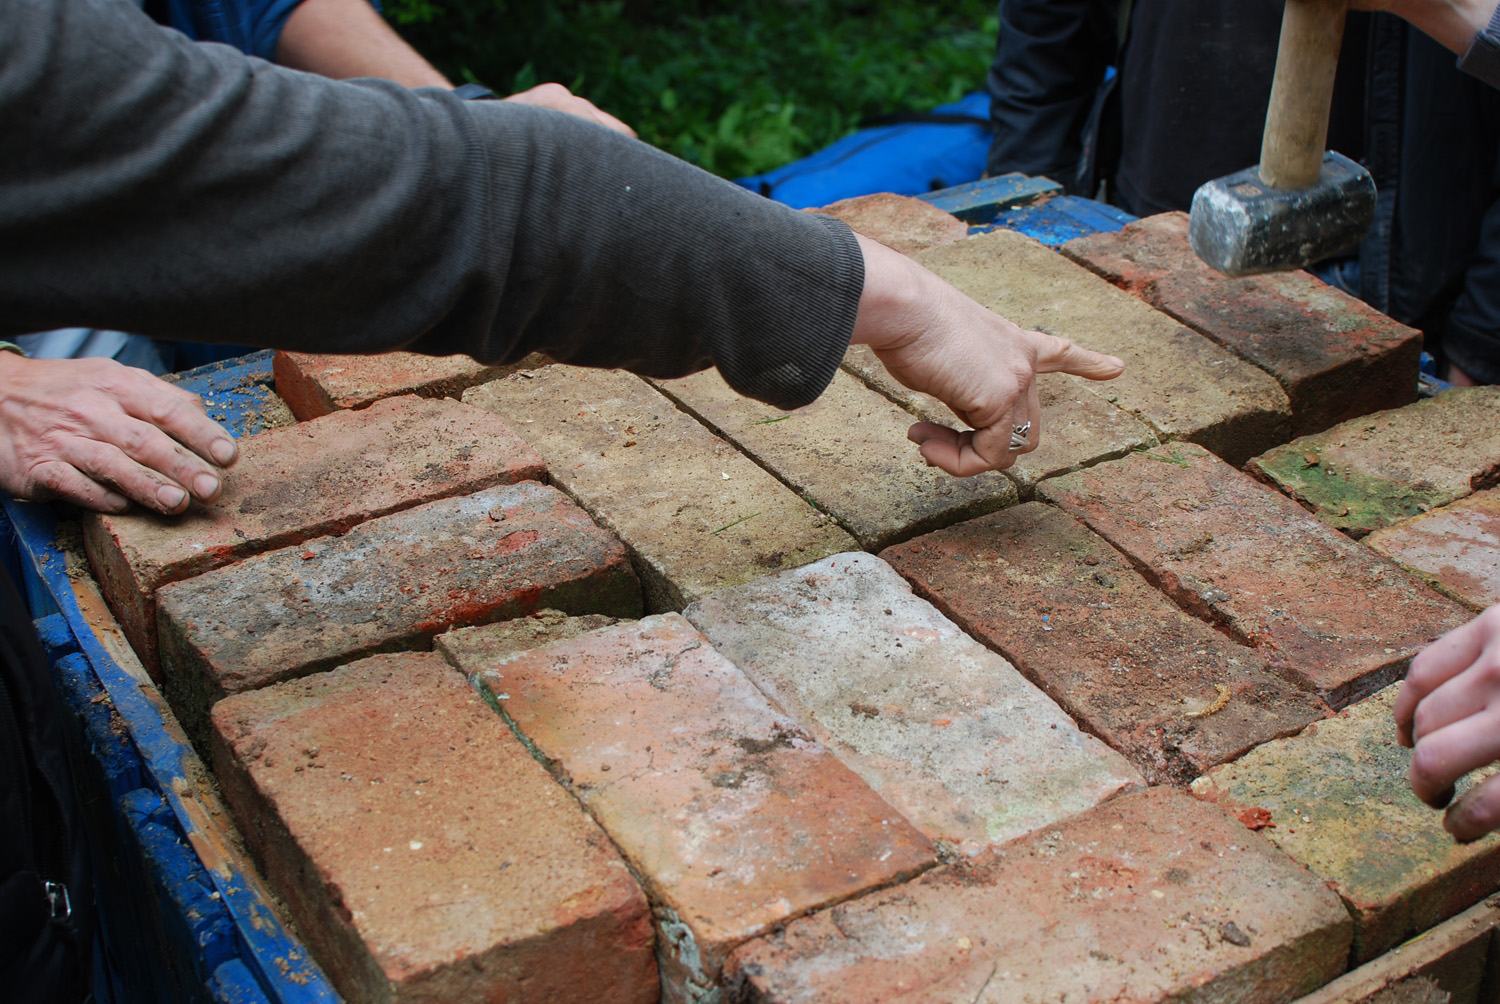
Matt used a proper stone age technique to draw a perfect circle around the middle point. Hey presto. Then we built up the base with the storage heater bricks.
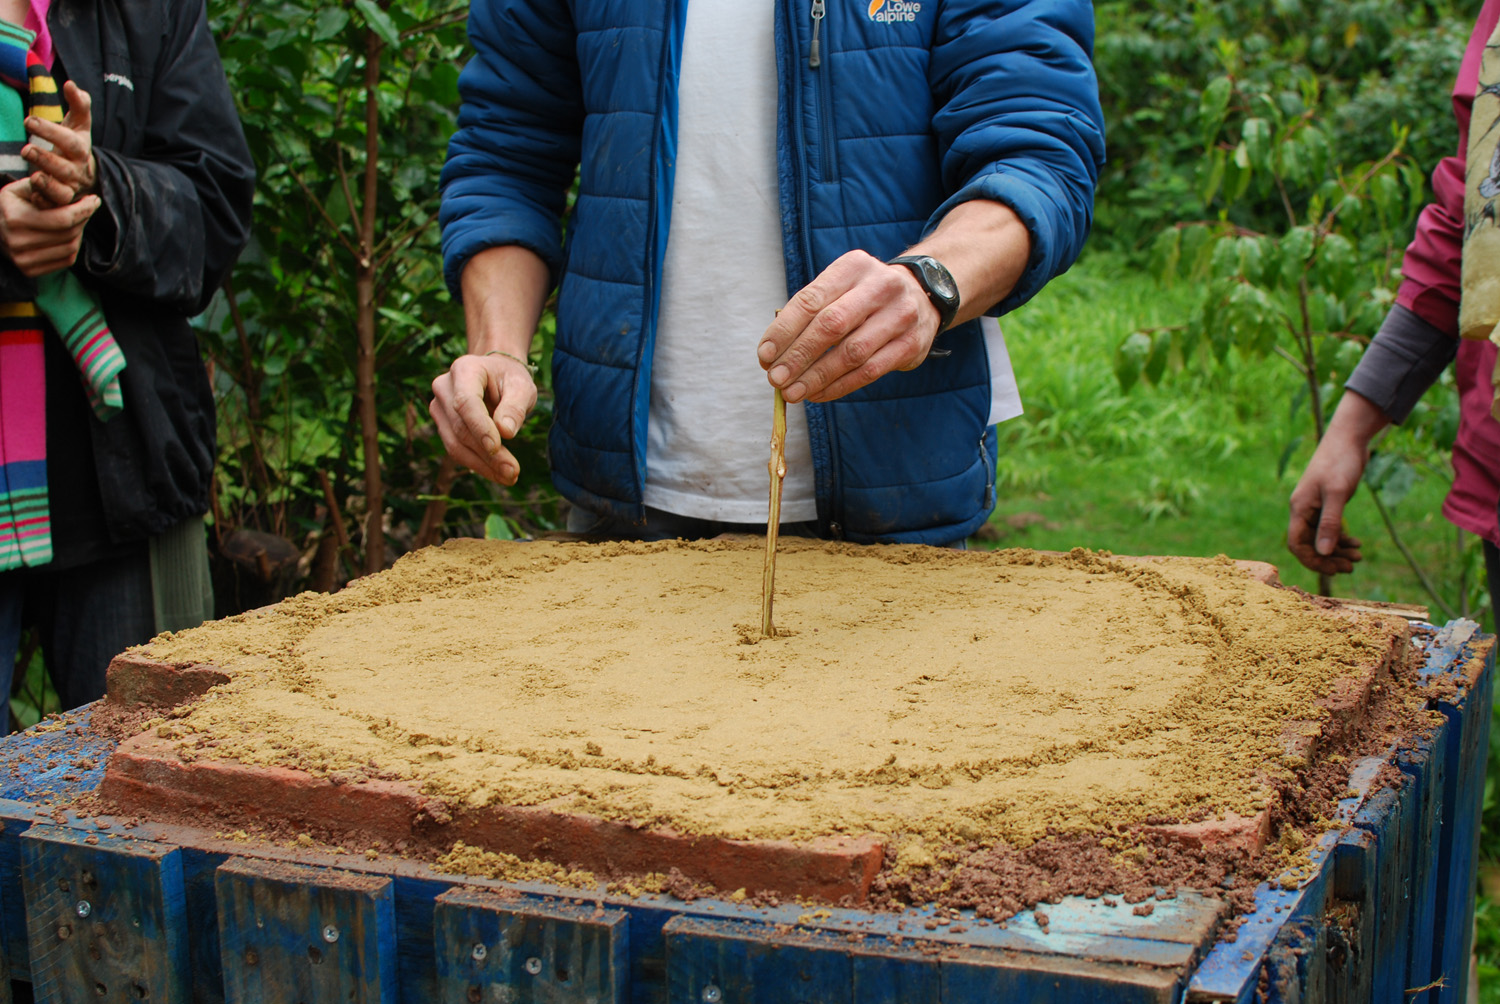
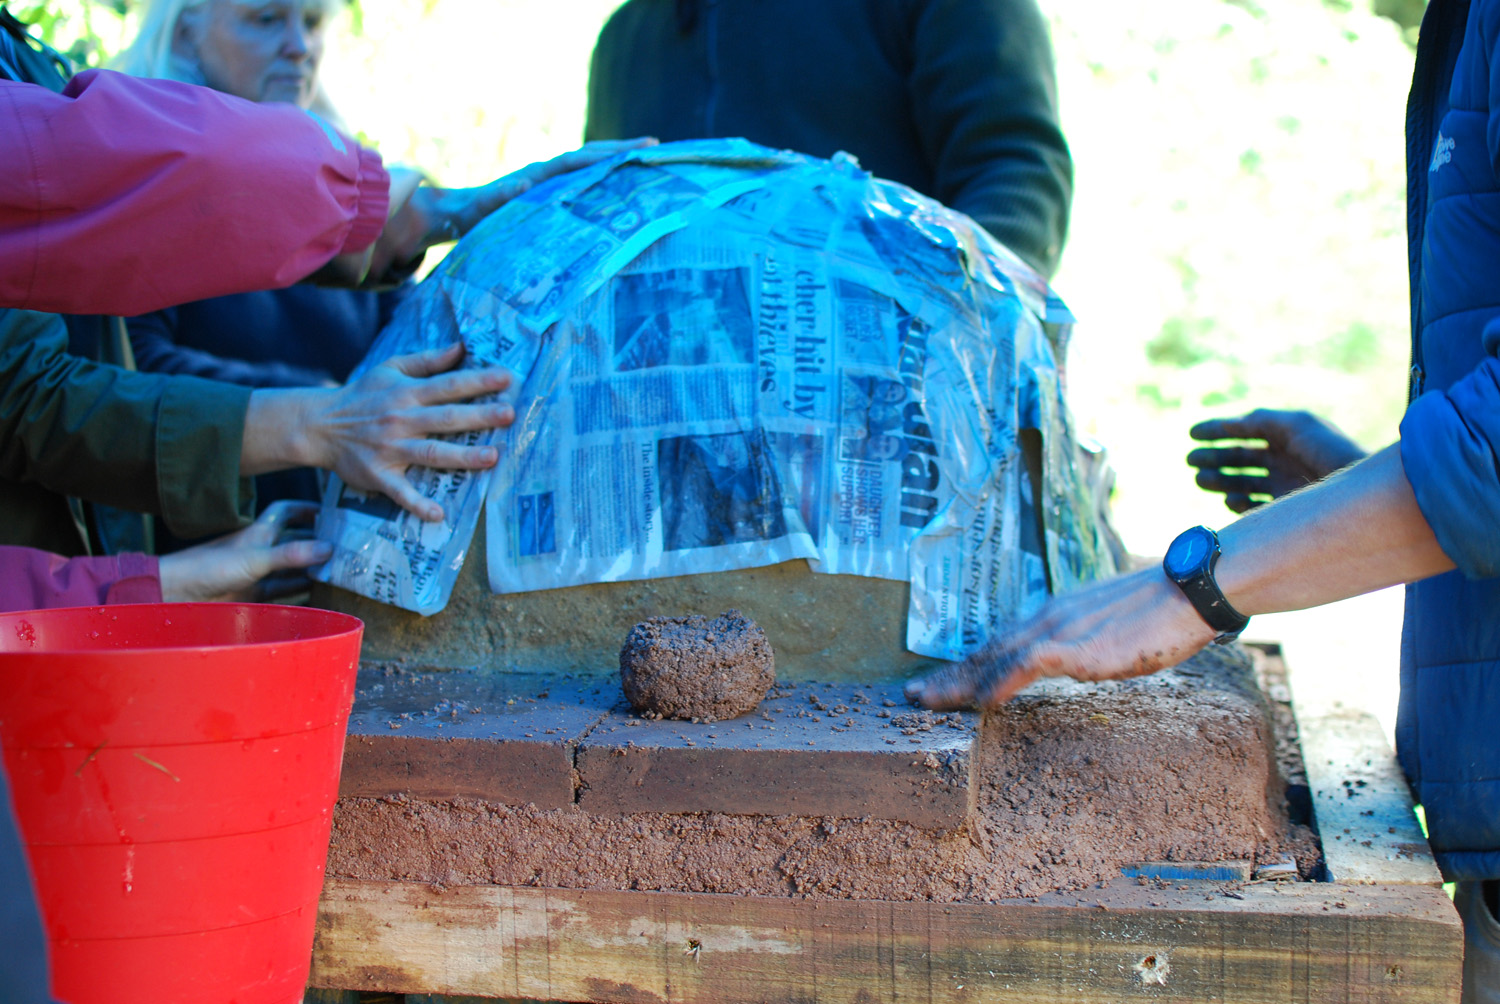
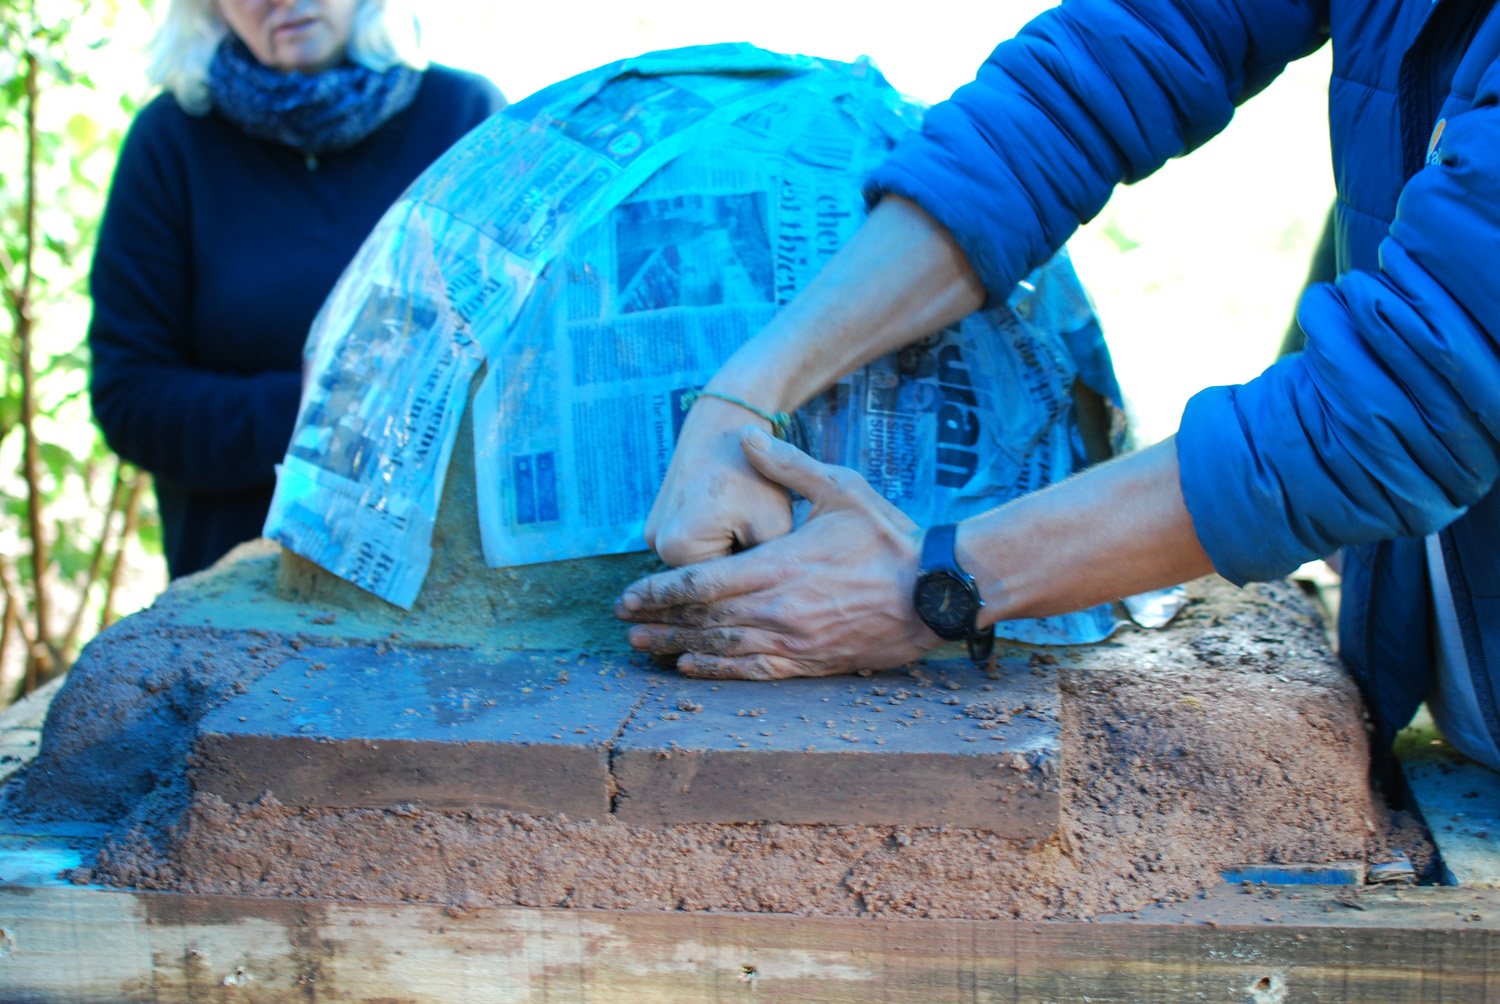
The final job of the morning was to build the sand dome. By this point it had started raining, so we all huddled under a gazebo, which gave everything a strange blue tinge. It felt like a strange sand-castle cult.
Hey presto.
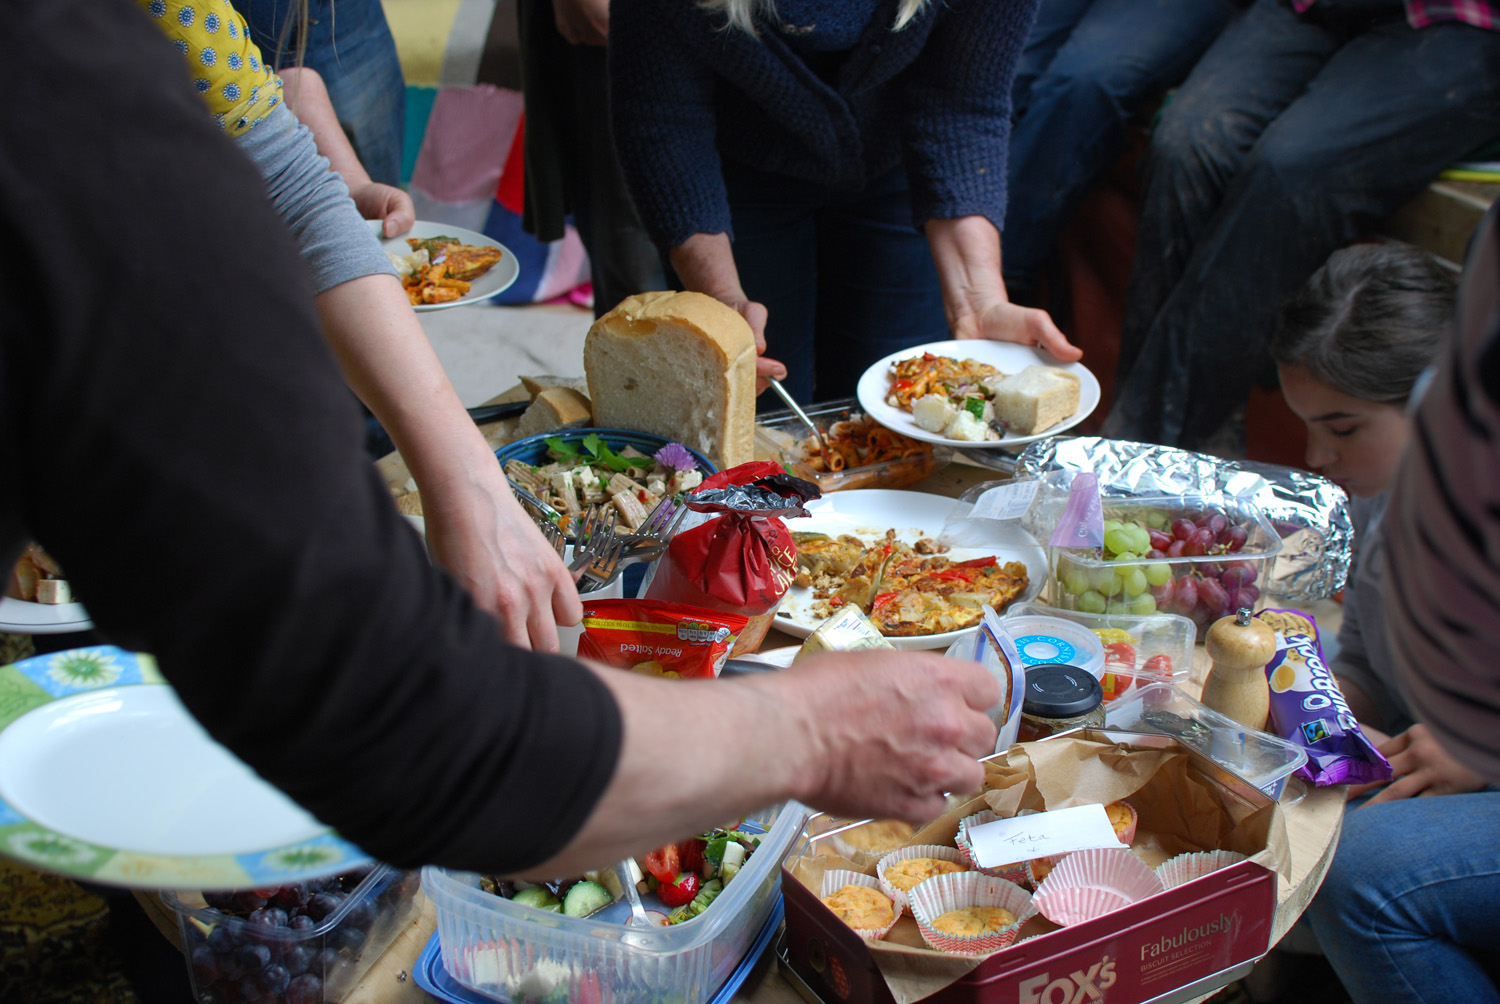
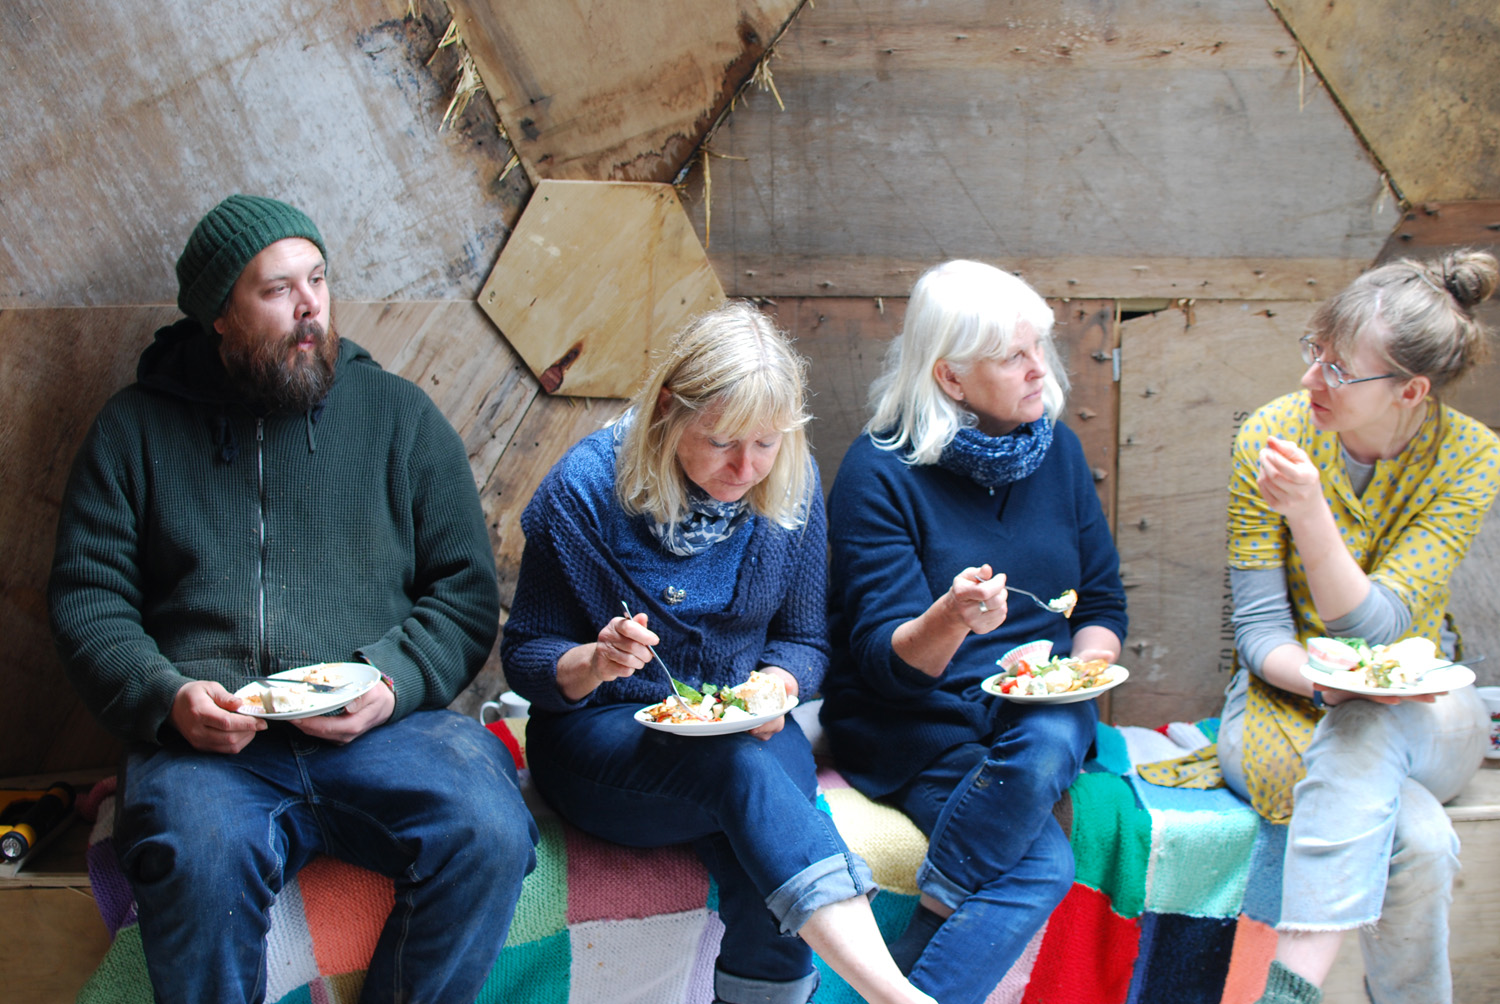
Lunch was eaten in the dome, sheltering from the rain.
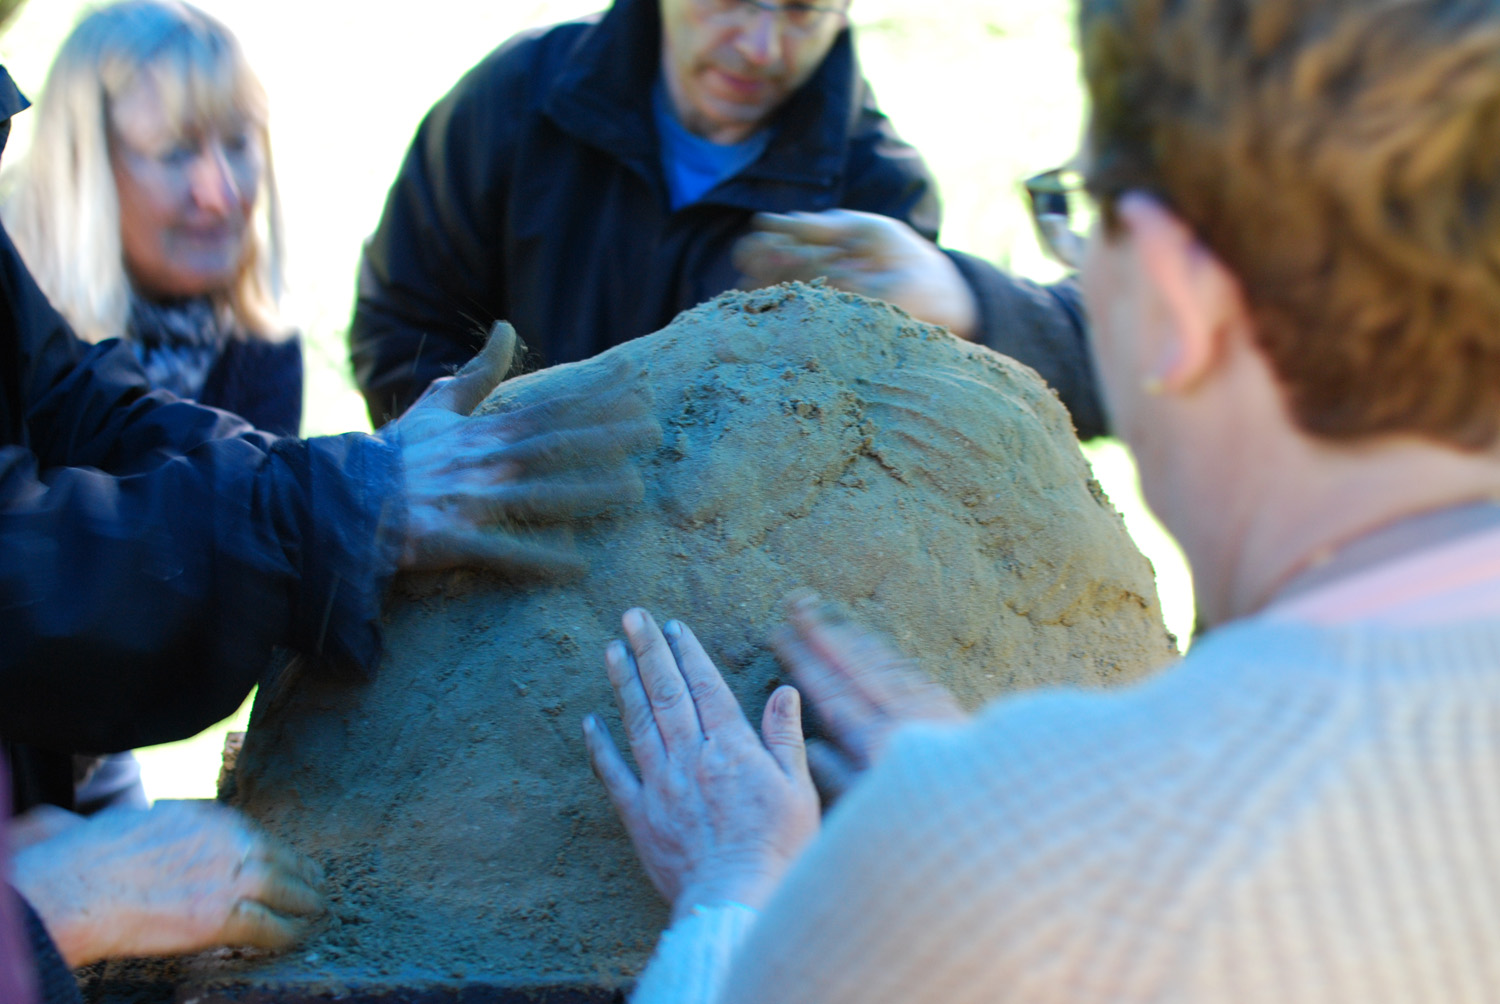
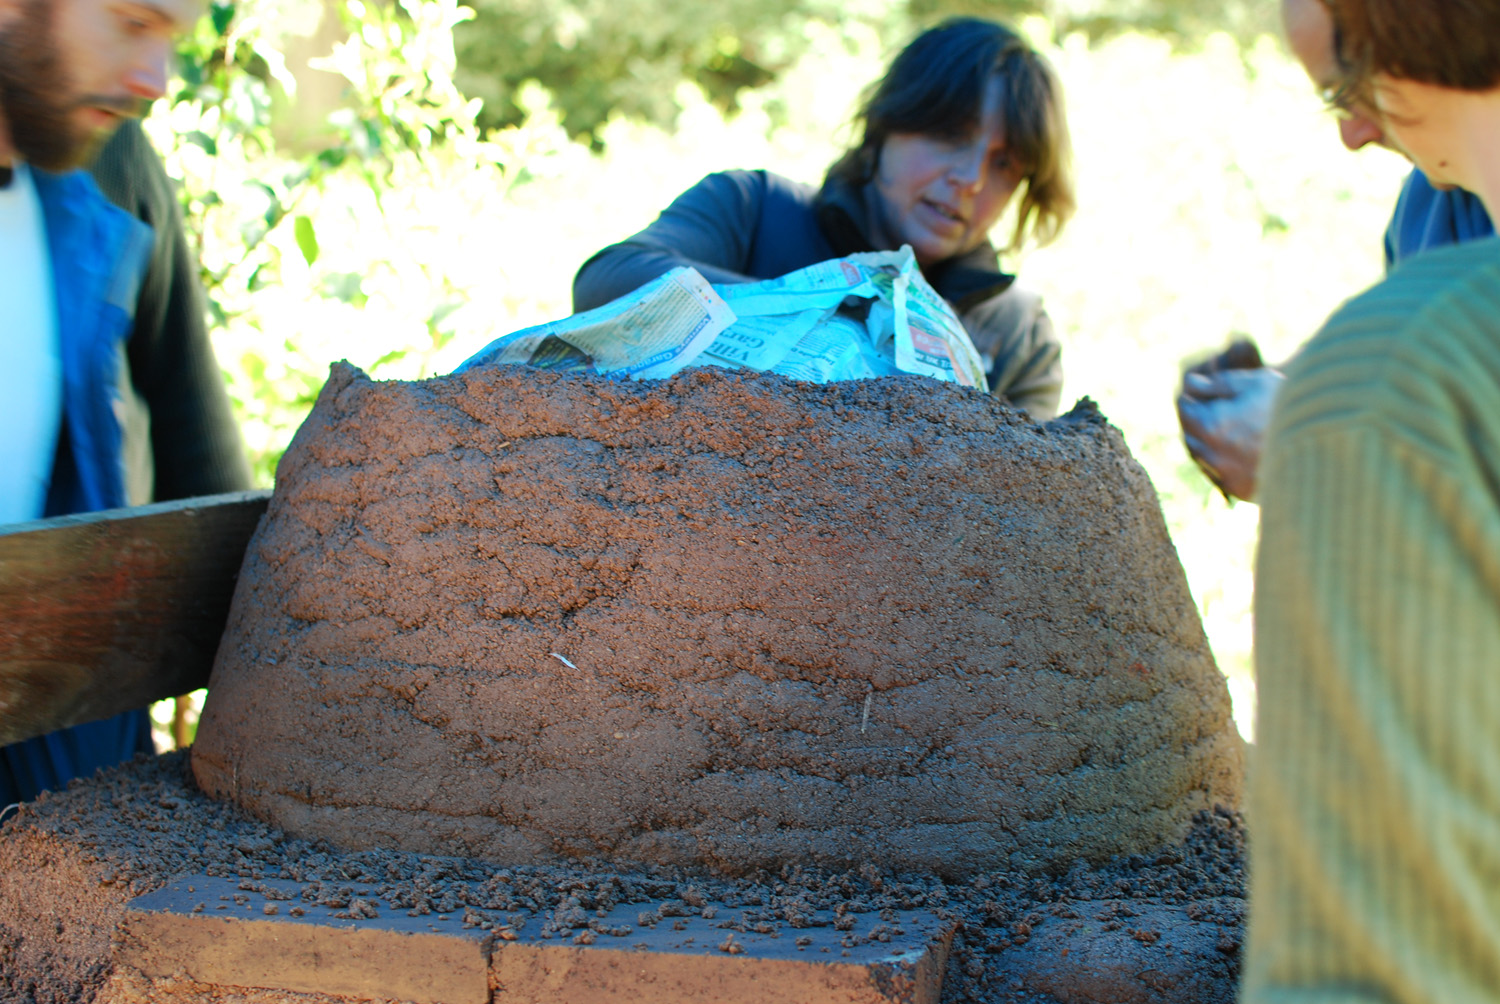
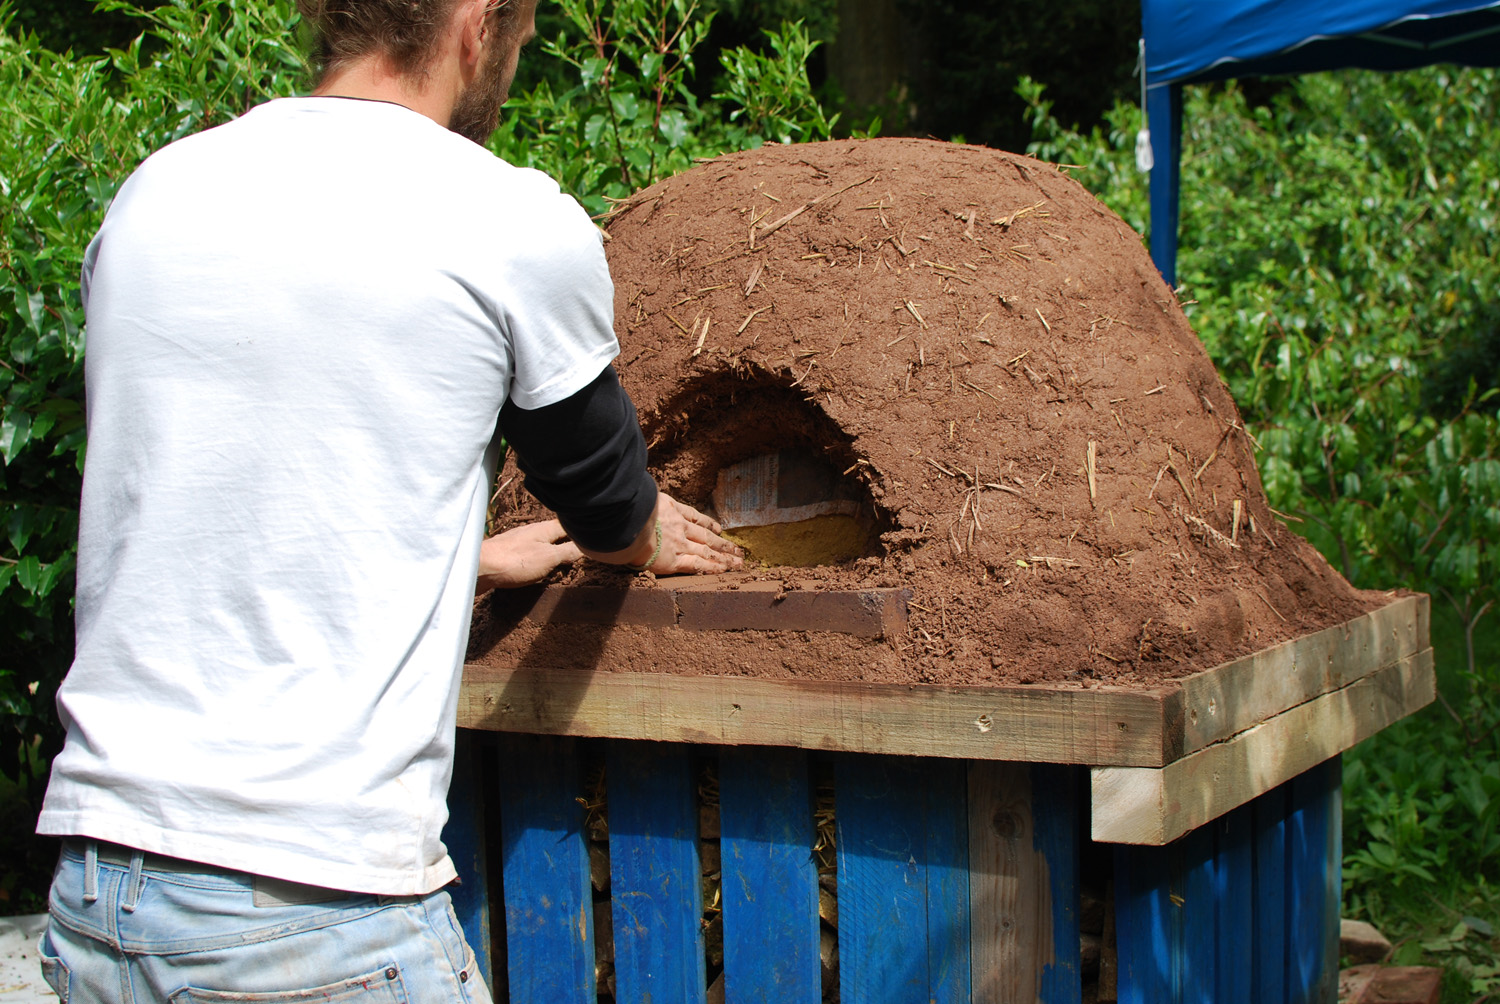
After lunch, we got to work with the cob. Matt told us to put a layer of newspaper around the sand, so that later, when we’d be scooping the sand out, we’d know when to stop. We used a handy issue of the Banbury Guardian, but you can use whatever you have to hand. Matt demonstrated the technique, and off we went.

(Meanwhile, more people had arrived, and were mixing more cob. It was a proper production line all day).
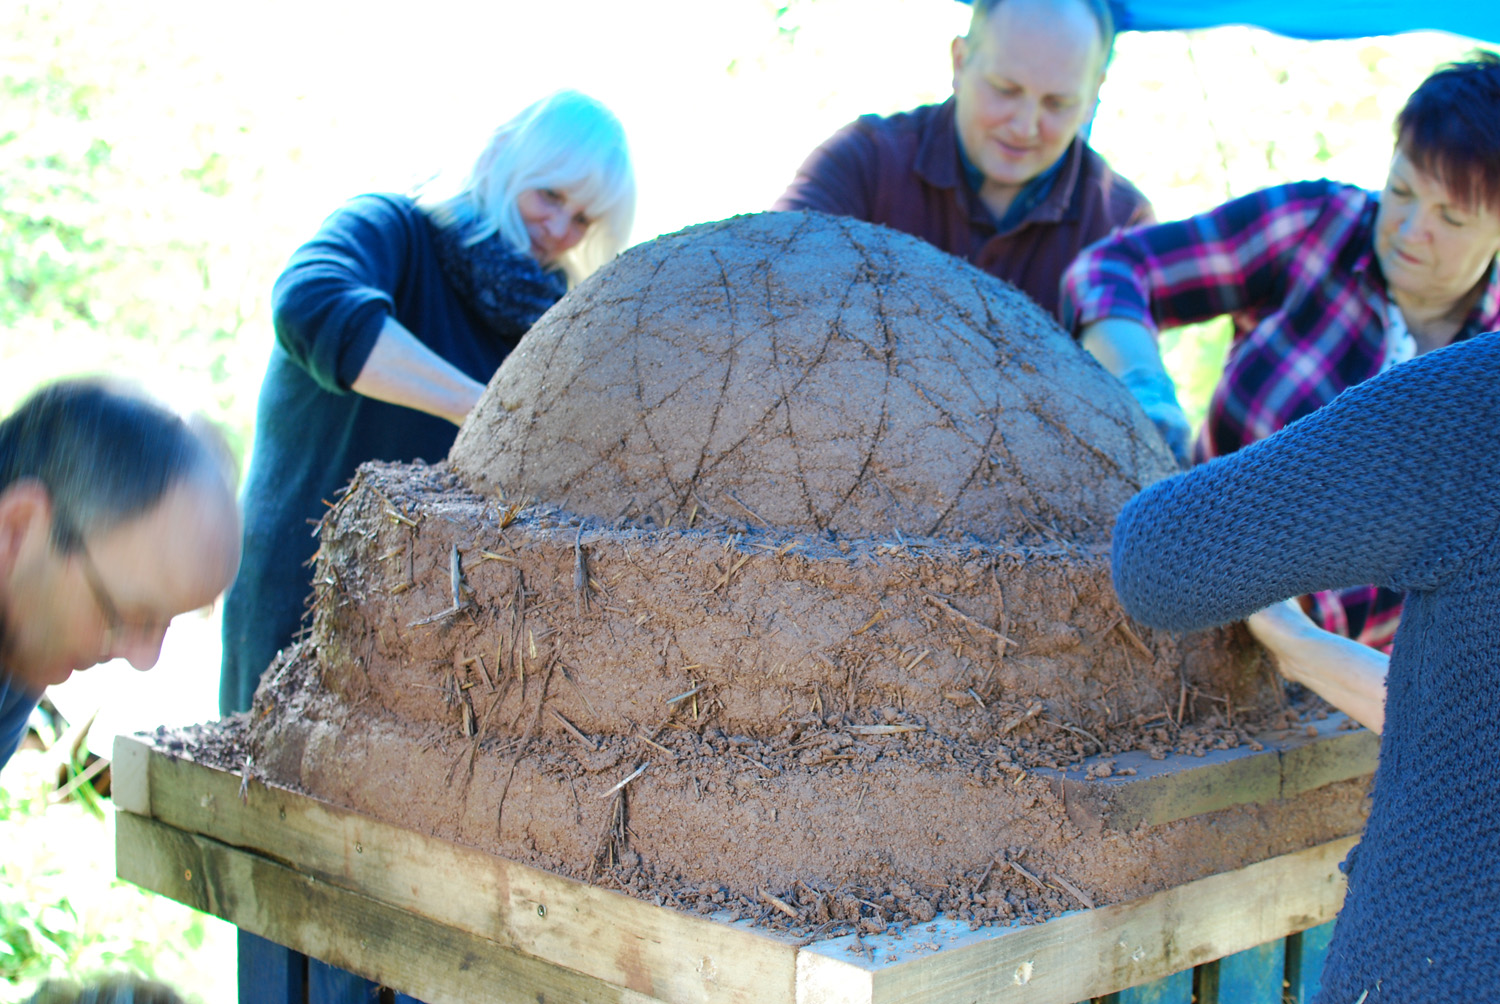
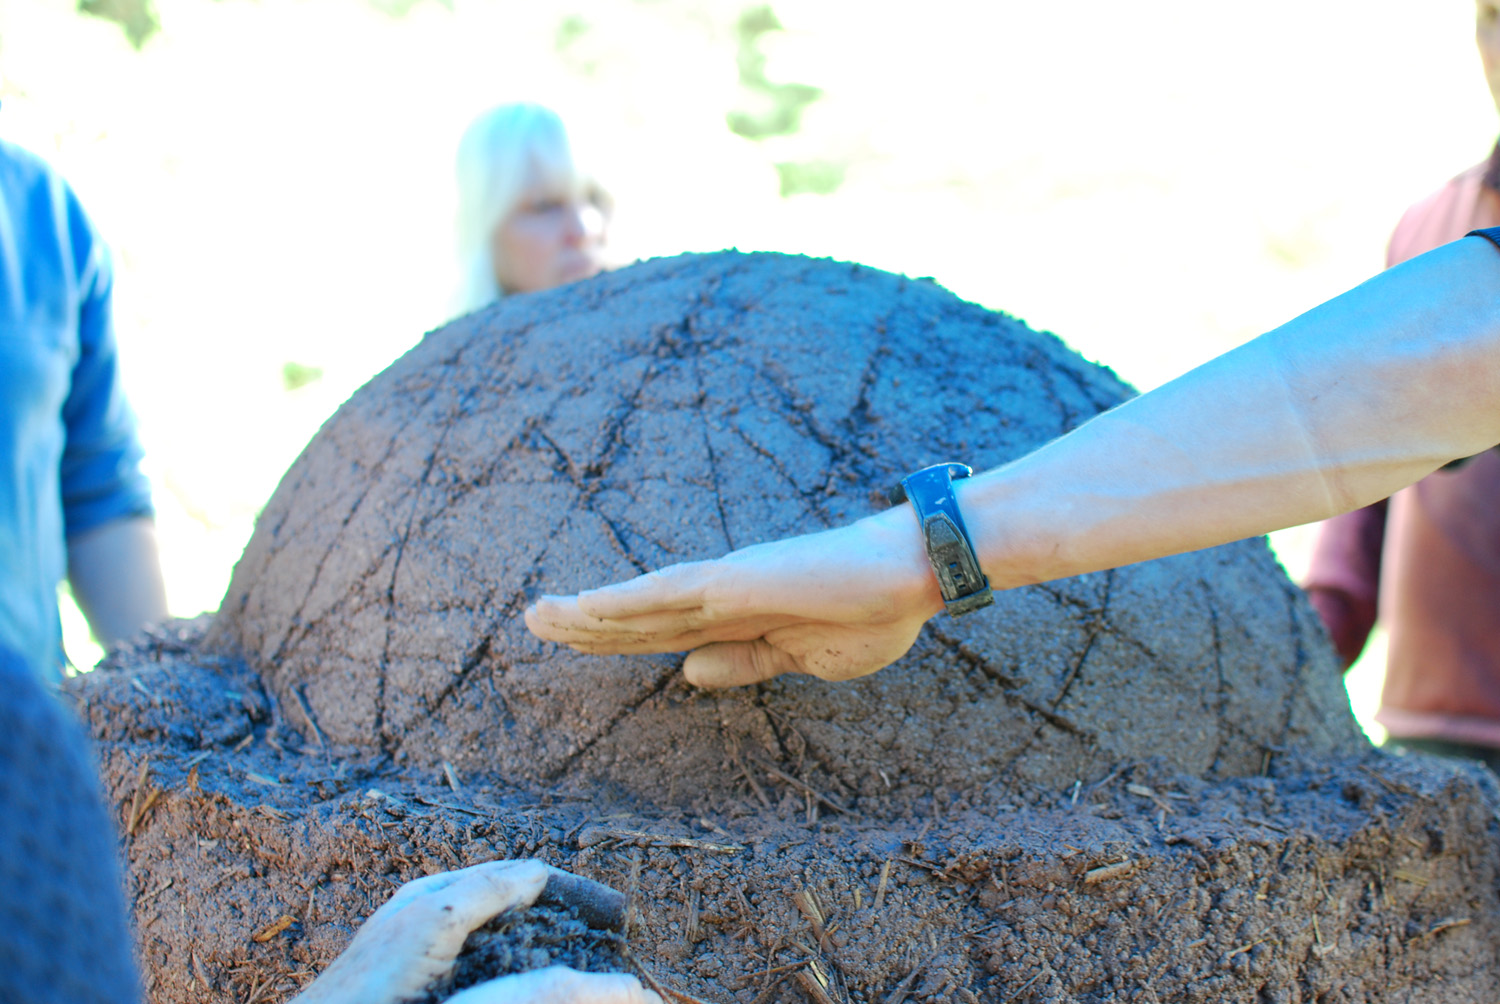
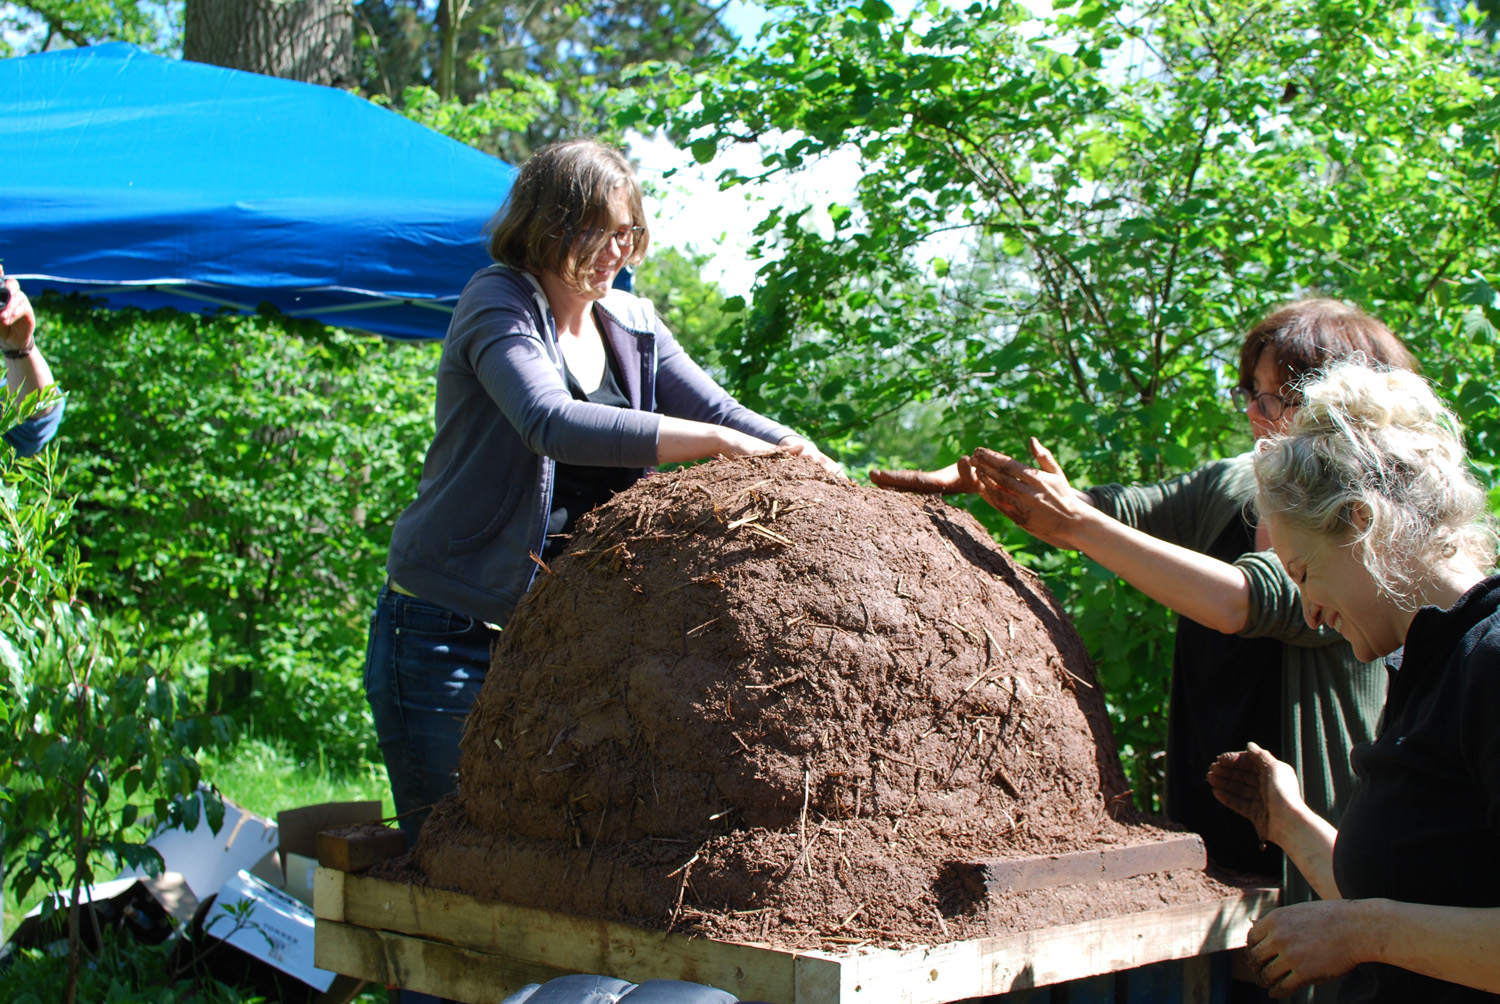
The first layer took shape around the dome. Matt scored it, to help the second layer adhere. It looked a bit Tower of Babel. When you’re building up, you need to keep each loaf you add at 90 degrees to the slope (so that it doesn’t just get thinner and thinner).
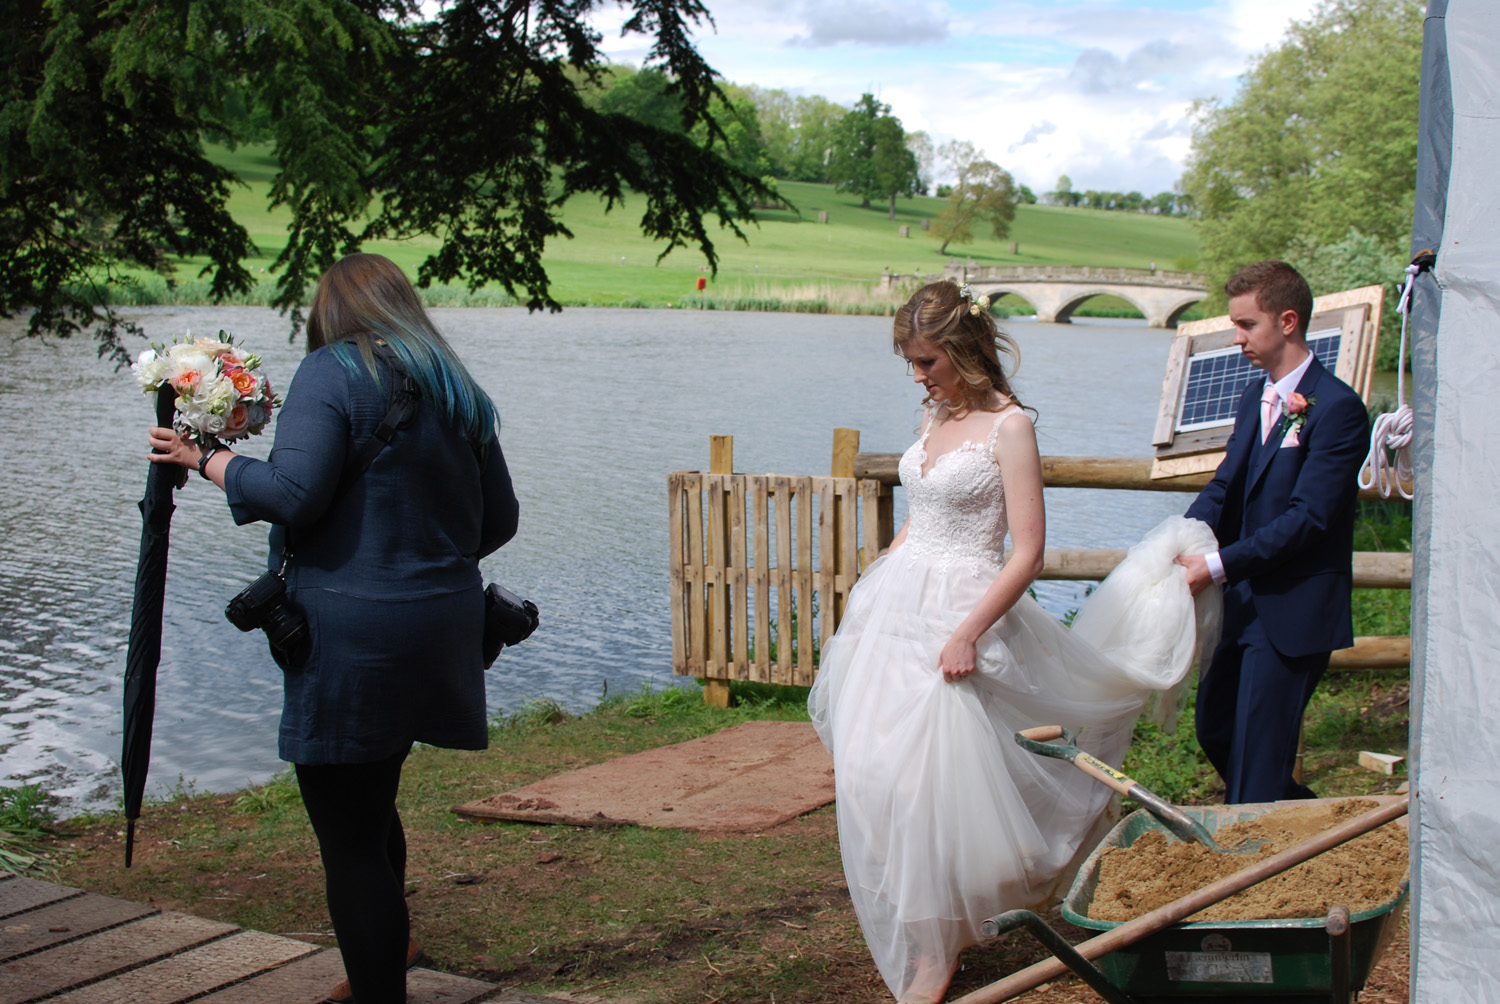
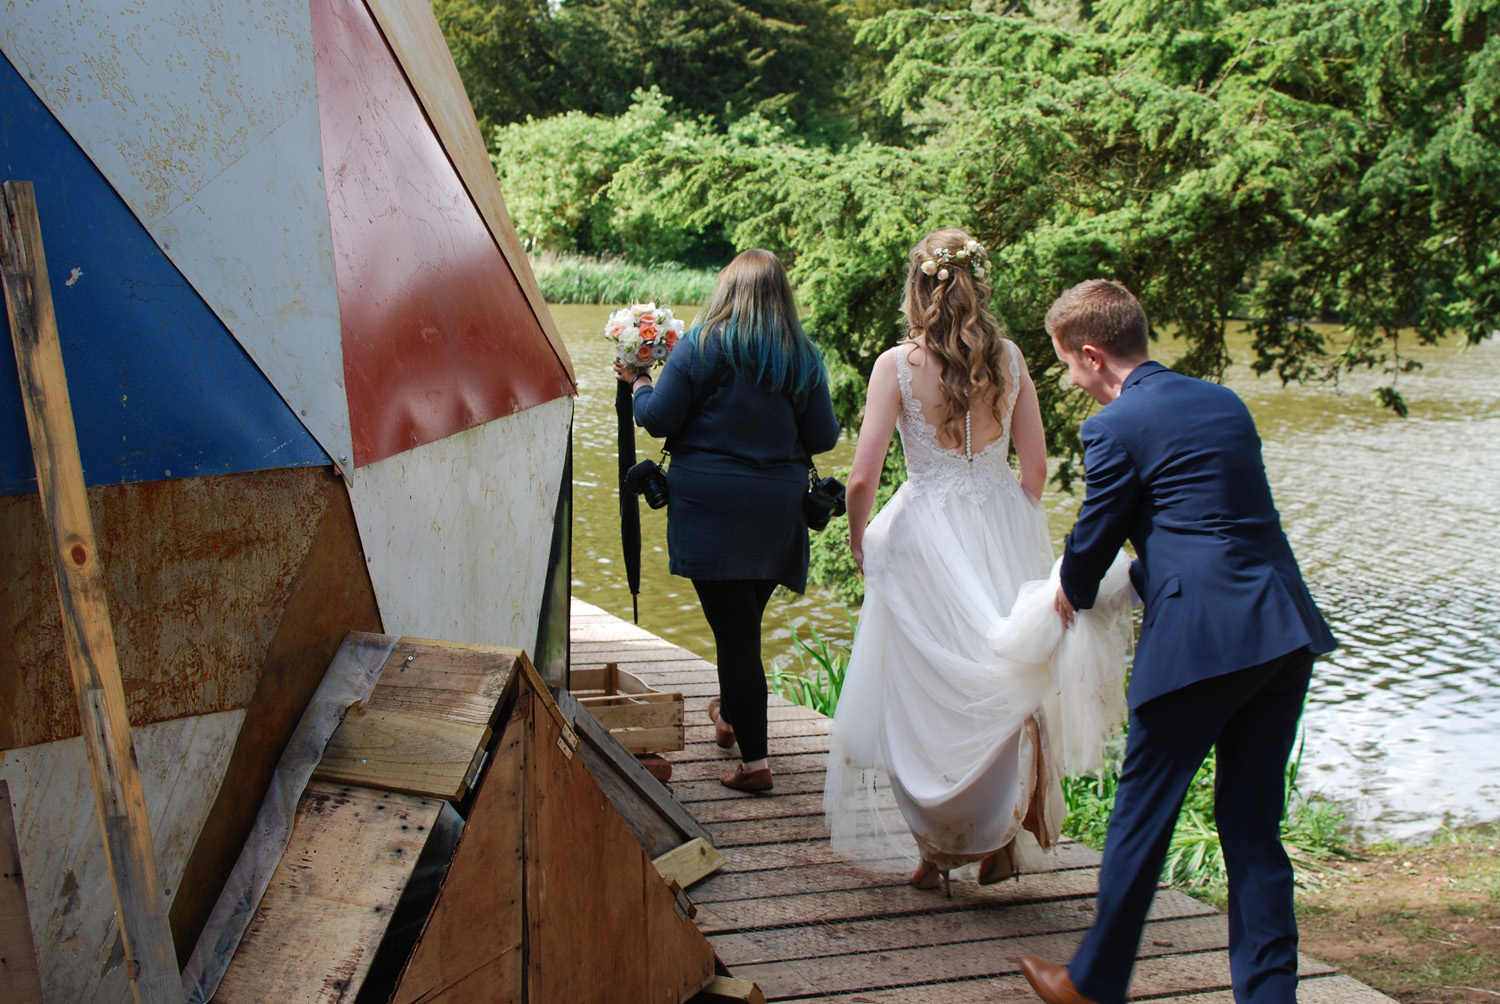
(At this point, a couple who were getting married in Compton Verney’s parkland turned up, for some post-apocalyptic chic, which was weird. Felt like the future fading in and out, in and out. Lovely couple though. All best wishes.)
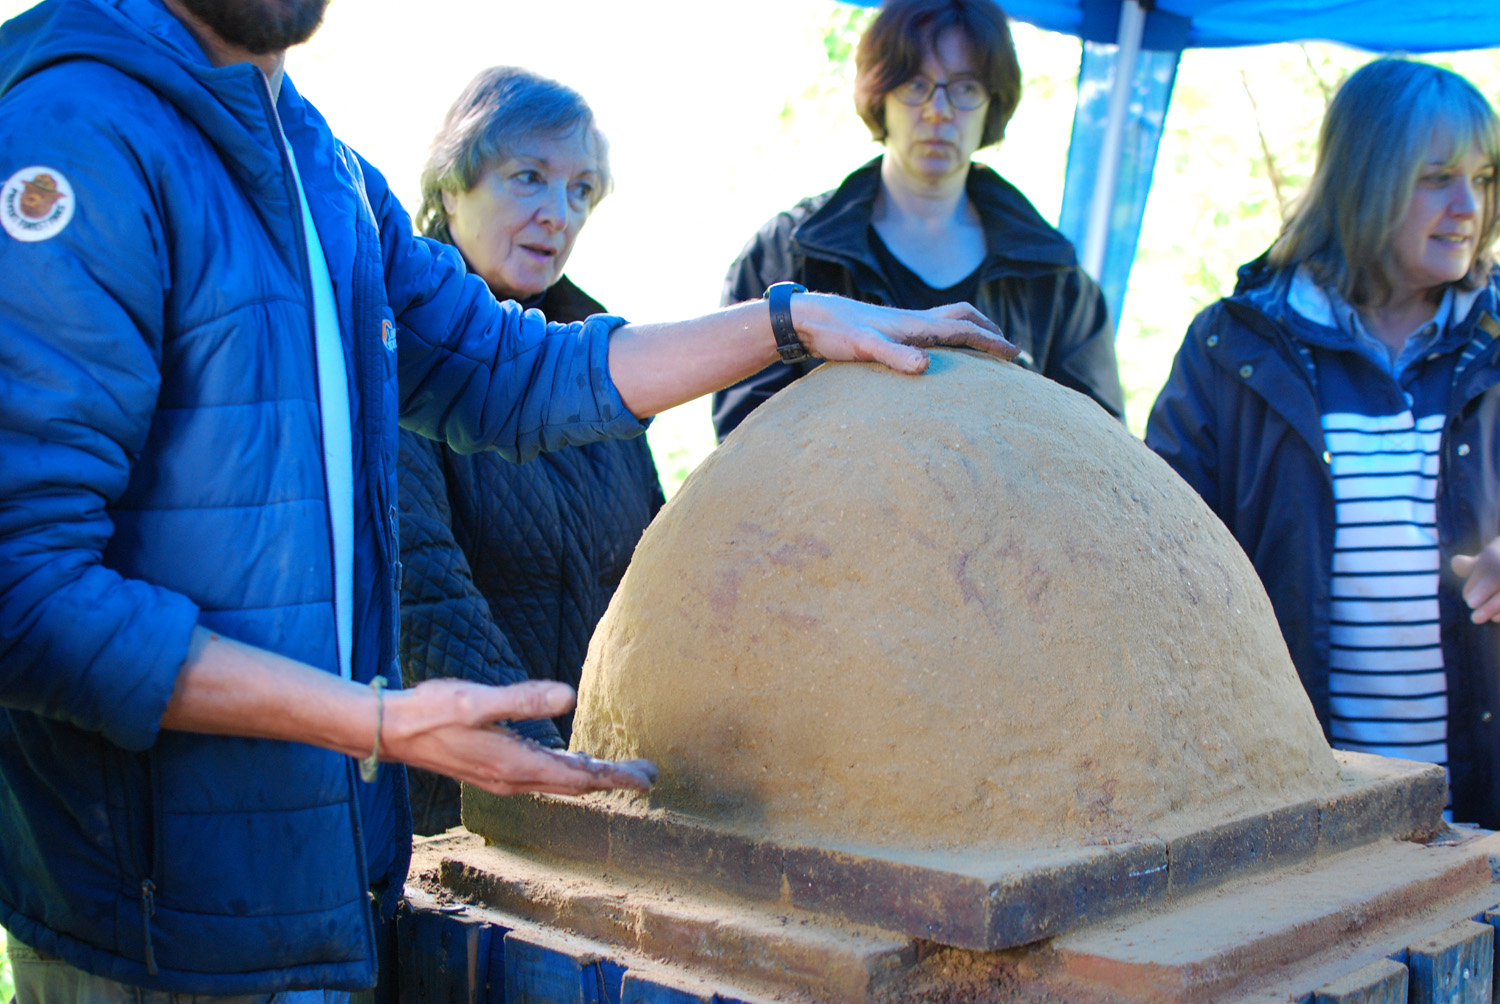
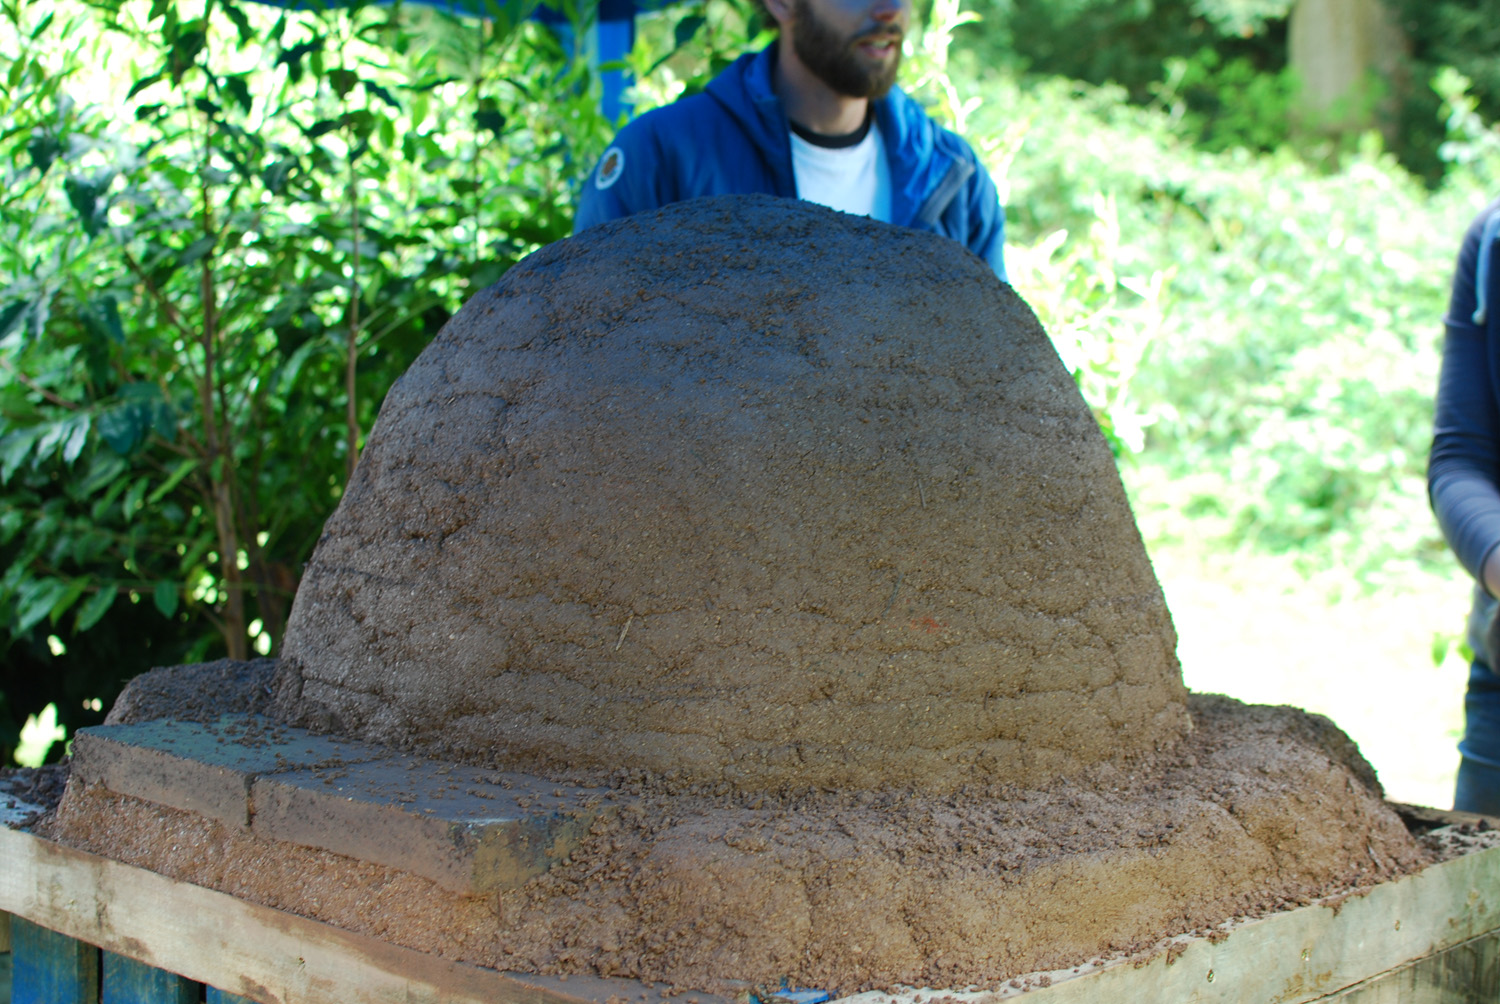
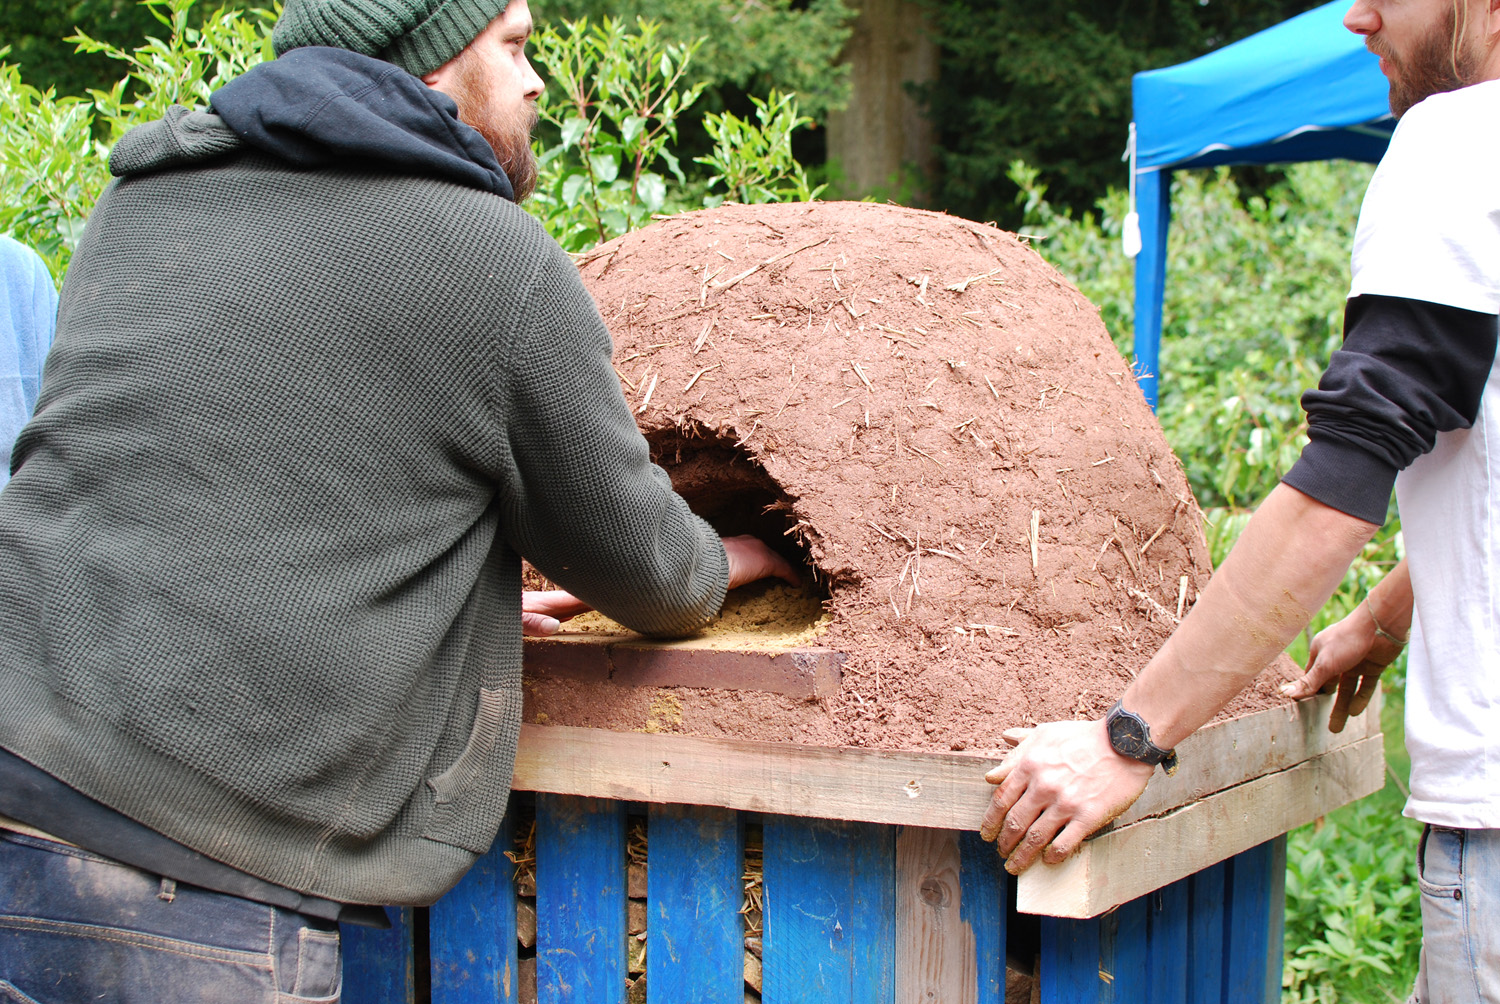
Finally, the second layer was finished, and the sun came out.
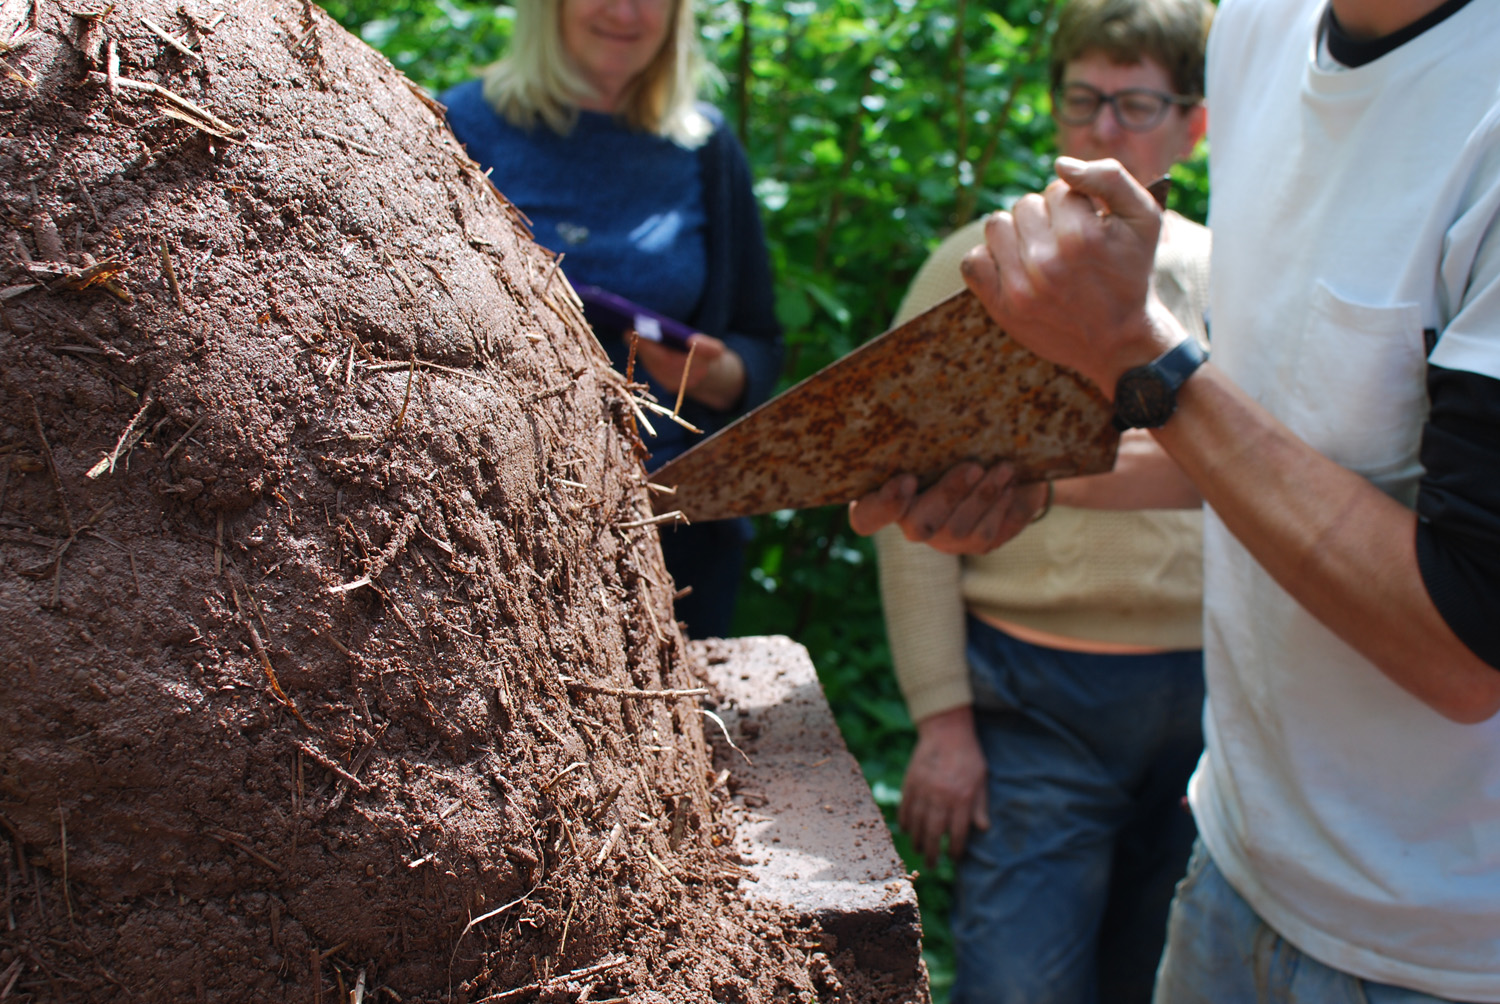
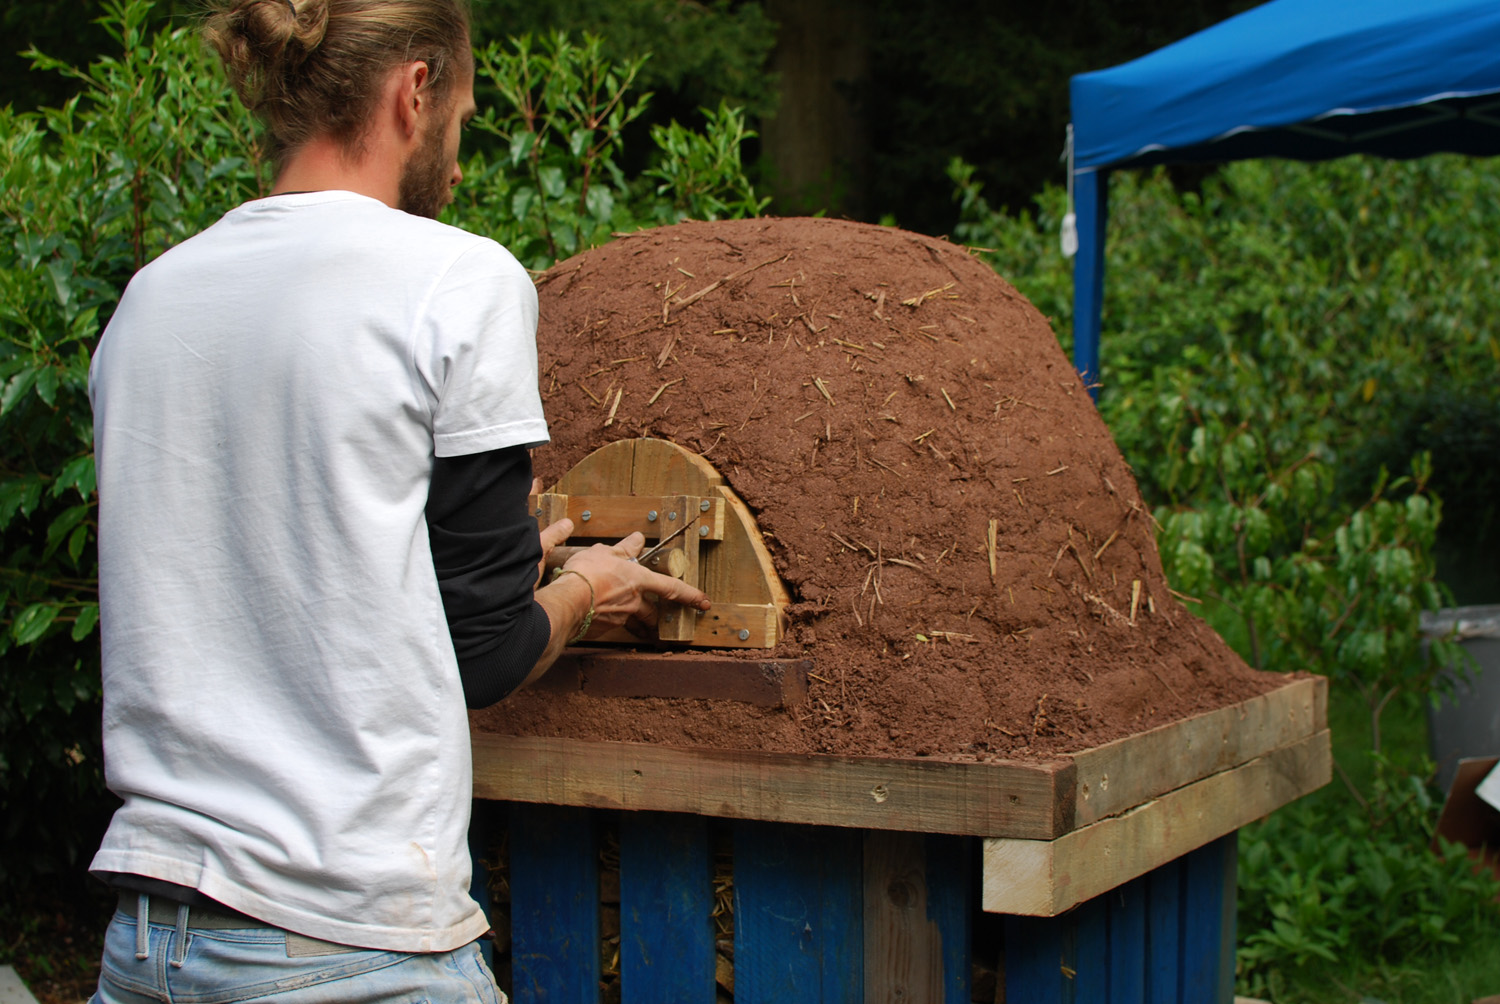
The next step was to cut out the door. Matt used a piece of old metal laying around. The first layer is cut to fit the door. The hole in the second layer is narrower, so that the door sits neatly against it.
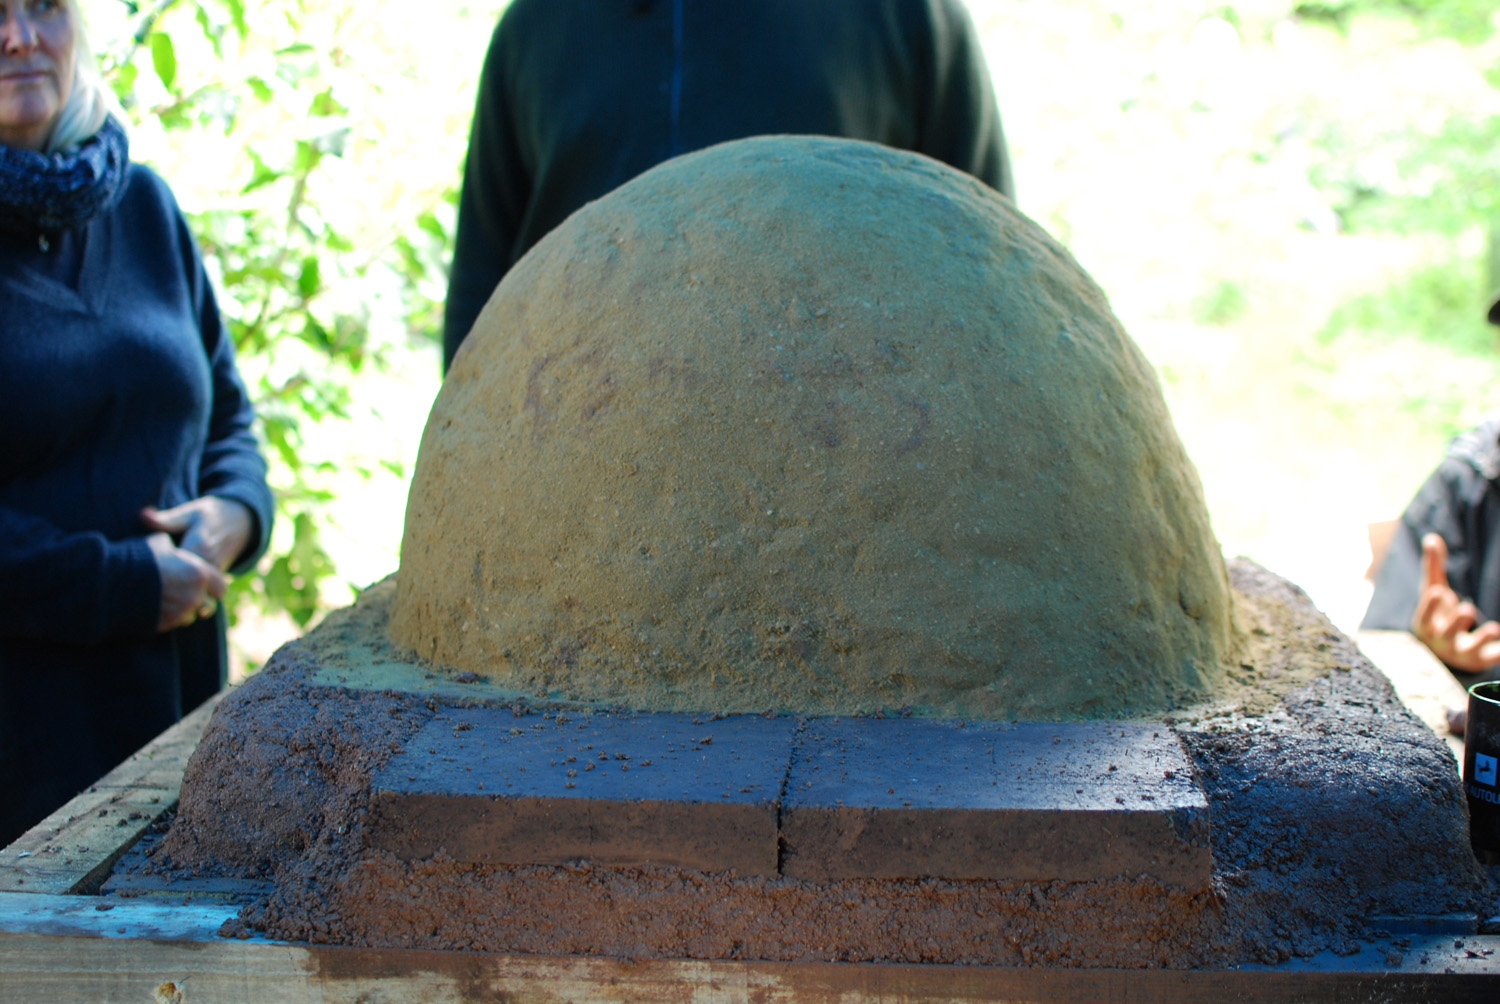
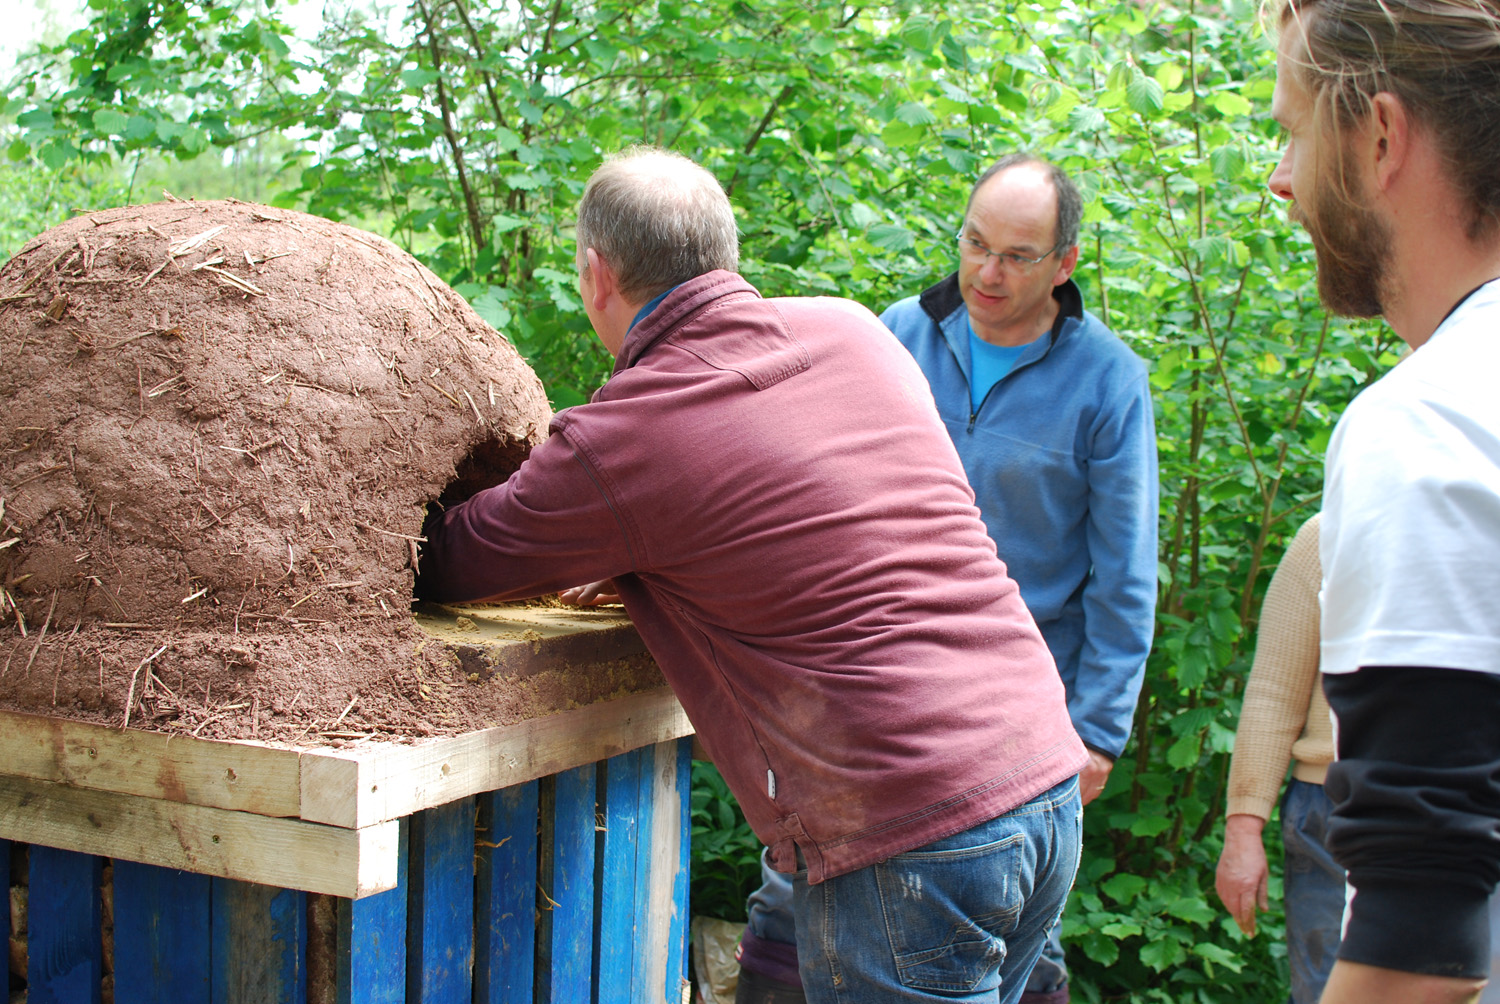
The moment of truth. We had to scoop out all the sand, and hope that the dome of the oven would hold. It did.


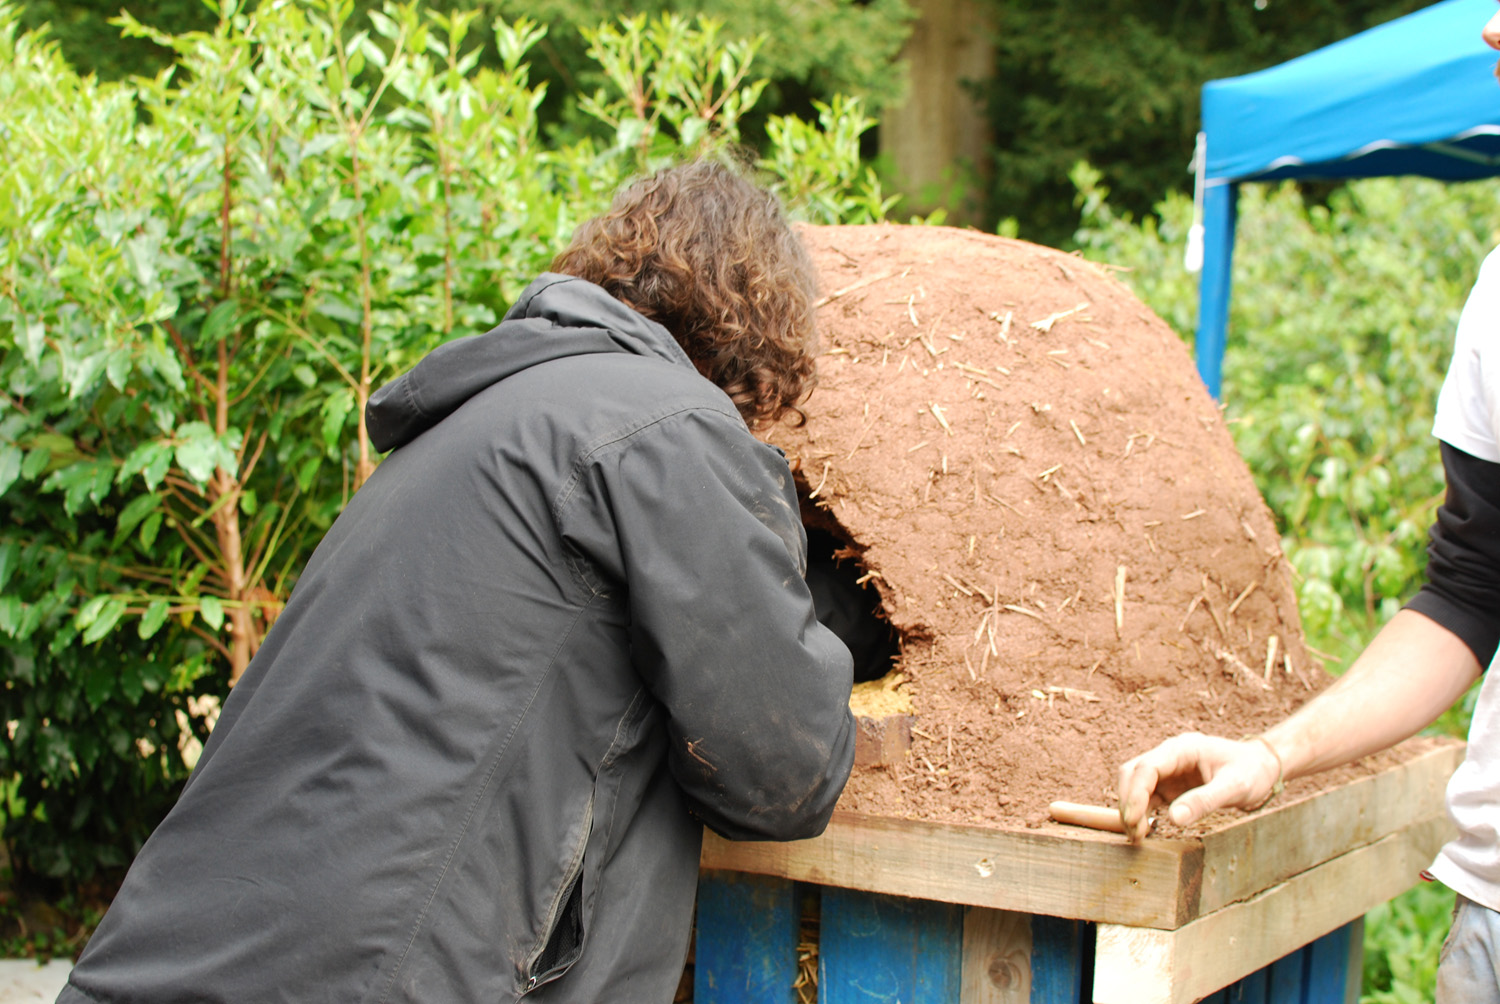
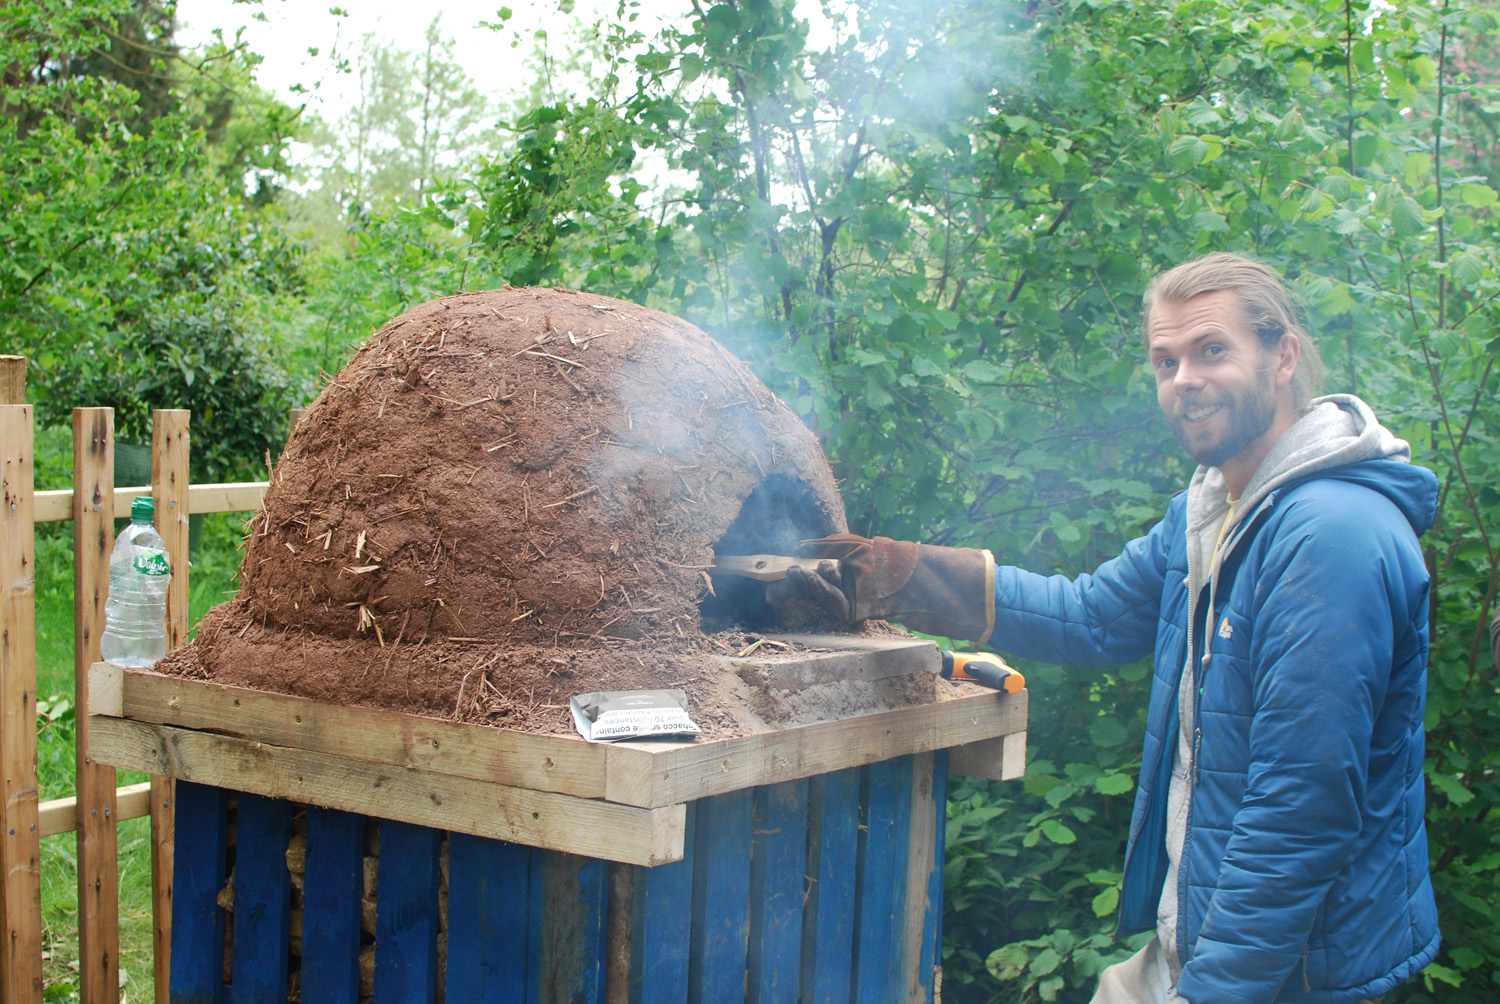
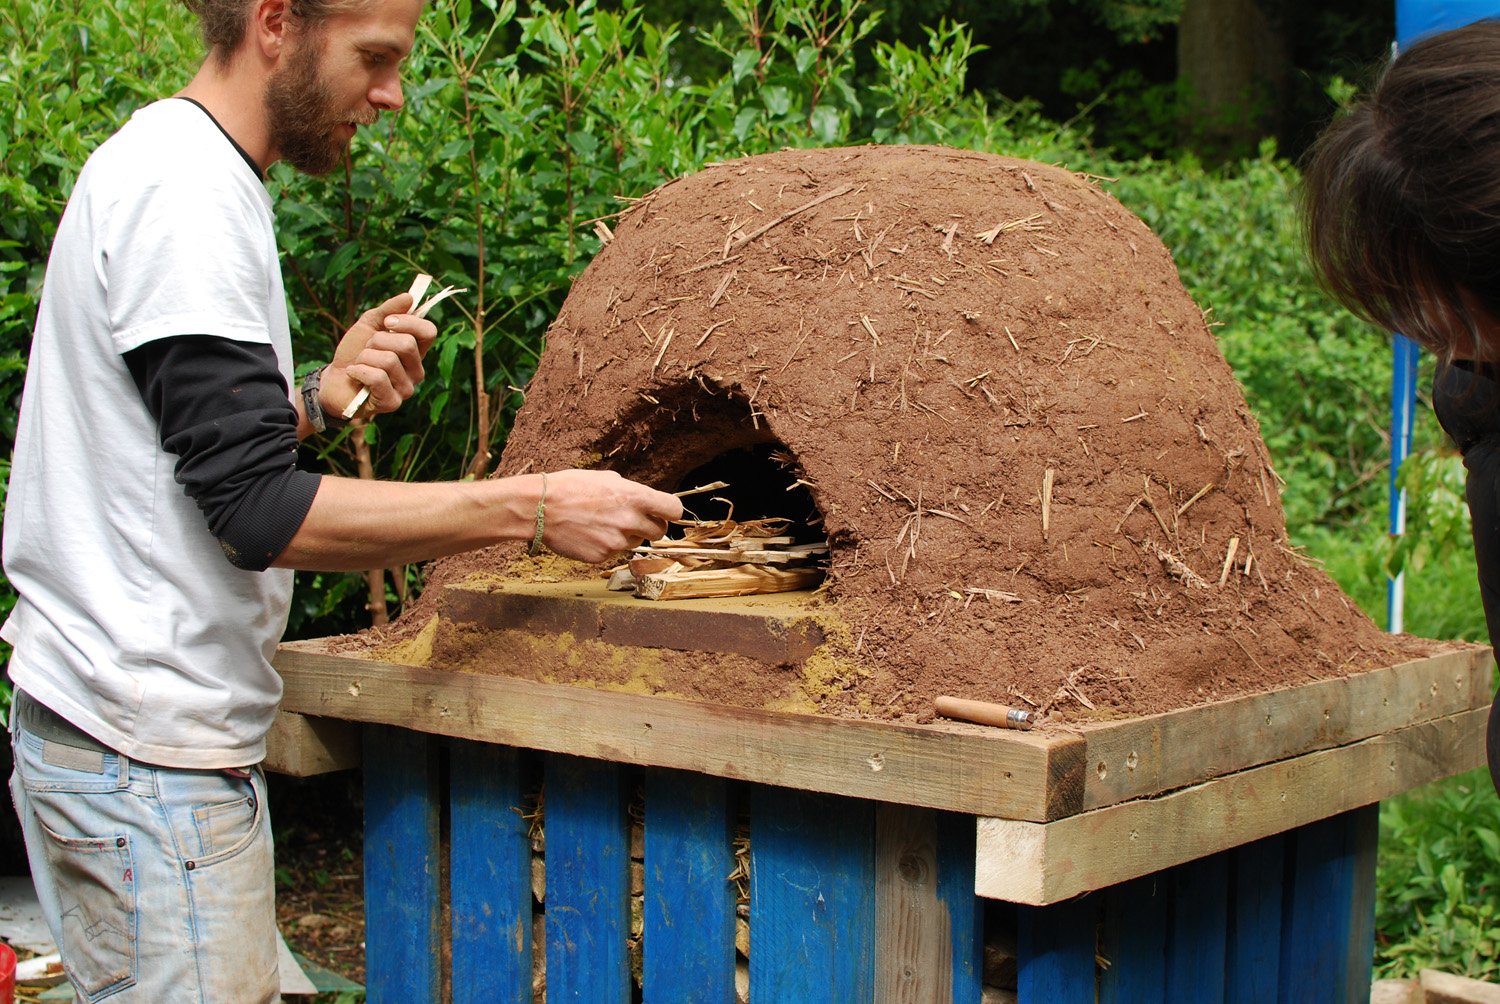
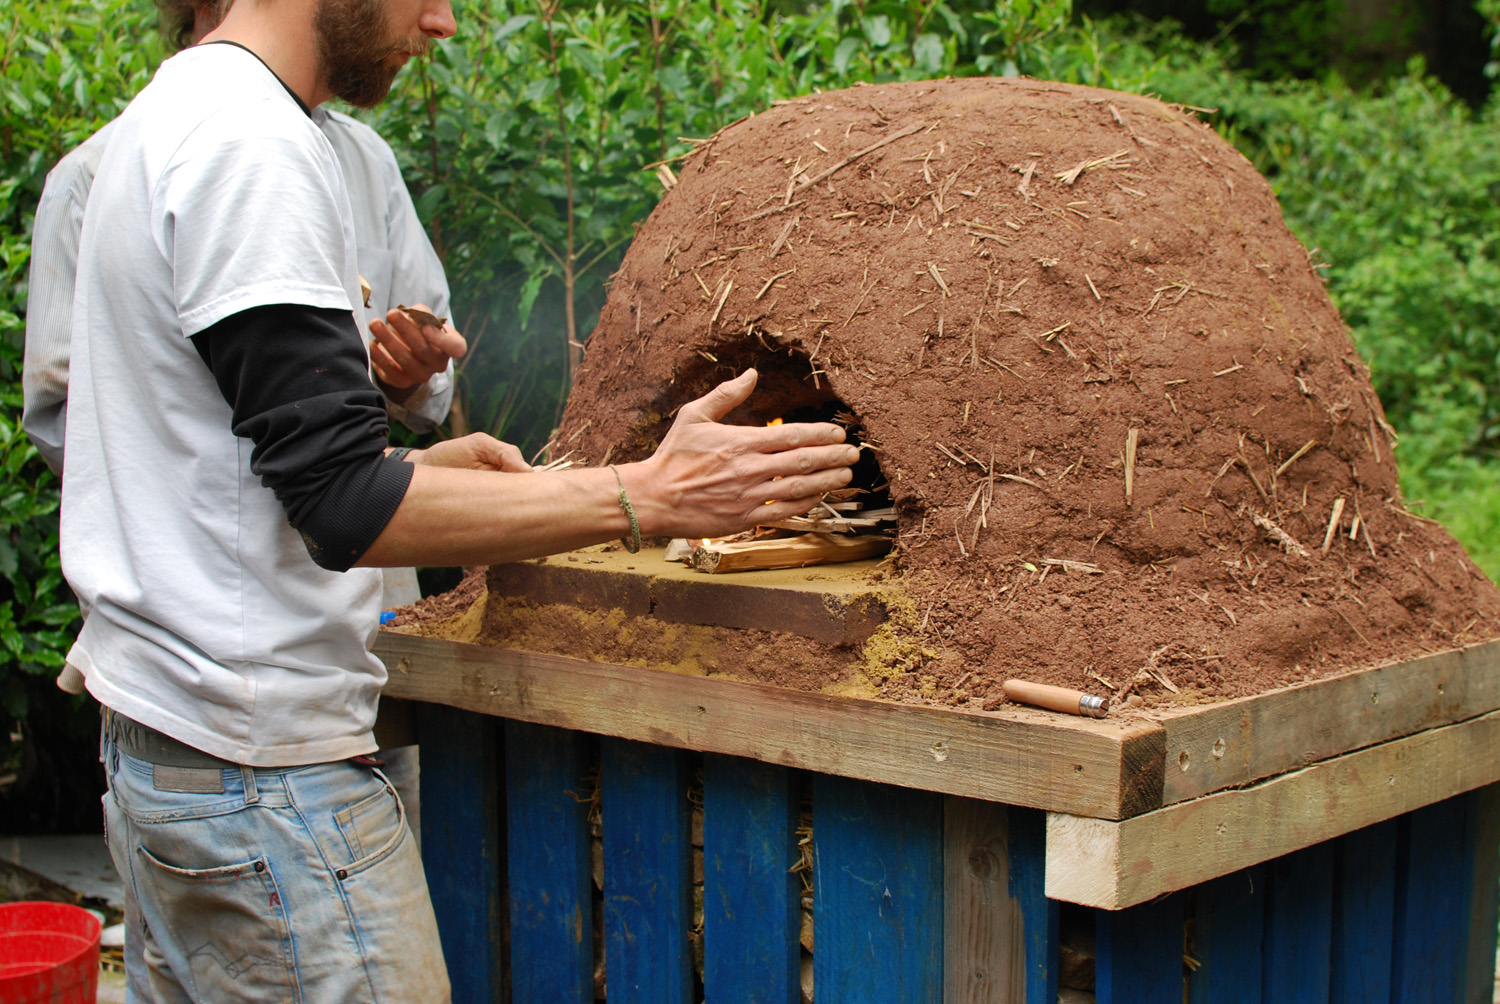
The last thing to do was to start a fire, to dry it out before its first use. You start the fire in the doorway, then push it back into the centre of the dome once it’s going.
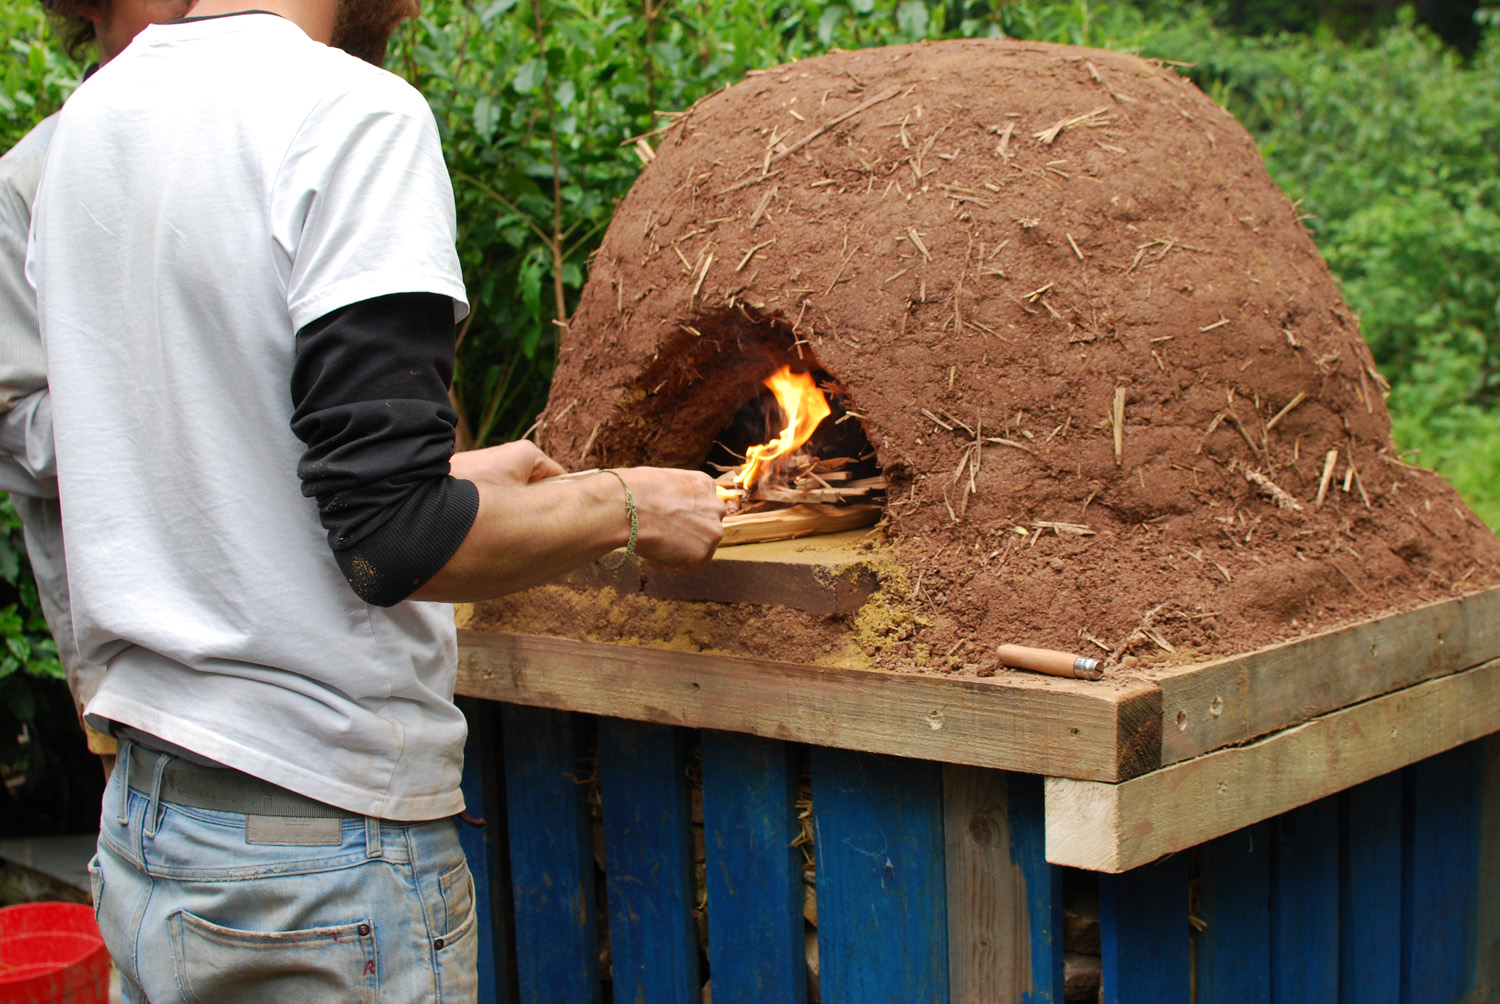
Success!

(Matt then sat feeding the fire until 11pm, to make sure it was ready for the day after. 100 Clearing points).